Advanced 3D & Scanning
3D Calibration
For advanced projection mapping on complex, non-flat physical objects (like cars, statues, or stage sets), you can use the 3D Surface.
-
Importing: Drag and drop an
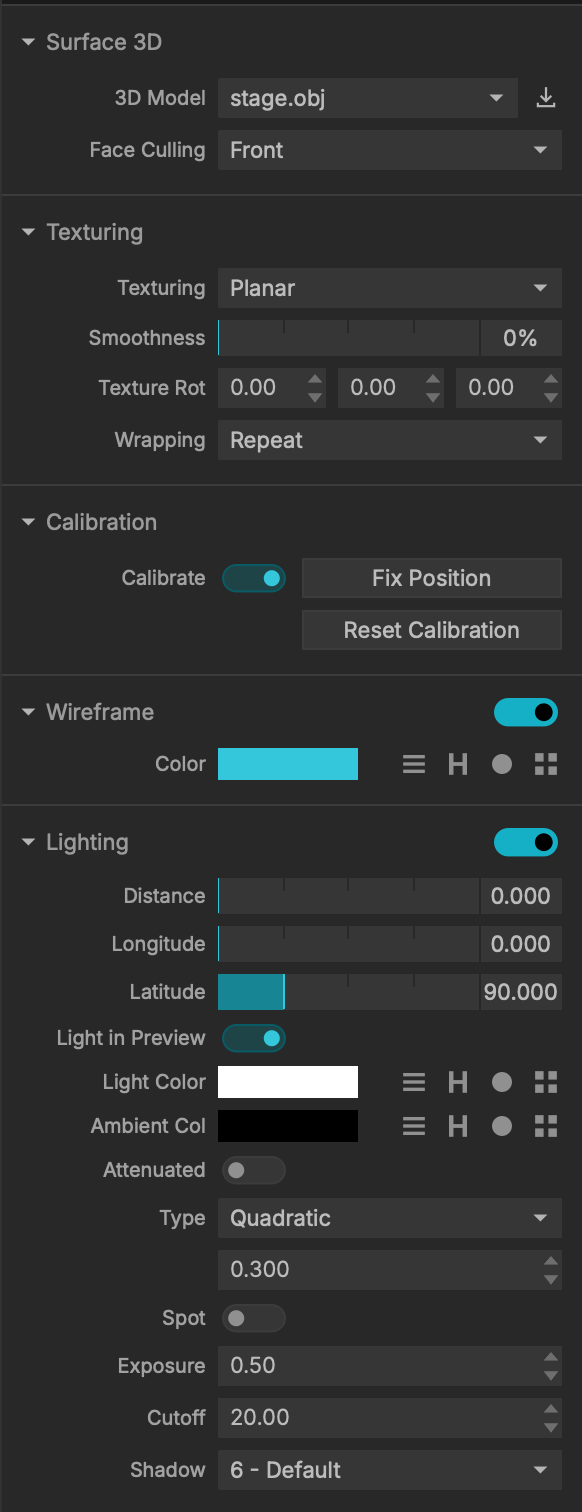
.OBJfile representing your physical object into MadMapper (or select it from the 3D Model dropdown at the top of the Inspector). -
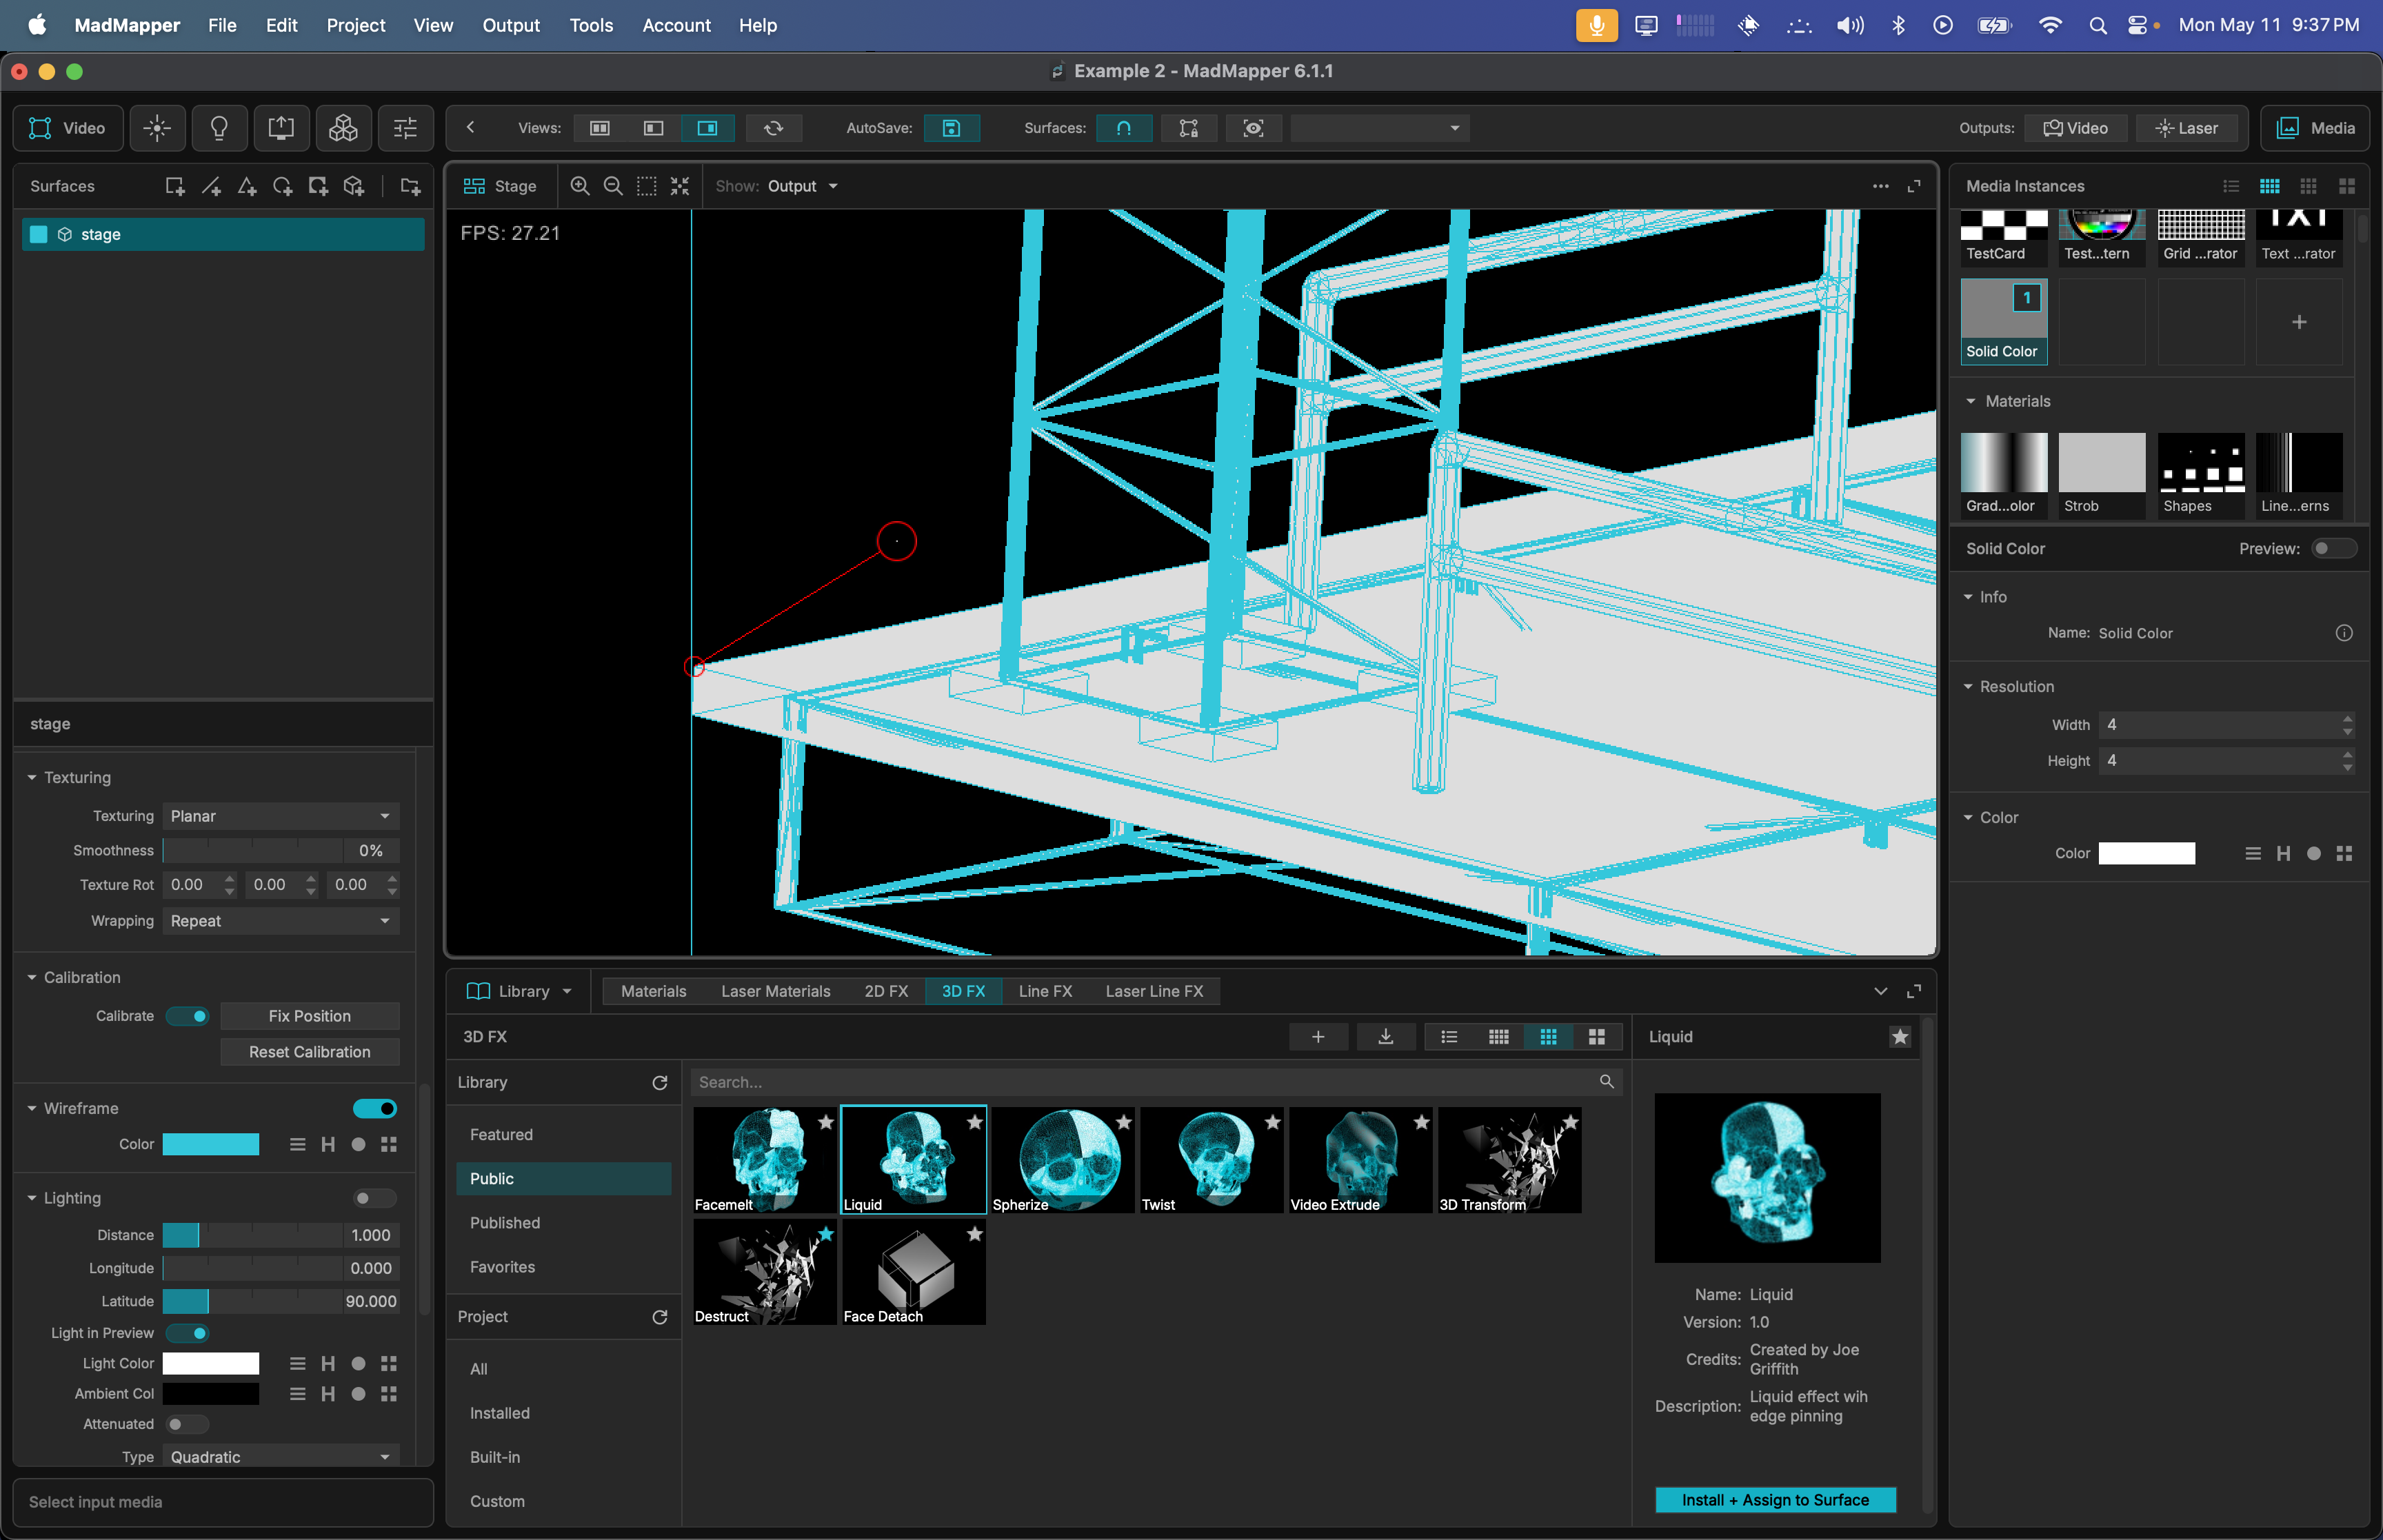
Matching Perspective: Enable the Calibrate toggle in the Inspector to align the virtual 3D model with the real-world object. Using MadMapper's 3D calibration tool, you select known anchor points on the physical object (e.g., the corners of a stage) and pair them with the exact corresponding points on your 3D model.
-
Error Feedback & Locking: As you plot these calibration points, MadMapper provides real-time RMS error feedback. Once your virtual camera accurately matches the physical projector's lens, click Fix Position to lock the geometry in place. If you need to start over, simply click Reset Calibration.
3D Lighting
Once a 3D surface is calibrated, you are no longer just projecting flat video; you are interacting with physical geometry.
MadMapper's 3D Lighting engine allows you to place virtual digital lights inside your scene. These digital lights will cast realistic, adjustable shadows dynamically across your physical 3D object, completely altering the perceived depth and geometry of the real-world surface without requiring pre-rendered 3D software.
When you enable the Lighting toggle in the Inspector, you gain access to a deep suite of digital illumination tools:
-
Positioning: Adjust the Distance, Longitude, and Latitude sliders to orbit the light source exactly where you need it around your 3D model.
-
Colors: Define the primary Light Color and the base Ambient Col (the baseline illumination in the shadows). You can toggle Light in Preview to ensure you can see these lighting effects directly in your workspace preview.
-
Attenuation: Enable the Attenuated toggle to dictate how light falls off over a distance. You can select the falloff Type (such as Quadratic) to mimic realistic physical light decay.
-
Spotlight: Enable the Spot toggle to turn the omnidirectional light into a focused beam. From here, you can adjust the Exposure and dial in the exact Cutoff angle of the spotlight cone.
-
Shadows: Use the Shadow dropdown to enable and define the resolution/quality of the shadows cast across the model's geometry.