DMX Fundamentals
Before patching fixtures, it is important to understand how MadMapper communicates with your physical lighting hardware.
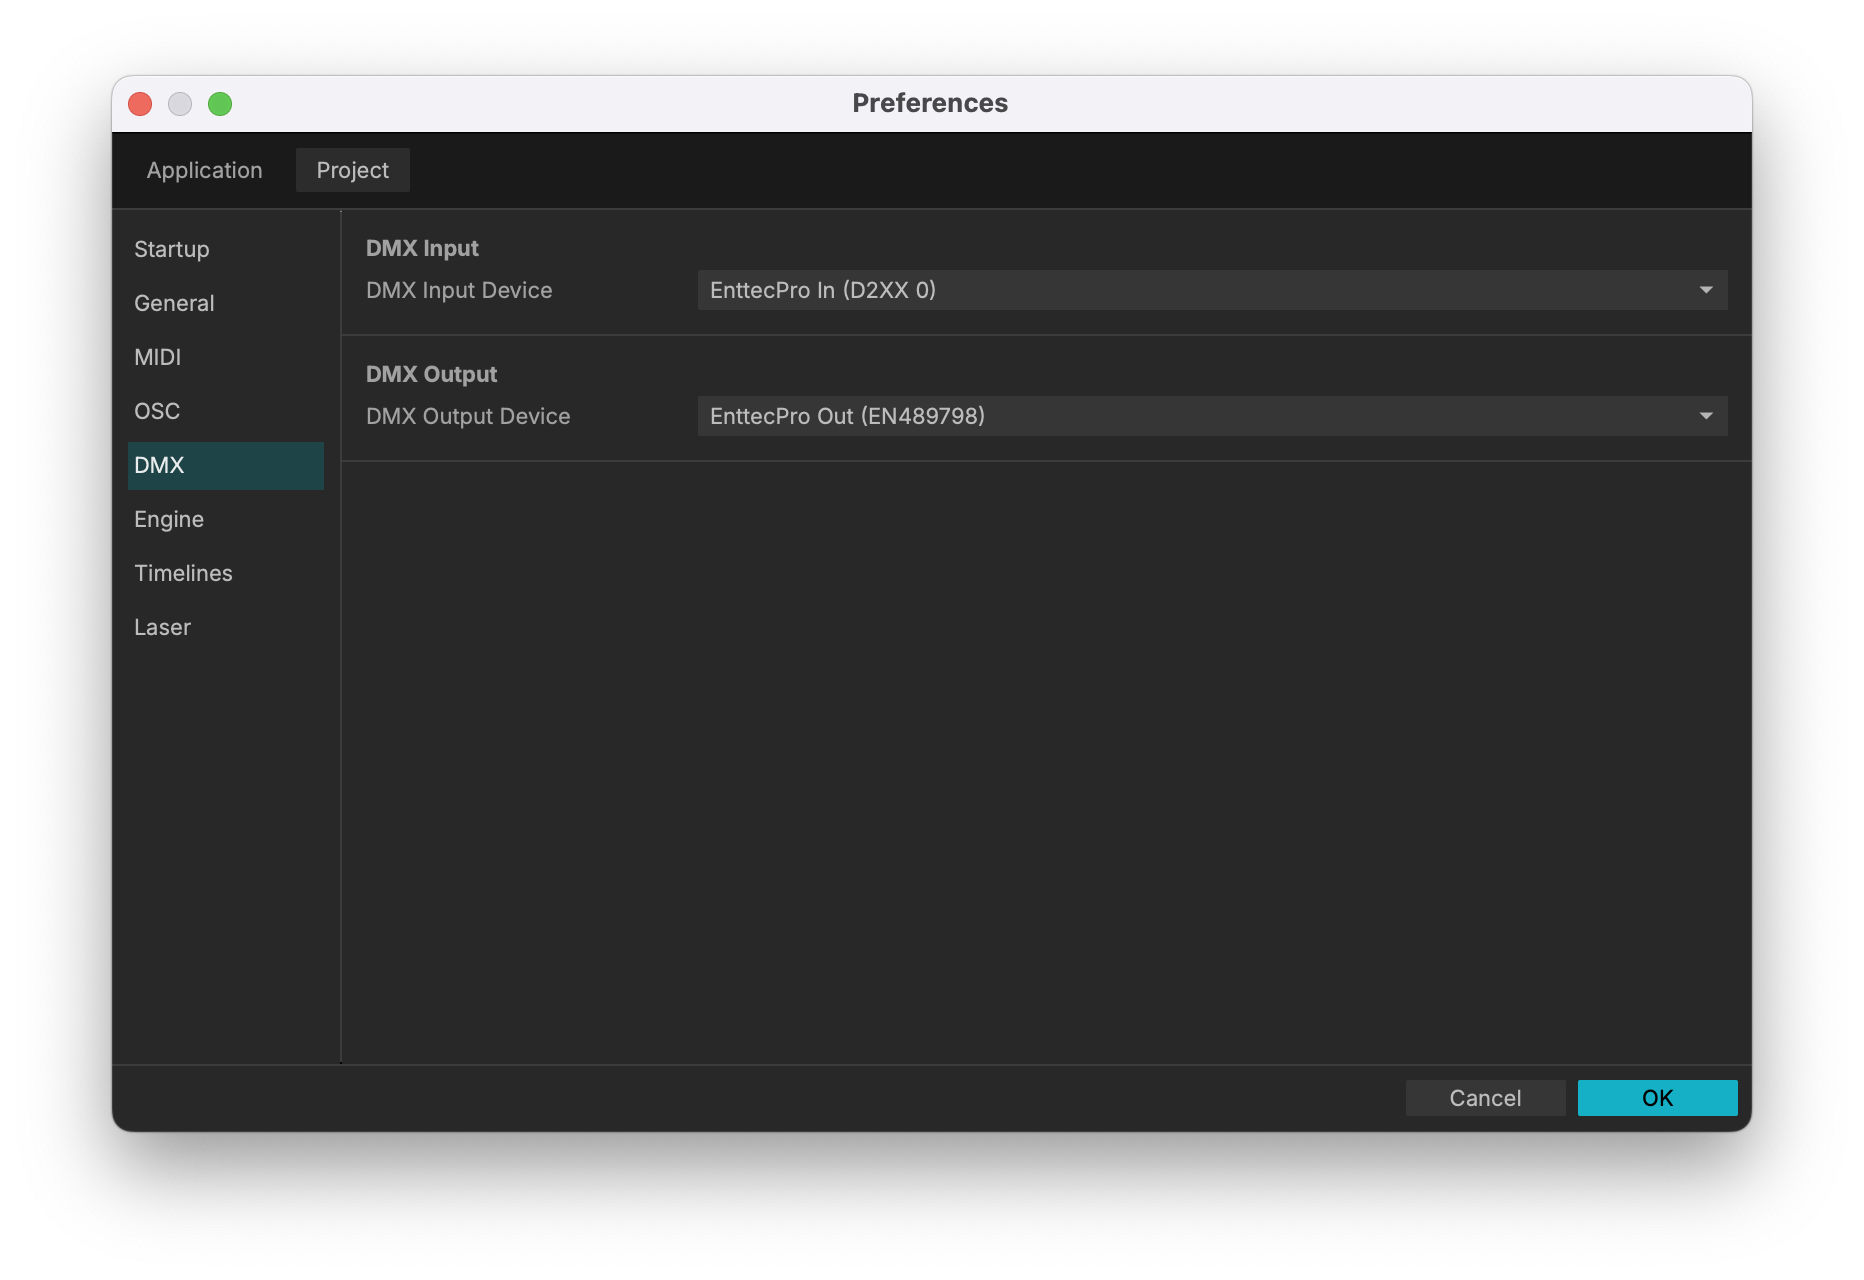
DMX Preferences: To route your lighting data, navigate to Preferences > Project (tab) > DMX. Here you can select your network interface, choose your USB DMX device, Art-Net or sACN, and define your framerate to ensure smooth playback across your rig.
- DMX512: The standard lighting control protocol. A single DMX cable can carry 512 channels of data. This bundle of 512 channels is called a Universe. For example, a standard RGB LED pixel uses 3 channels (Red, Green, Blue). Therefore, one DMX universe can control up to 170 individual RGB pixels (170 x 3 = 510). If you are controlling lights that go beyond 512 channels, then they will stretch over onto a new universe. Some external hardware devices are limited to output over a single universe, while others can output over 96 universes through a single device.
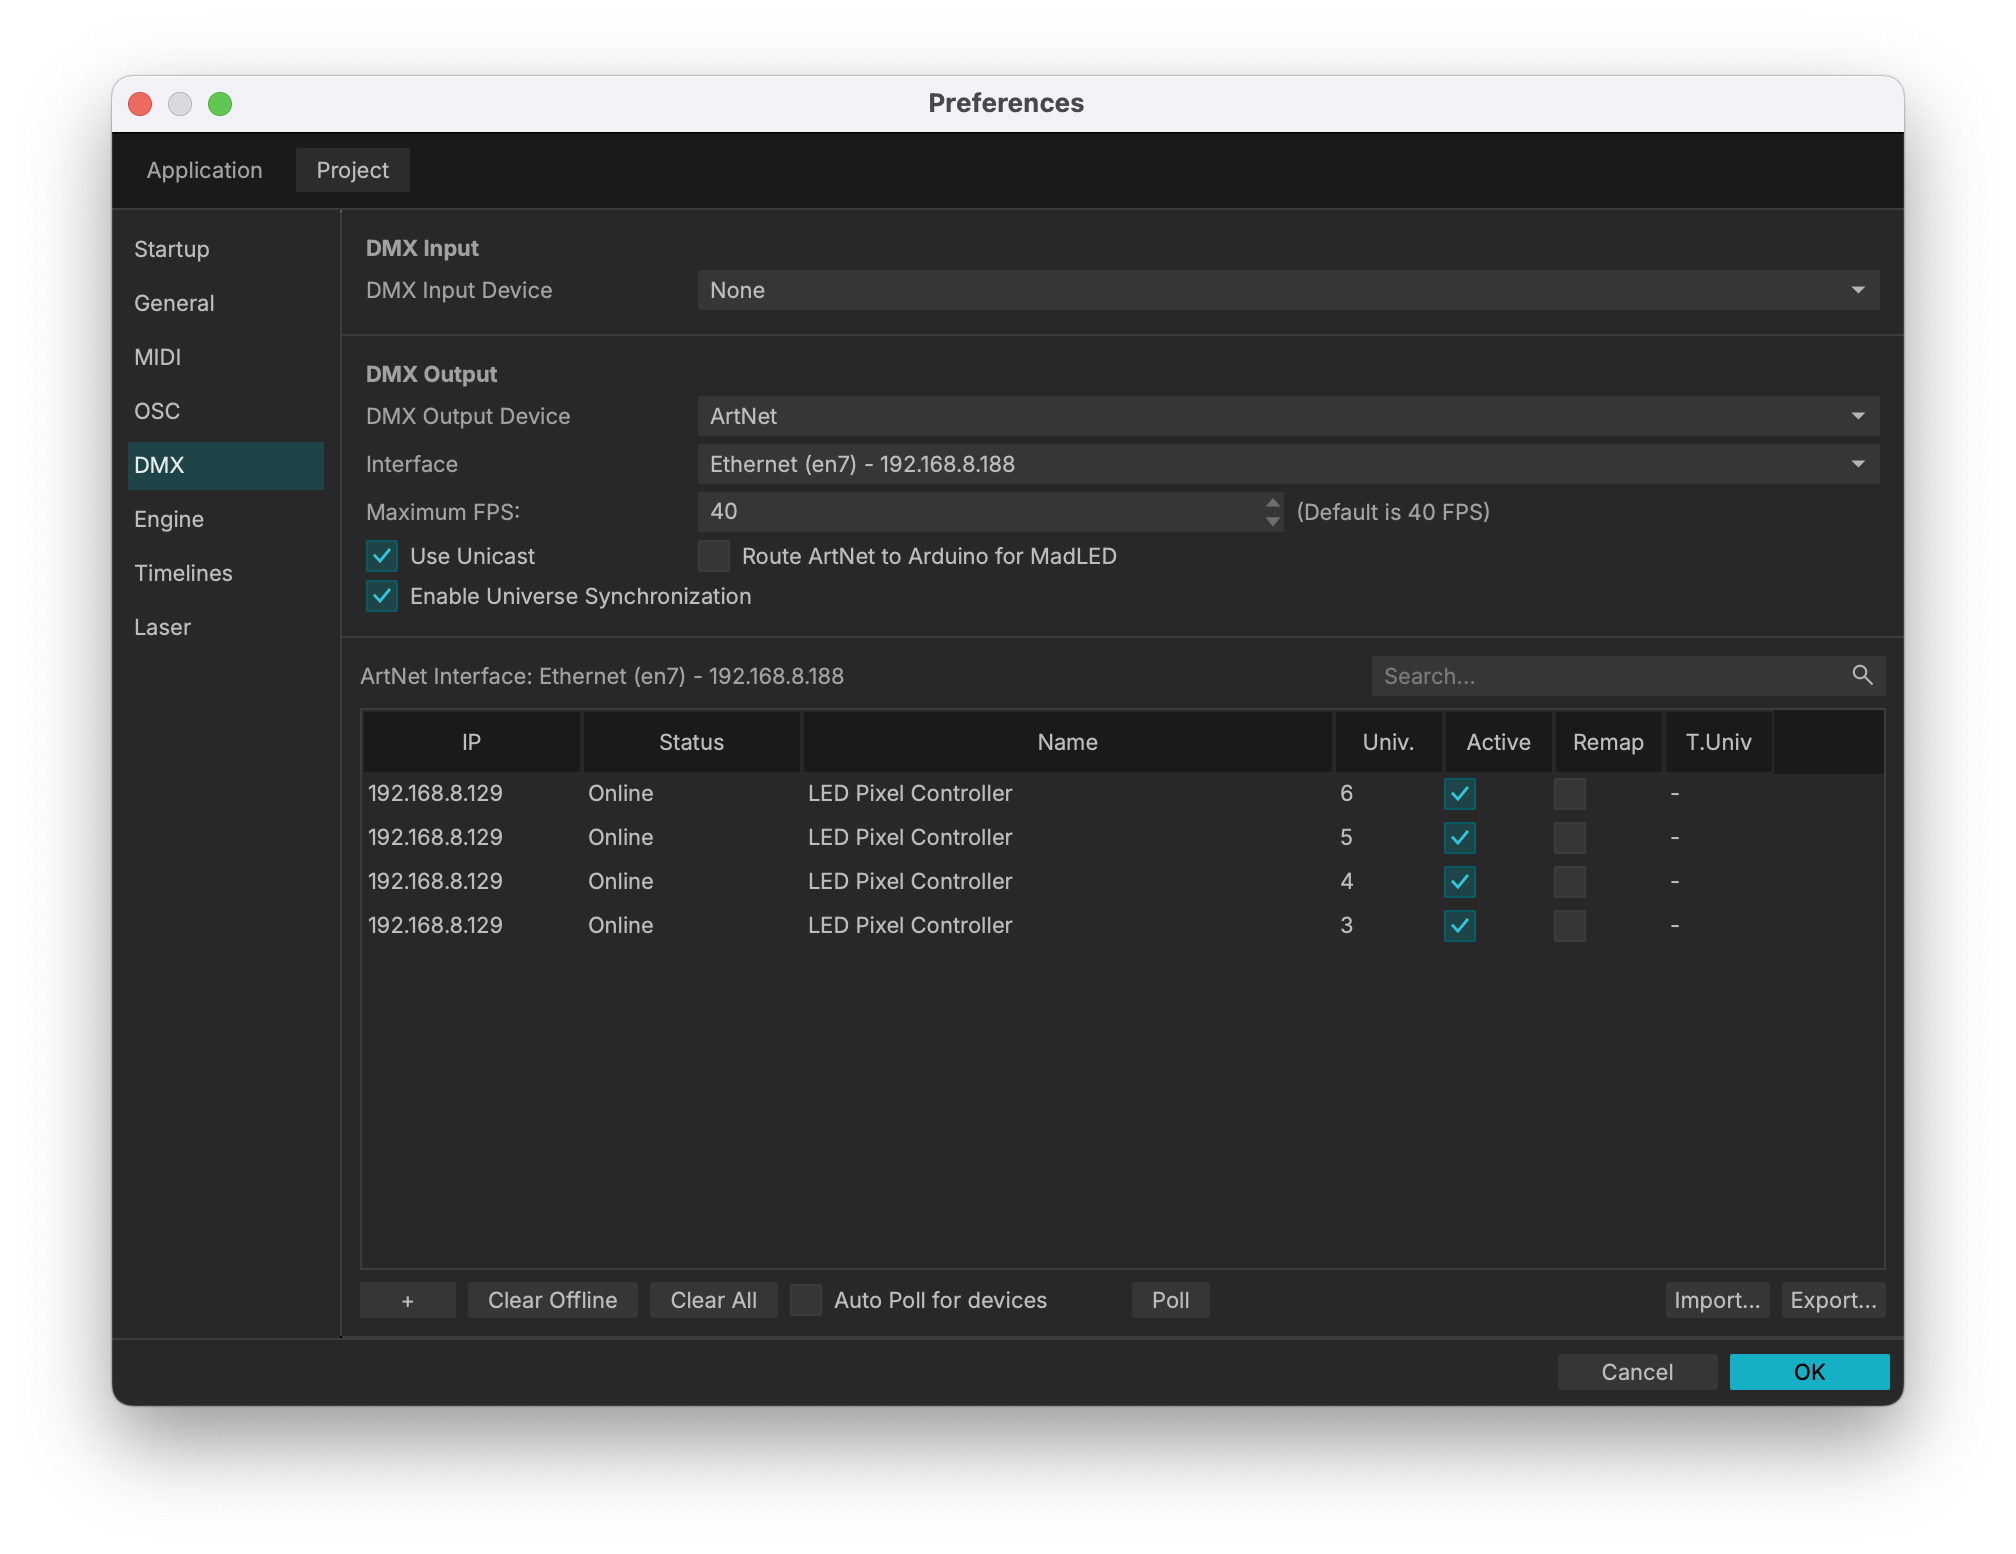
- Art-Net & sACN: Because large LED installations often require tens of thousands of channels, routing physical DMX cables for every universe is impossible. Art-Net and sACN are network protocols that send massive amounts of DMX universes over standard Ethernet cables. MadMapper outputs these protocols to network nodes (like PixLite, Advatek, or Enttec boxes), which then translate the data back into physical DMX or SPI signals for your lights.
Current hardware supported by MadMapper are the following USB DMX Devices: garageCube, ShowJockey, Enttec DMX USB Pro, Enttec DMX USB Pro MK2, and the DMX King eDMX2 Pro, and network based devices that support Art-Net or sACN.
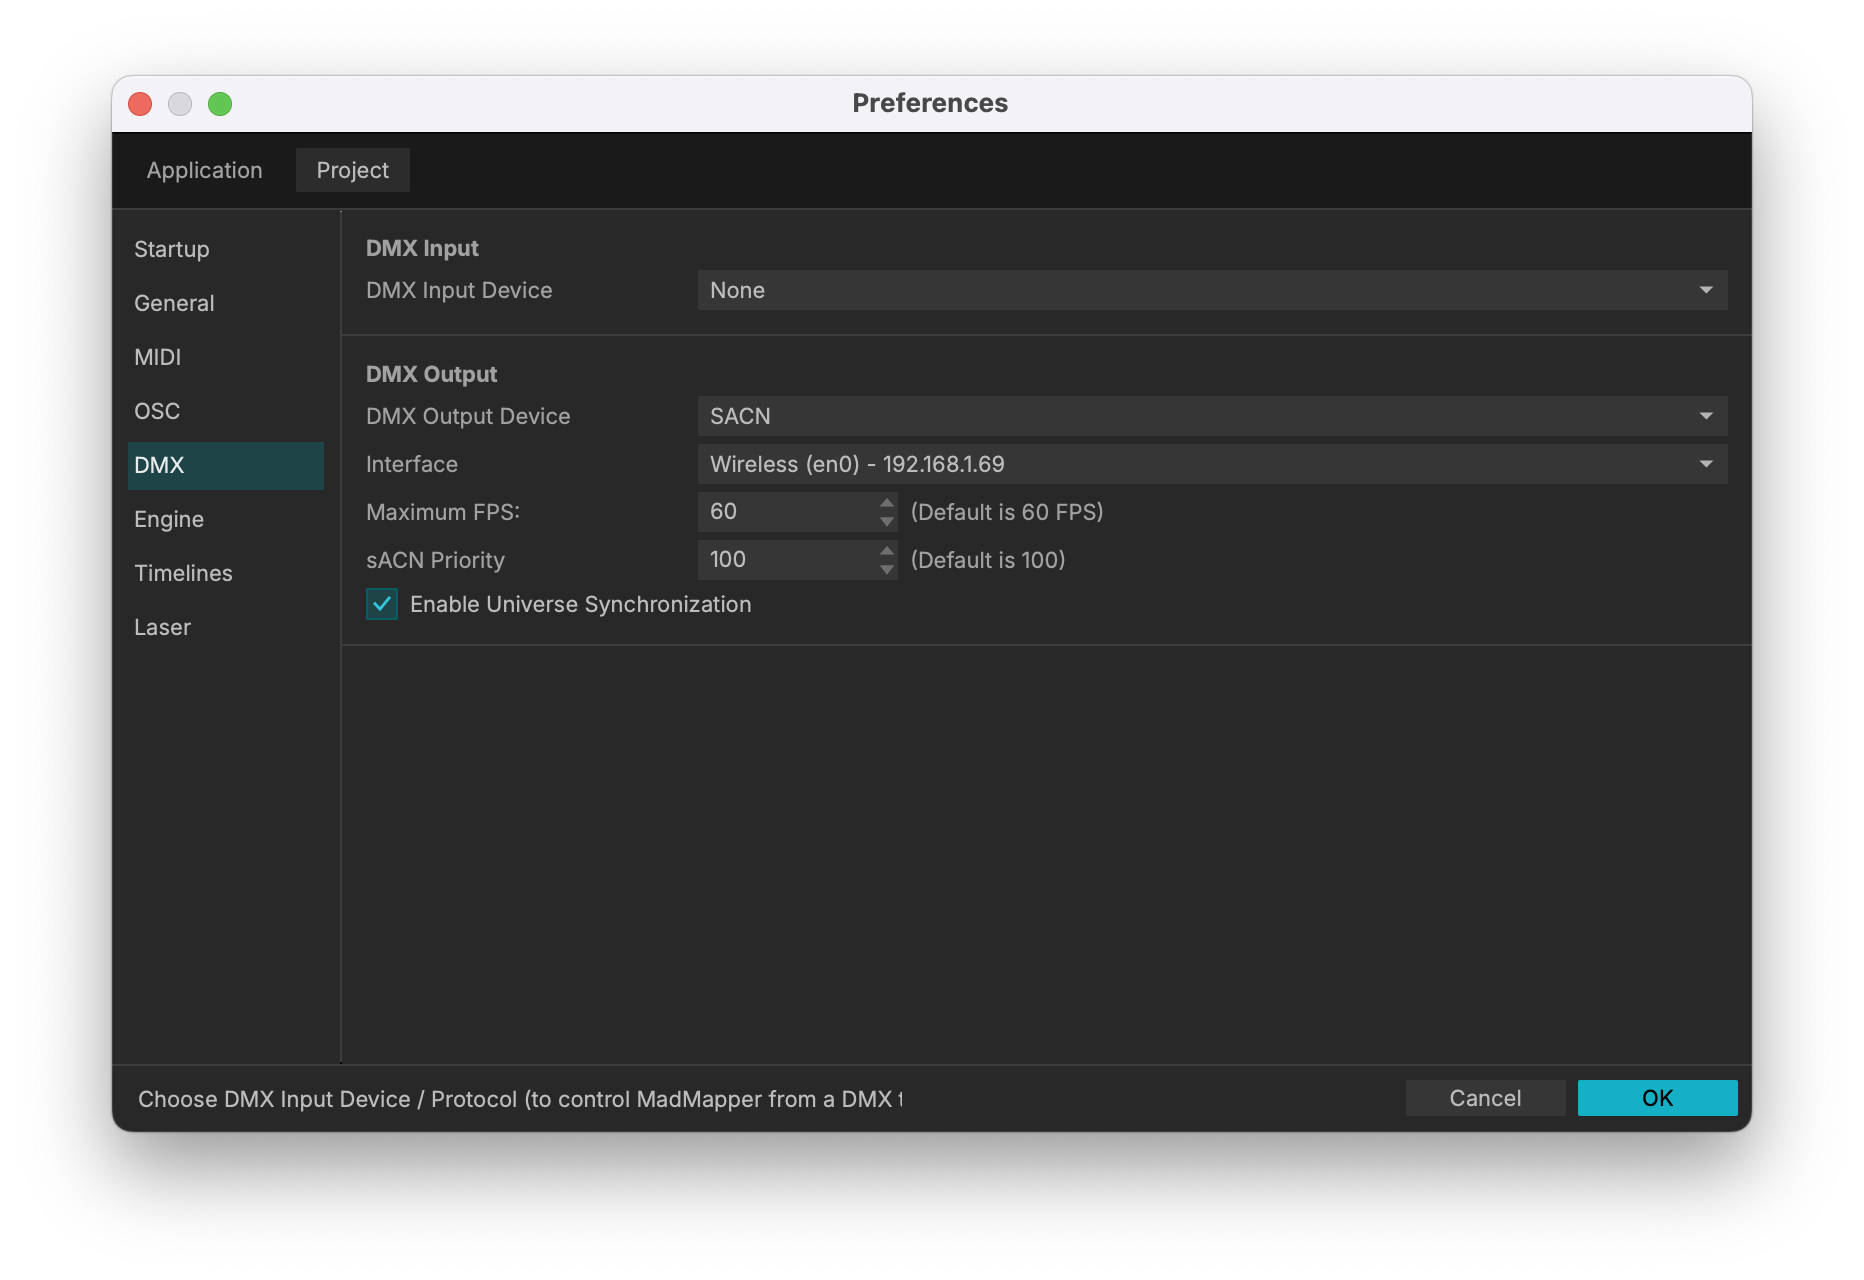
Output Configuration: To route your lighting data, navigate to Preferences > Project (tab) > DMX. Here you can select your network interface, choose your USB DMX device, Art-Net or sACN, and define your framerate to ensure smooth playback across your rig.
DMX Fixtures Basics
DMX fixtures allow you to create and manage your fixtures for your light mapping projects.
By adding fixtures you will need to replicate your physical lighting installation in MadMapper.
Location
Access the DMX fixtures by clicking on DMX (manage DMX fixtures) at the top left of the interface:

New DMX Fixture
Simply click on the DMX fixture of your choice to add one:

DMX Fixtures List
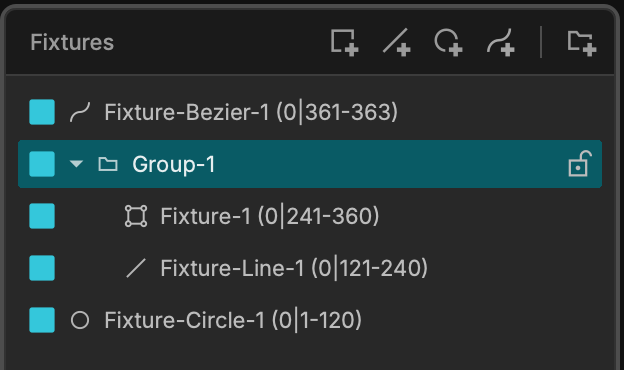
Added DMX fixtures (and groups) will be listed on the left in the DMX fixtures List:
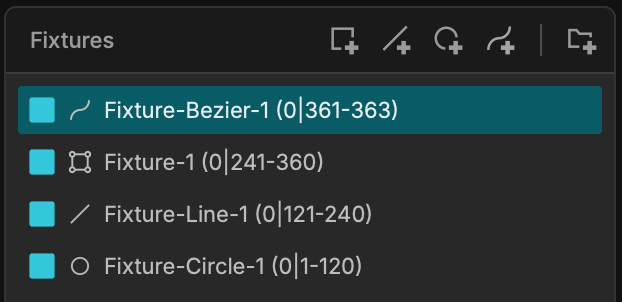
Other options are:
- Display/Hide a DMX fixture.
- Lock/Unlock a DMX fixture.
The highlighted DMX fixture or group is also the one that is selected.
Create Groups
You can create a group with as many DMX fixtures as you want by clicking on the Groups icon at top right of the DMX fixture list: