The Outputs Tab
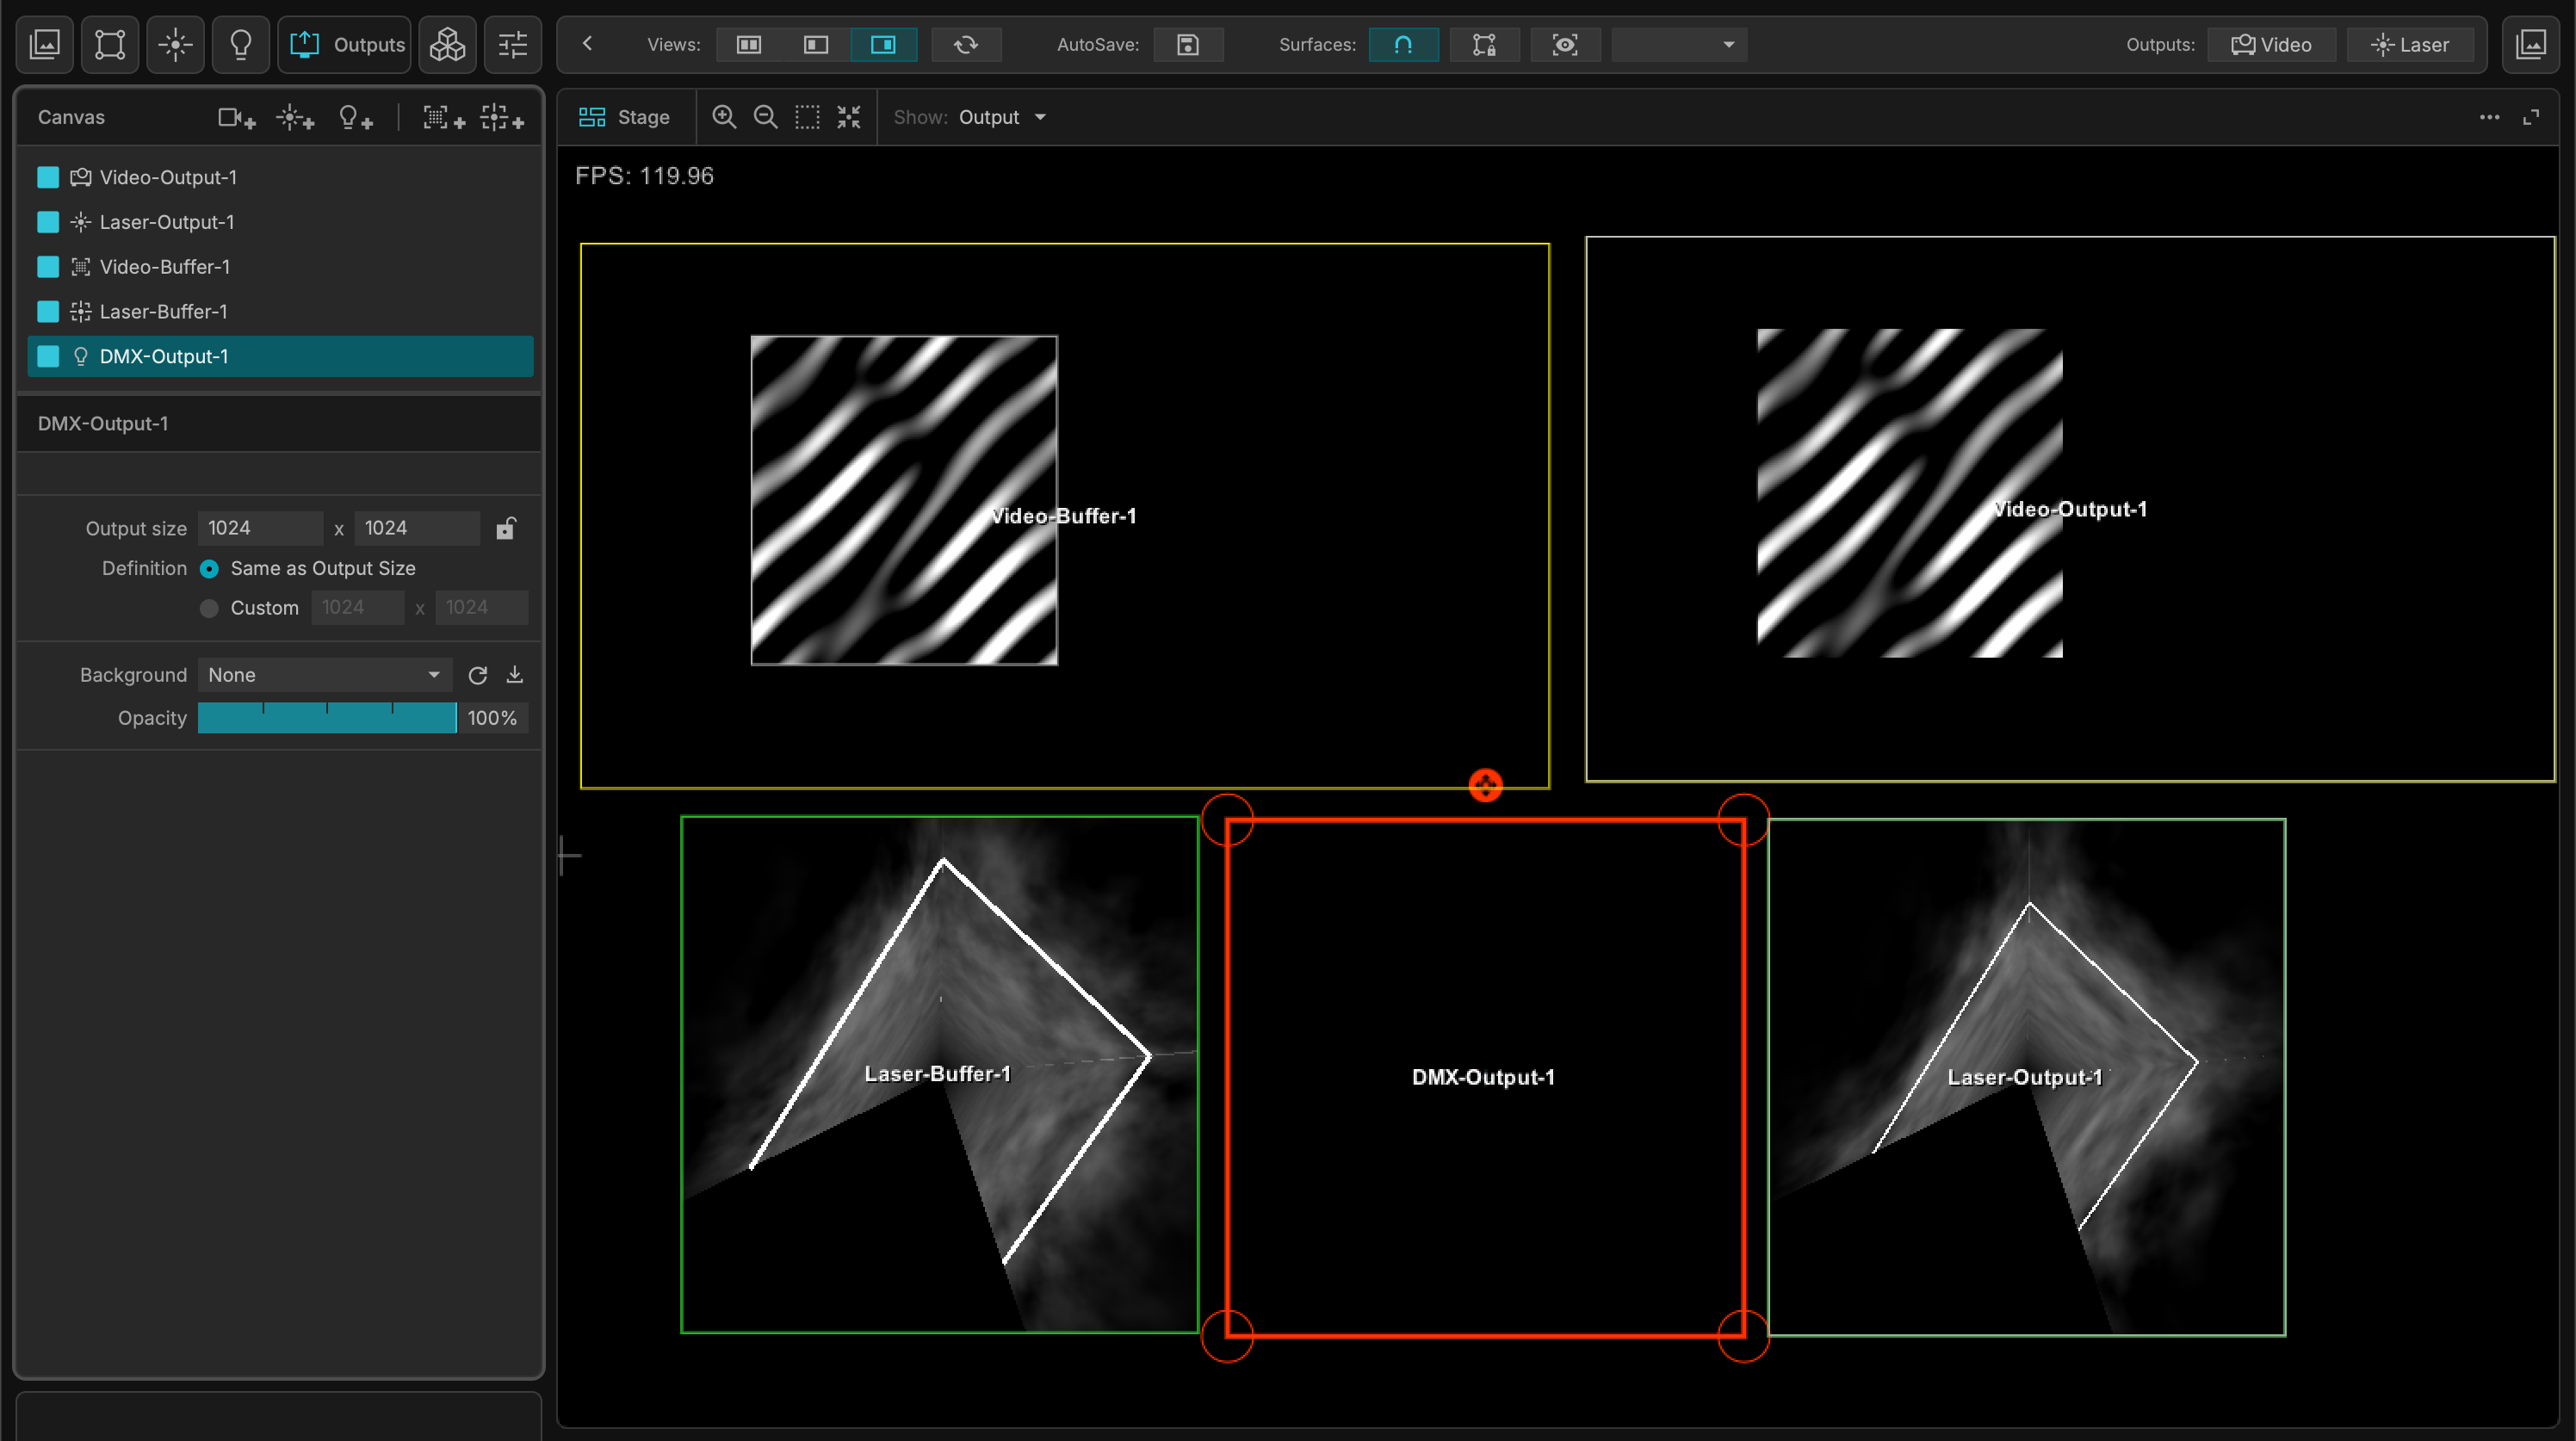
The Outputs tab represents the final stage of your MadMapper pipeline. This is where your digital workspace is translated and routed to physical hardware or virtual destinations. It provides comprehensive tools for managing multi-projector setups, configuring laser routing, establishing global safety masks, and creating off-screen buffers.
Creating & Managing Outputs
At the top of the Outputs list, you can define the physical or virtual hardware that MadMapper will communicate with.

-
Video Output: Add standard video outputs for connected displays, projectors, or LED wall processors.
-
Laser Output: Configure dedicated routes to your ILDA laser DACs (Digital-to-Analog Converters) or network-based laser controllers.
-
DMX Output: Set up universes and network protocols (such as Art-Net or sACN) for your patched lighting fixtures and pixel-mapped LED tape.
-
Buffers: Create off-screen rendering targets (Video or Laser) to composite and manipulate content before sending it to a physical output.
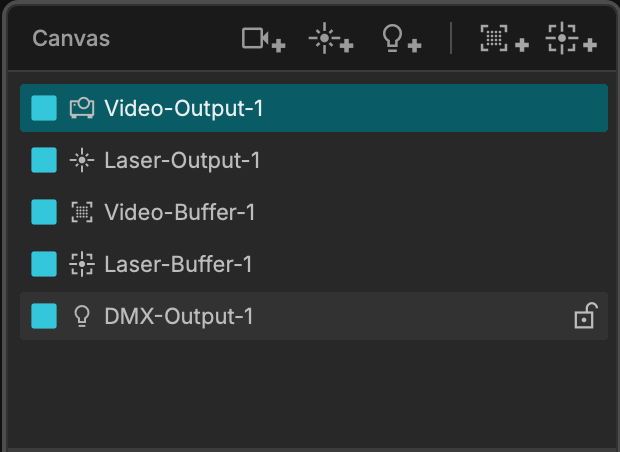
Similar to other aspects of MadMapper, in this menu you can enable/disable outputs and lock/unlock them.
Output Settings Reference Guide
When you select an output or buffer in the Outputs List, the settings panel at the bottom of the screen populates with specific parameters for that device. Below is a breakdown of the available settings for each output type.
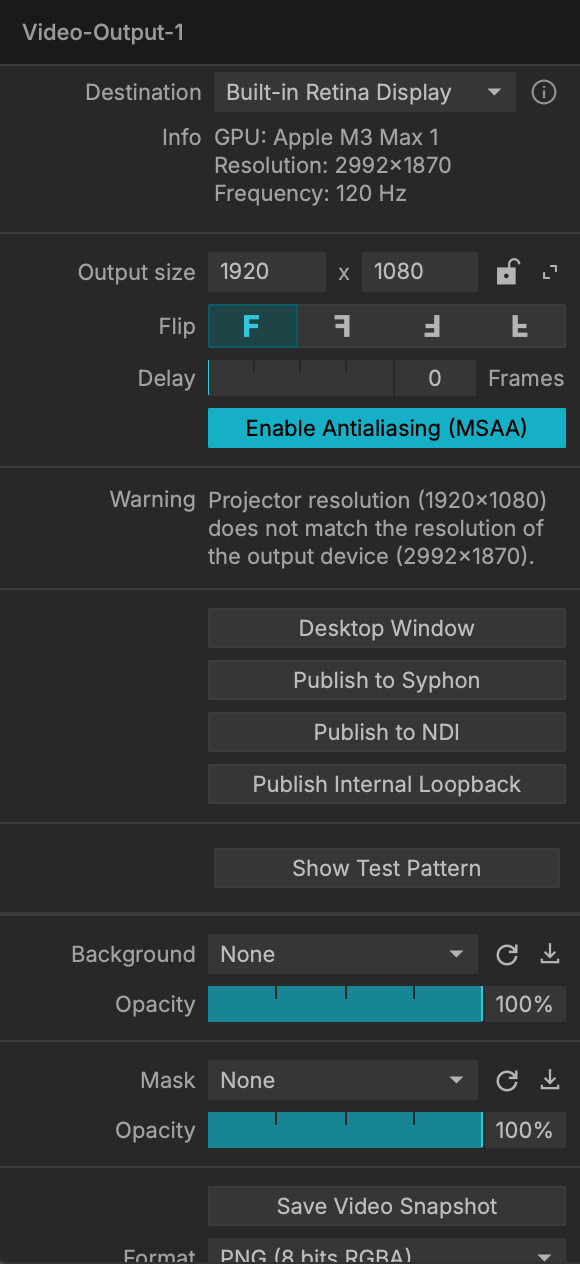
Video Output Settings
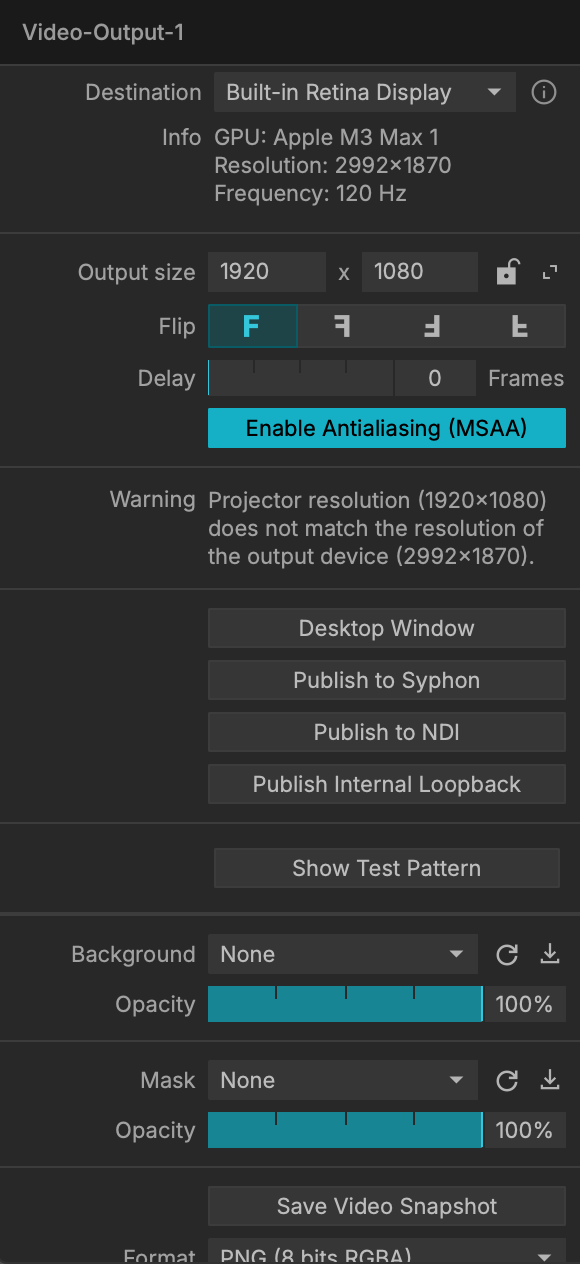
These settings control how your digital canvas is routed to physical displays, projectors, or other software.
-
Destination: Select the physical display (e.g., Built-in Retina Display, connected projectors) or virtual destination. It displays hardware info such as GPU, Resolution, and Frequency.
-
Output Size: Define the exact pixel resolution (Width x Height). You can lock the aspect ratio or toggle fullscreen.
-
Flip: Quickly mirror the output horizontally, vertically, or both (essential for rear projection).
-
Delay: Add a frame delay to synchronize mixed hardware outputs.
-
Enable Antialiasing (MSAA): Smooths jagged edges on 3D geometry and masks.
-
Routing Buttons:
-
Desktop Window: Opens the output in a floating window.
-
Publish to Syphon / Spout: Sends the video output to other visual software on the same computer.
-
Publish to NDI: Broadcasts the video output over your local network.
-
Publish Internal Loopback: Routes the output back into MadMapper's Media Bin as a live source.
-
-
Show Test Pattern: Toggles a built-in test card for alignment.
-
Background & Mask: Load custom reference images or apply global masks, complete with adjustable Opacity sliders.
-
Save Video Snapshot: Captures the current frame of the output to a specified format (e.g., PNG 8 bits RGBA).
Laser Output Settings
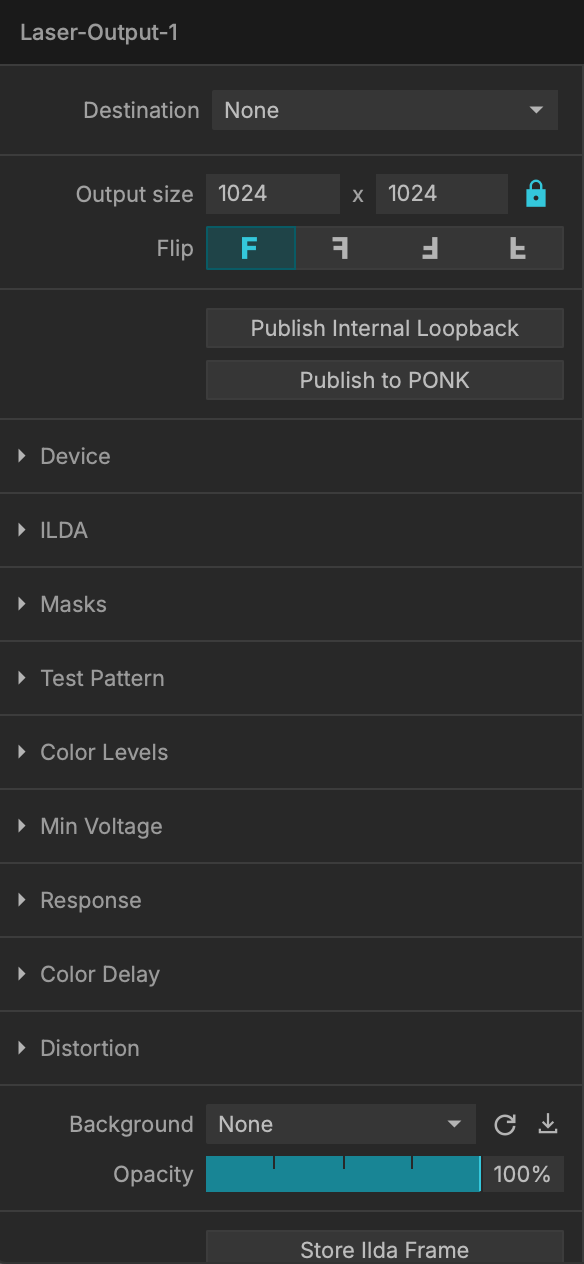
MadMapper provides extensive hardware control for ILDA laser projectors to ensure safe and accurate rendering.
-
Destination: Select your connected laser DAC. MadMapper natively supports Etherdream, ShowNet, Helios USB, and Pangolin FB4.
-
Output Size & Flip: Defines the size of the output rectangle in the preview interface. Note: This does not affect the physical output data; it is strictly for positioning surfaces relatively in the UI.
-
Publishing & Dispatch:
-
Publish Internal Loopback: This powerful feature renders your laser composition into a new source in the Media List. This allows you to apply Mesh Warping to an entire complex laser composition at once on a secondary projector.
-
Publish to PONK: Broadcasts the laser data over the network using the PONK protocol.
-
-
Device:
-
PPS (Points Per Second): Set the scanning speed to match your hardware manufacturer's specifications. Warning: Setting a value over 45kpps generally does not improve quality and can overheat or damage your galvos.
-
Delay: Adjust synchronization.
-
-
ILDA Engine:
-
Desired FPS: The target frame rate. Rates under 35 FPS will produce noticeable flickering.
-
Point Count & ILDA FPS: MadMapper calculates the real scan rate based on this formula:
ILDA FPS = PPS / Point Count. -
Scan Area: Sets boundaries to prevent the beam from hitting the physical edge of the scanner. Note: Setting this value too low can cause the galvos to enter a security mode or cause damage. Listen to your scanner; the sound should remain smooth.
-
Blank Delay: The time the laser takes to shut off, move, and turn back on between drawn paths. Increase this if your projected shapes have unwanted connecting lines.
-
-
Masks:
-
Draw zones to protect cameras or audiences. Applying a mask at a lower Opacity (e.g., 10%) allows you to safely scan an audience by significantly decreasing the luminosity in that specific region. Includes tools to Invert Mask, Mask Beams Only, and apply Feathering.
-
-
Test Pattern: Toggles specifically designed for laser calibration: Enable Scan Area, Enable Geometry, Enable Name, Enable Color, and Enable Masks.
-
Color Calibration:
-
Color Levels: Master RGB output limits.
-
Min Voltage: Laser diodes have varying thresholds before producing light. Set this minimum level to ensure colors (like red) shut off completely when rendering dark greys.
-
Response: Fine-tune the linearity of the RGB diodes using customizable curve graphs.
-
Color Delay: Compensates for hardware lag between the XY galvo position and the RGB diode firing by offsetting the color channels in time.
-
-
Distortion: Correct physical projection warping using Level X and Level Y.
-
Recording: Options to Store Ilda Frame or Record Ilda Movie to your Workspace folder. The Movie Mode dropdown offers two capture methods:
-
Record at fixed frame rate: Captures at a consistent rate. Use this if you plan to play the file back inside MadMapper or other video software.
-
Record as ILDA stream: Captures the raw, variable-frame-rate point data. Use this if you are exporting the file to an SD card to be played back directly by laser hardware.
-
DMX Output Settings
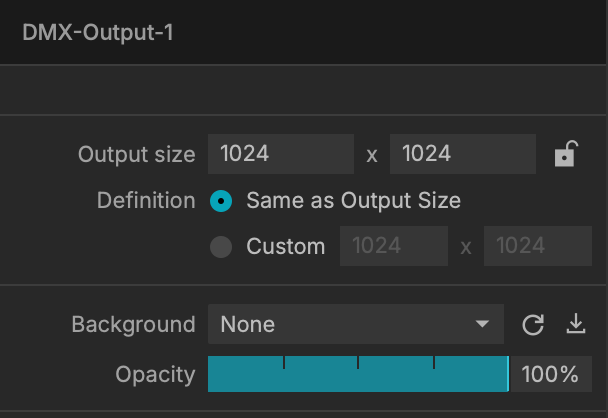
Used for routing pixel-mapped data to lighting fixtures via Art-Net or sACN.
-
Output Size: Defines the coordinate space for the DMX output.
-
Definition: Choose to keep the resolution the Same as Output Size, or define a Custom X/Y resolution depending on your pixel-mapping needs.
-
Background & Opacity: Load a stage plot or CAD drawing to trace your fixture layout.
Video Buffer Settings
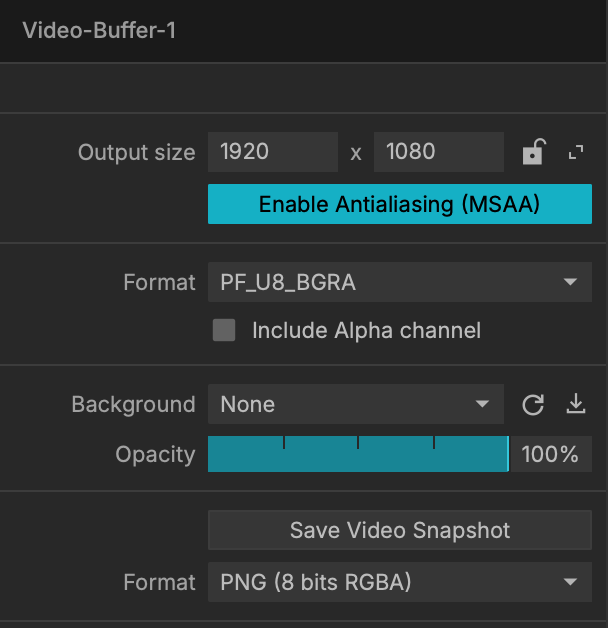
Buffers allow you to create intermediate, off-screen rendering targets that can be manipulated before being sent to a final physical output.
-
Output Size: Define the resolution of the buffer.
-
Enable Antialiasing (MSAA): Smooths the rendered geometry within the buffer.
-
Format: Select the exact pixel format and color bit-depth for the buffer. Options include:
-
8-bit formats:
PF_U8_BGRA,PF_U8_RGB,PF_U8_L,PF_U8_RG -
32-bit float formats:
PF_F32_RGBA,PF_F32_RGB,PF_F32_R -
16-bit float formats:
PF_F16_RGBA,PF_F16_RGB,PF_F16_R
-
-
Include Alpha channel: Toggle transparency support for the buffer.
-
Background & Opacity: Add a reference image to the buffer canvas.
-
Save Video Snapshot: Export a still image of the current buffer state.
Laser Buffer Settings
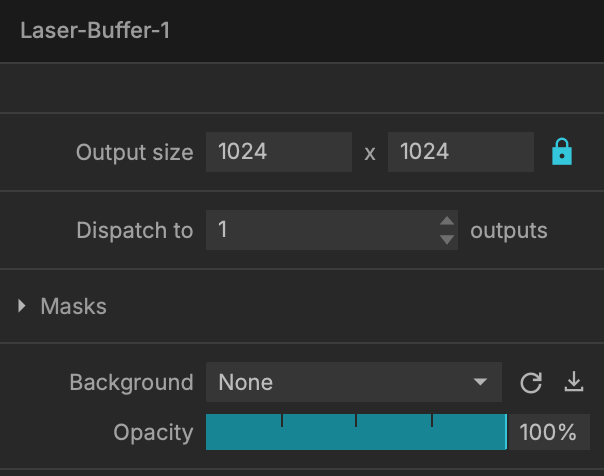
Similar to Video Buffers, these allow you to composite multiple laser generators or lines off-screen before routing them to physical DACs.
-
Output Size: Define the resolution bounds of the laser buffer.
-
Dispatch to [X] outputs: Automatically distribute the rendered laser paths across multiple connected laser projectors.
-
Masks: Apply masking directly to the buffer level.
-
Background & Opacity: Load reference images to guide your laser composition.
Destinations & Display Routing
Once an output is created, you configure its Destination. This determines exactly how the pixel data is mapped and modified before leaving the graphics card.
-
Matrix Splitting: Destinations allow you to easily split your canvas across multiple physical displays (for example, breaking a 4K output into a 2x2 matrix of 1080p outputs for a video wall controller).
-
Geometry Adjustments: You can precisely adjust the output size and position, or apply horizontal/vertical flips (useful for rear-projection setups).
-
Frame Delay: Add micro-delays to specific outputs to perfectly synchronize older projectors with newer, faster displays in a mixed hardware setup.
-
Loopbacks & External Routing: Configure virtual destinations to manage internal and external video routing. You can loop your output back into MadMapper as a new media source, or send it out to other software using protocols like Syphon (Mac), Spout (PC), or NDI.
Backgrounds & Scanning Integration
To assist with the physical alignment of your surfaces, you can load reference images directly into the Output workspace.
-
Custom Backgrounds: Set a static image or blueprint of your stage design as the output background to trace over.
-
Spatial & Laser Scanner Import: If you are using MadMapper's Spatial Scanner (for projectors) or Laser Scanner tools, you can import the generated structured-light scans directly into the background. This allows you to accurately map complex 3D architecture from the comfort of your computer screen, even if you are entirely offline.