Interface Overview
MadMapper 6 introduces a refreshed UI, although the interface philosophy remains the same and is divided into 3 main parts as shown on the image below.
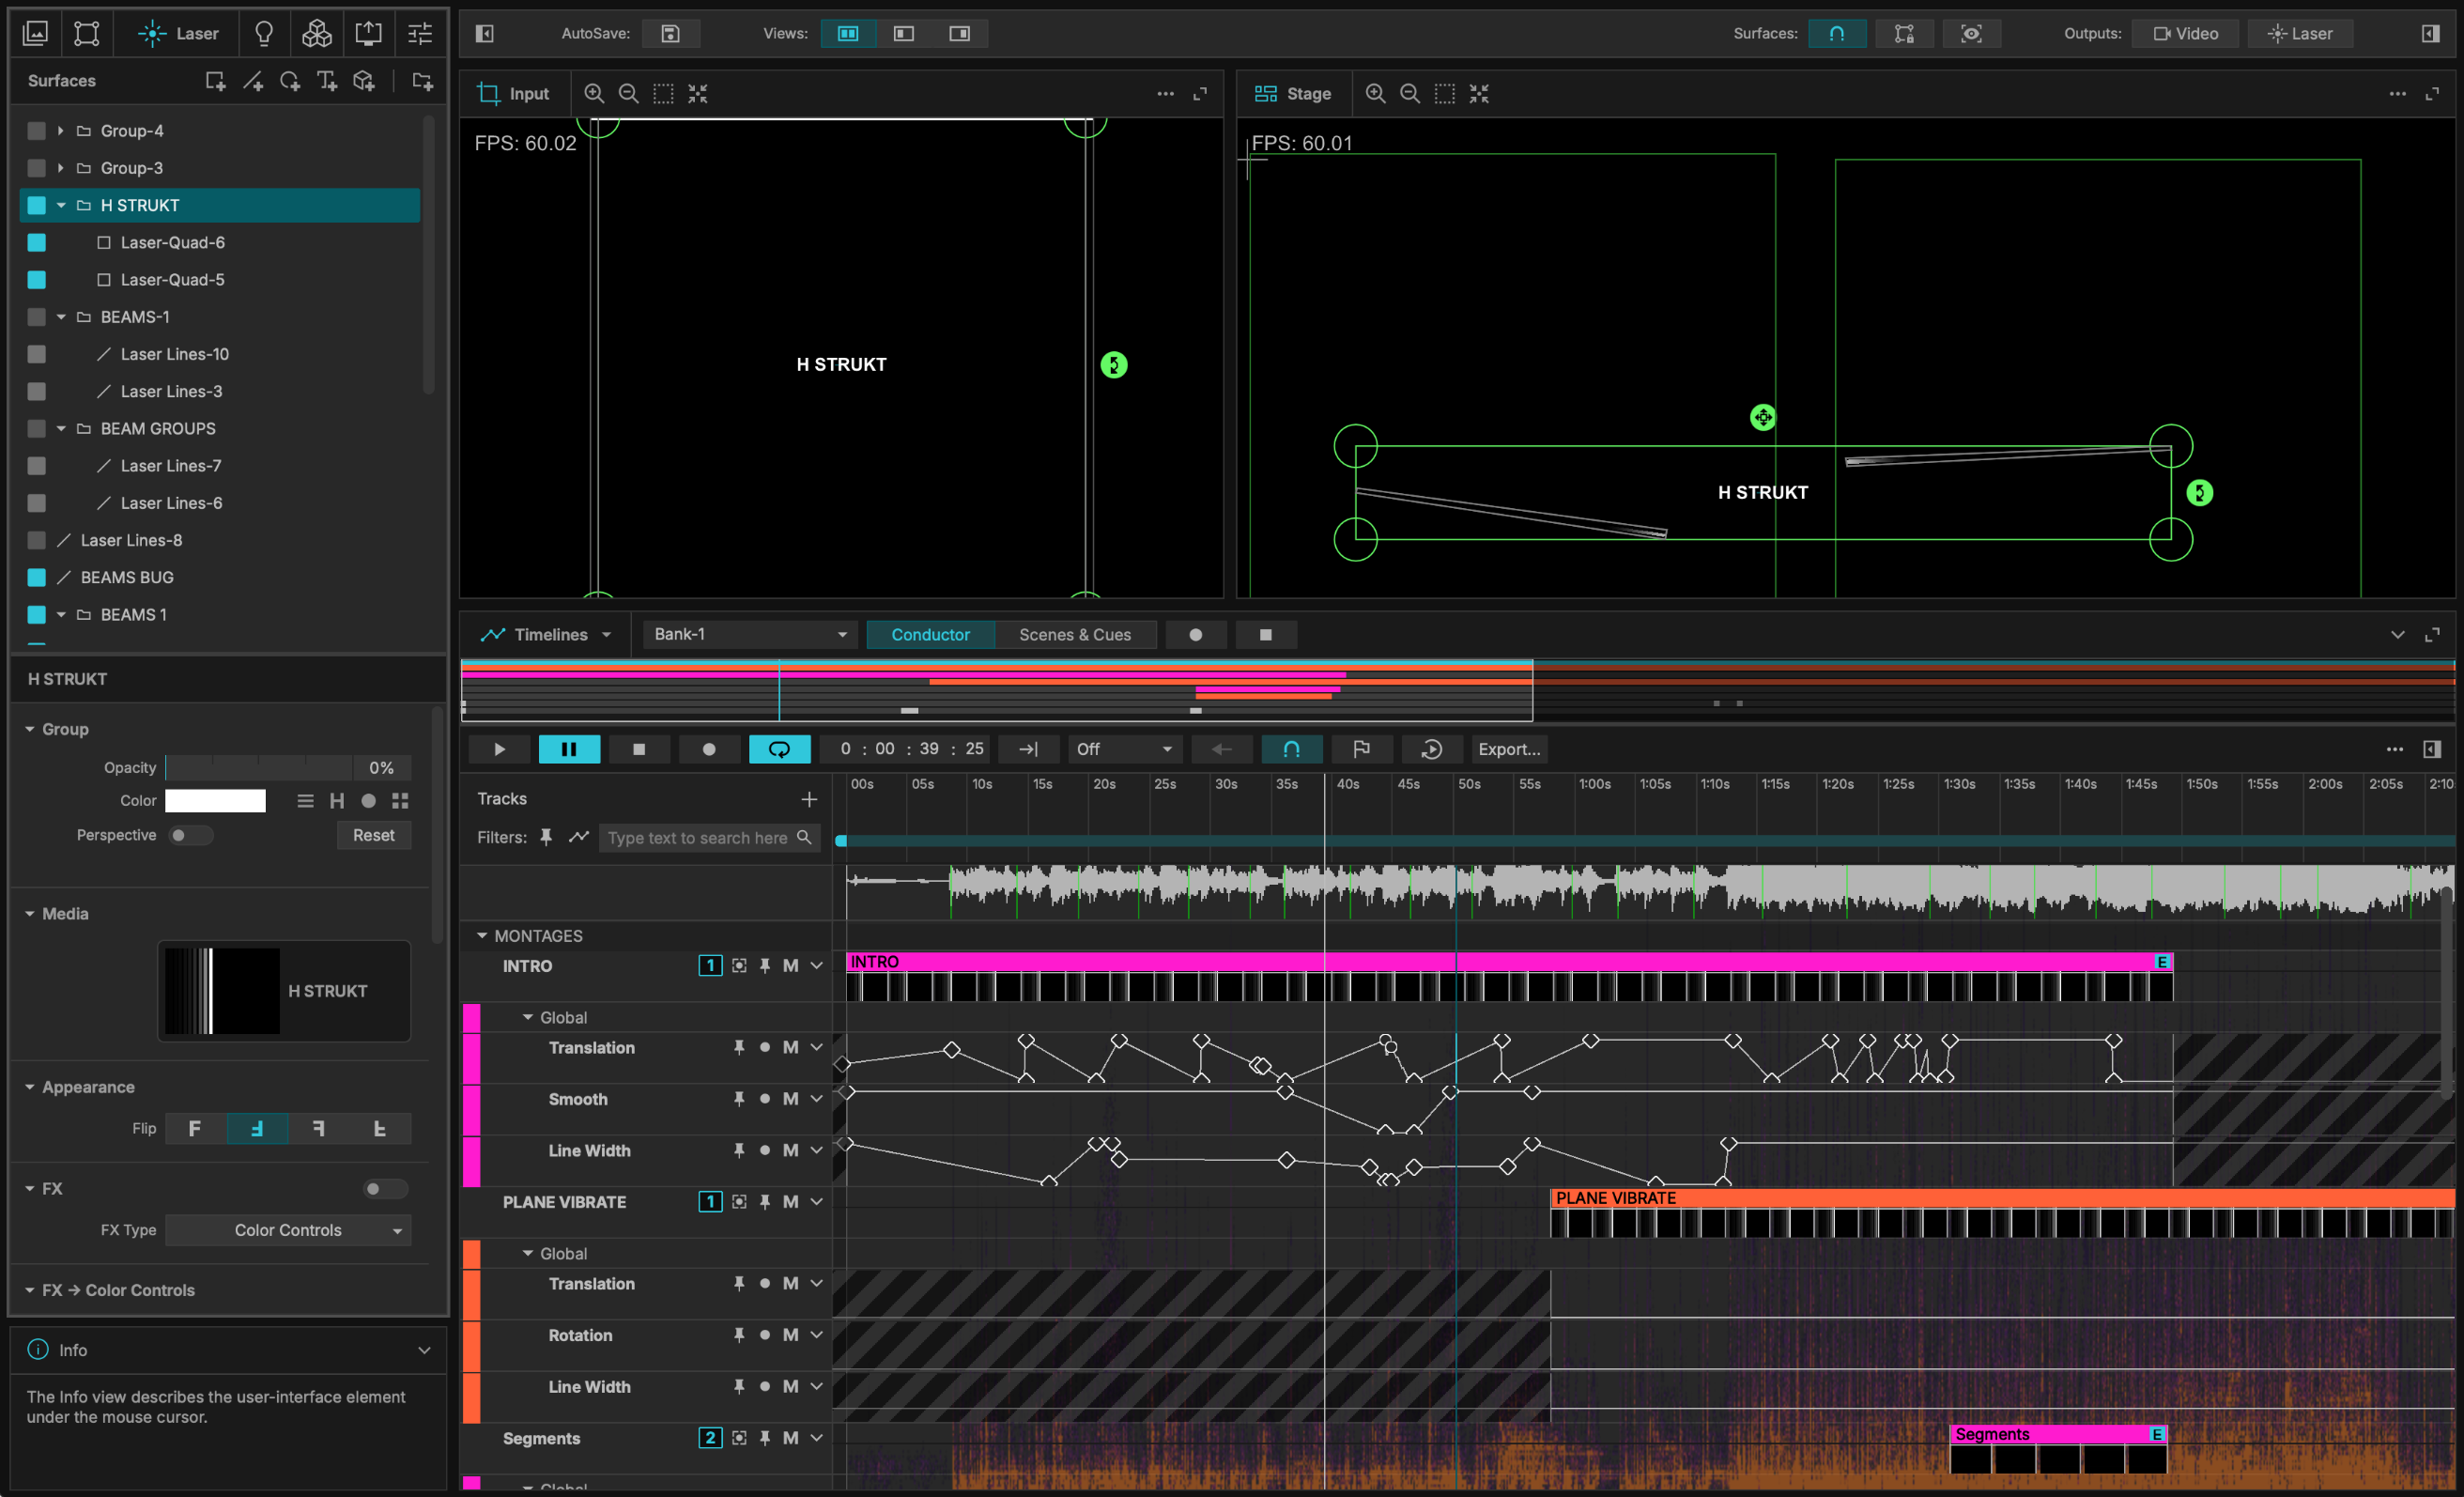
Media and Projects Tab
The left side of the interface allows you to access your Media Library, create your Video, DMX, or Laser Surfaces, or manage the Master Settings for your mappings:
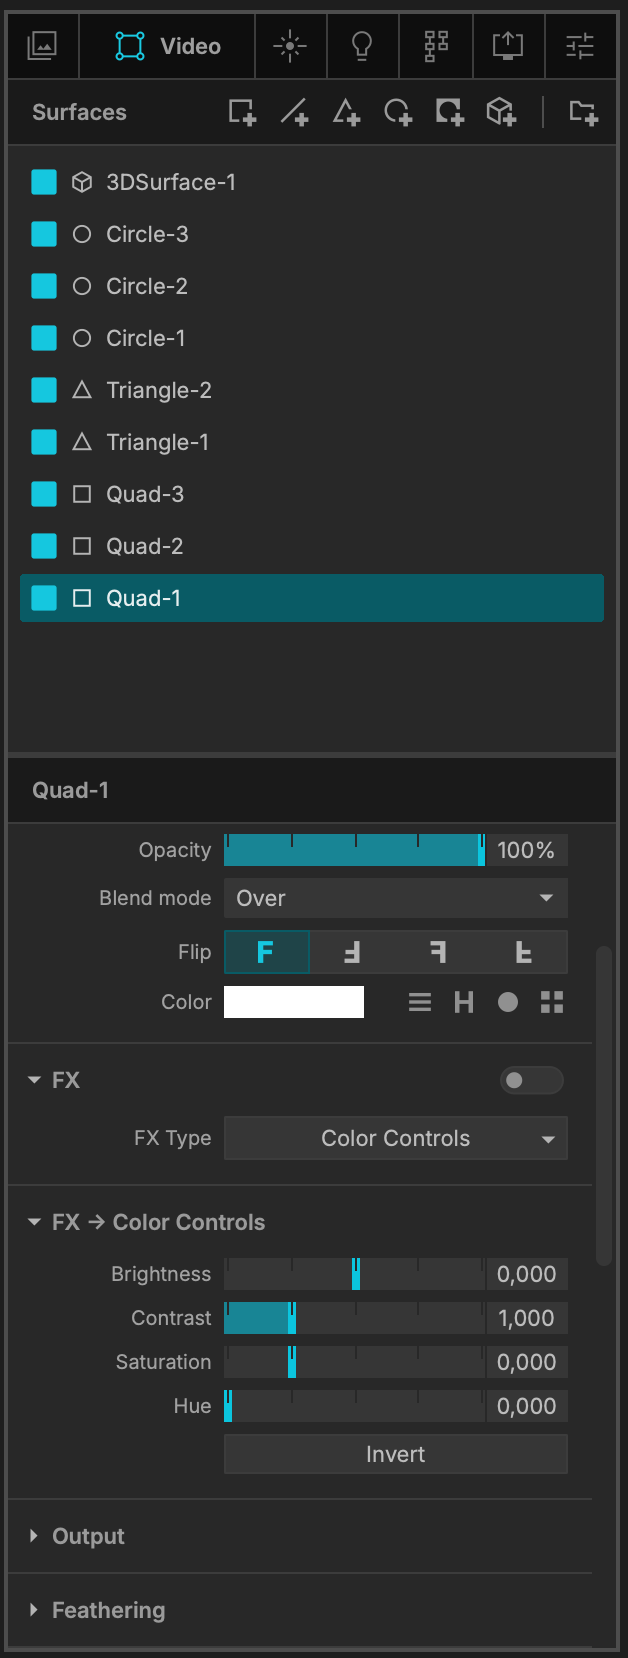
If we take the example of the Manage Video Surfaces tab, it is divided into two parts:
Surfaces List
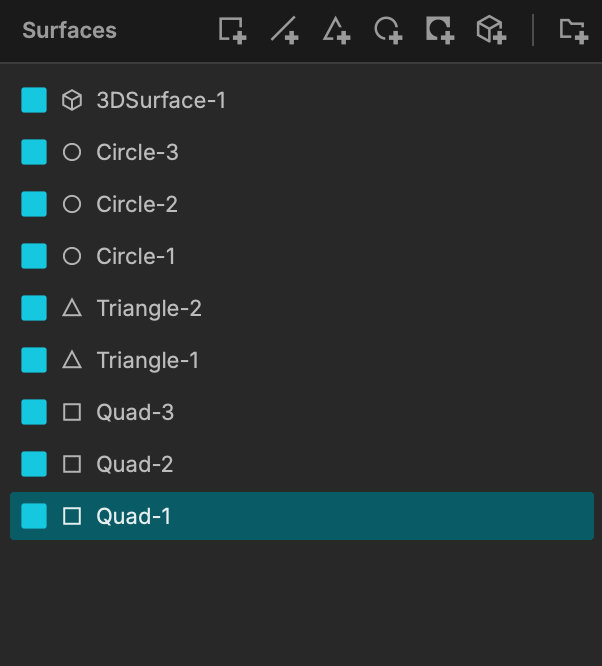
Here you will find a list of all your created Video Surfaces, with various options such as creating Surface groups.
Surface Inspector
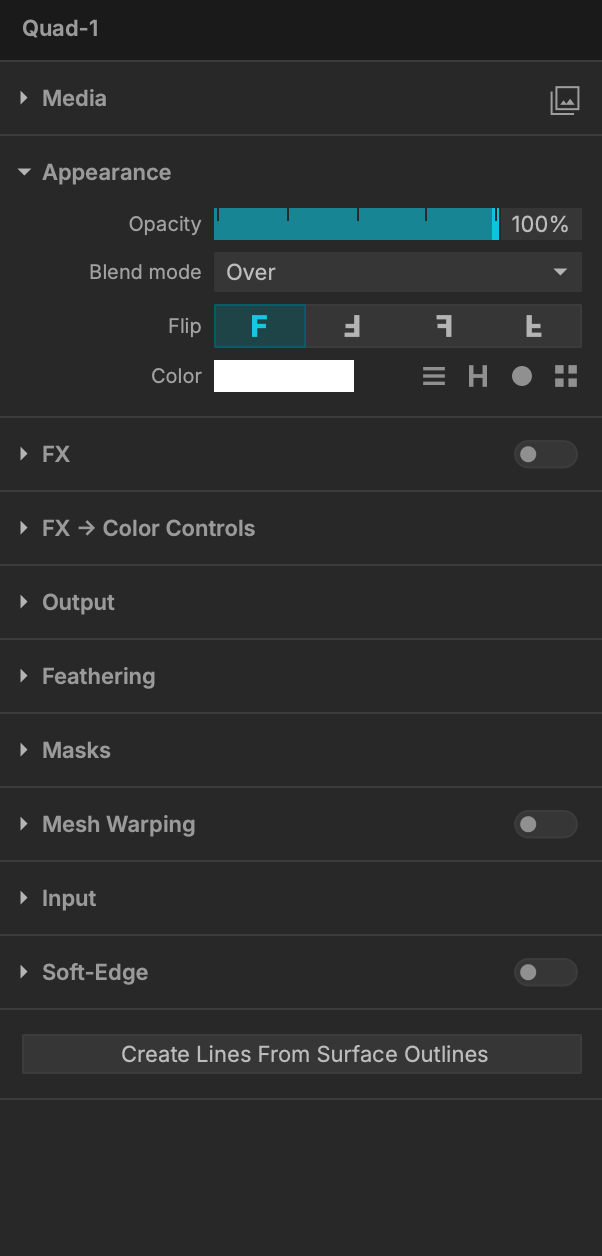
The surface inspector allows you to access numerous settings and parameters. Those for the selected Surface are displayed.
Media Tab
There is one first major difference with the Media tab:

The top bar is not used to add media, but to toggle the Media Pool display mode.
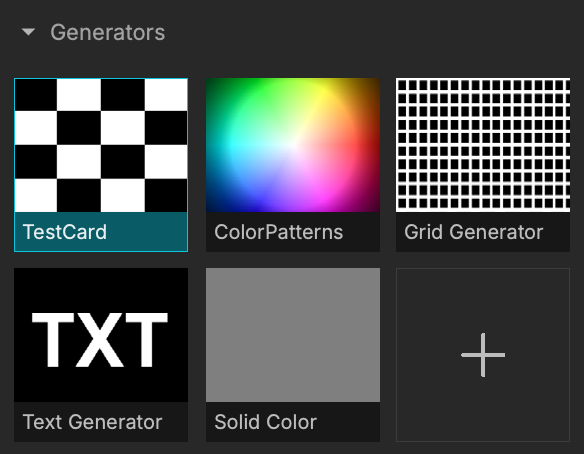
You can also add new media by Media type using the “+” button in each category:
Master Settings
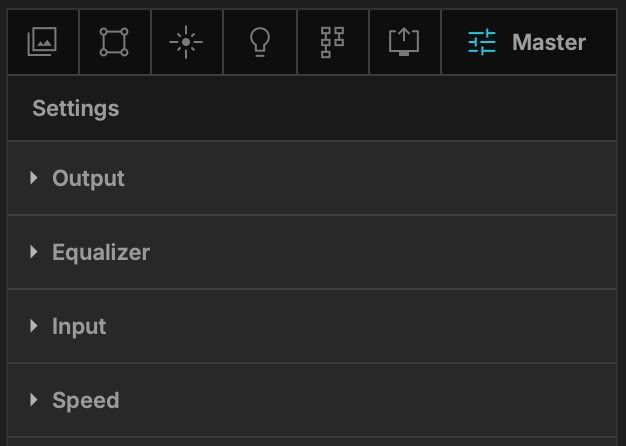
The Master Settings tab works differently: there is no list or inspector, but a slew of settings and parameters divided into separate categories:
Input and Stage Views
Views are at the heart of the interface, where surfaces are created and manipulated.
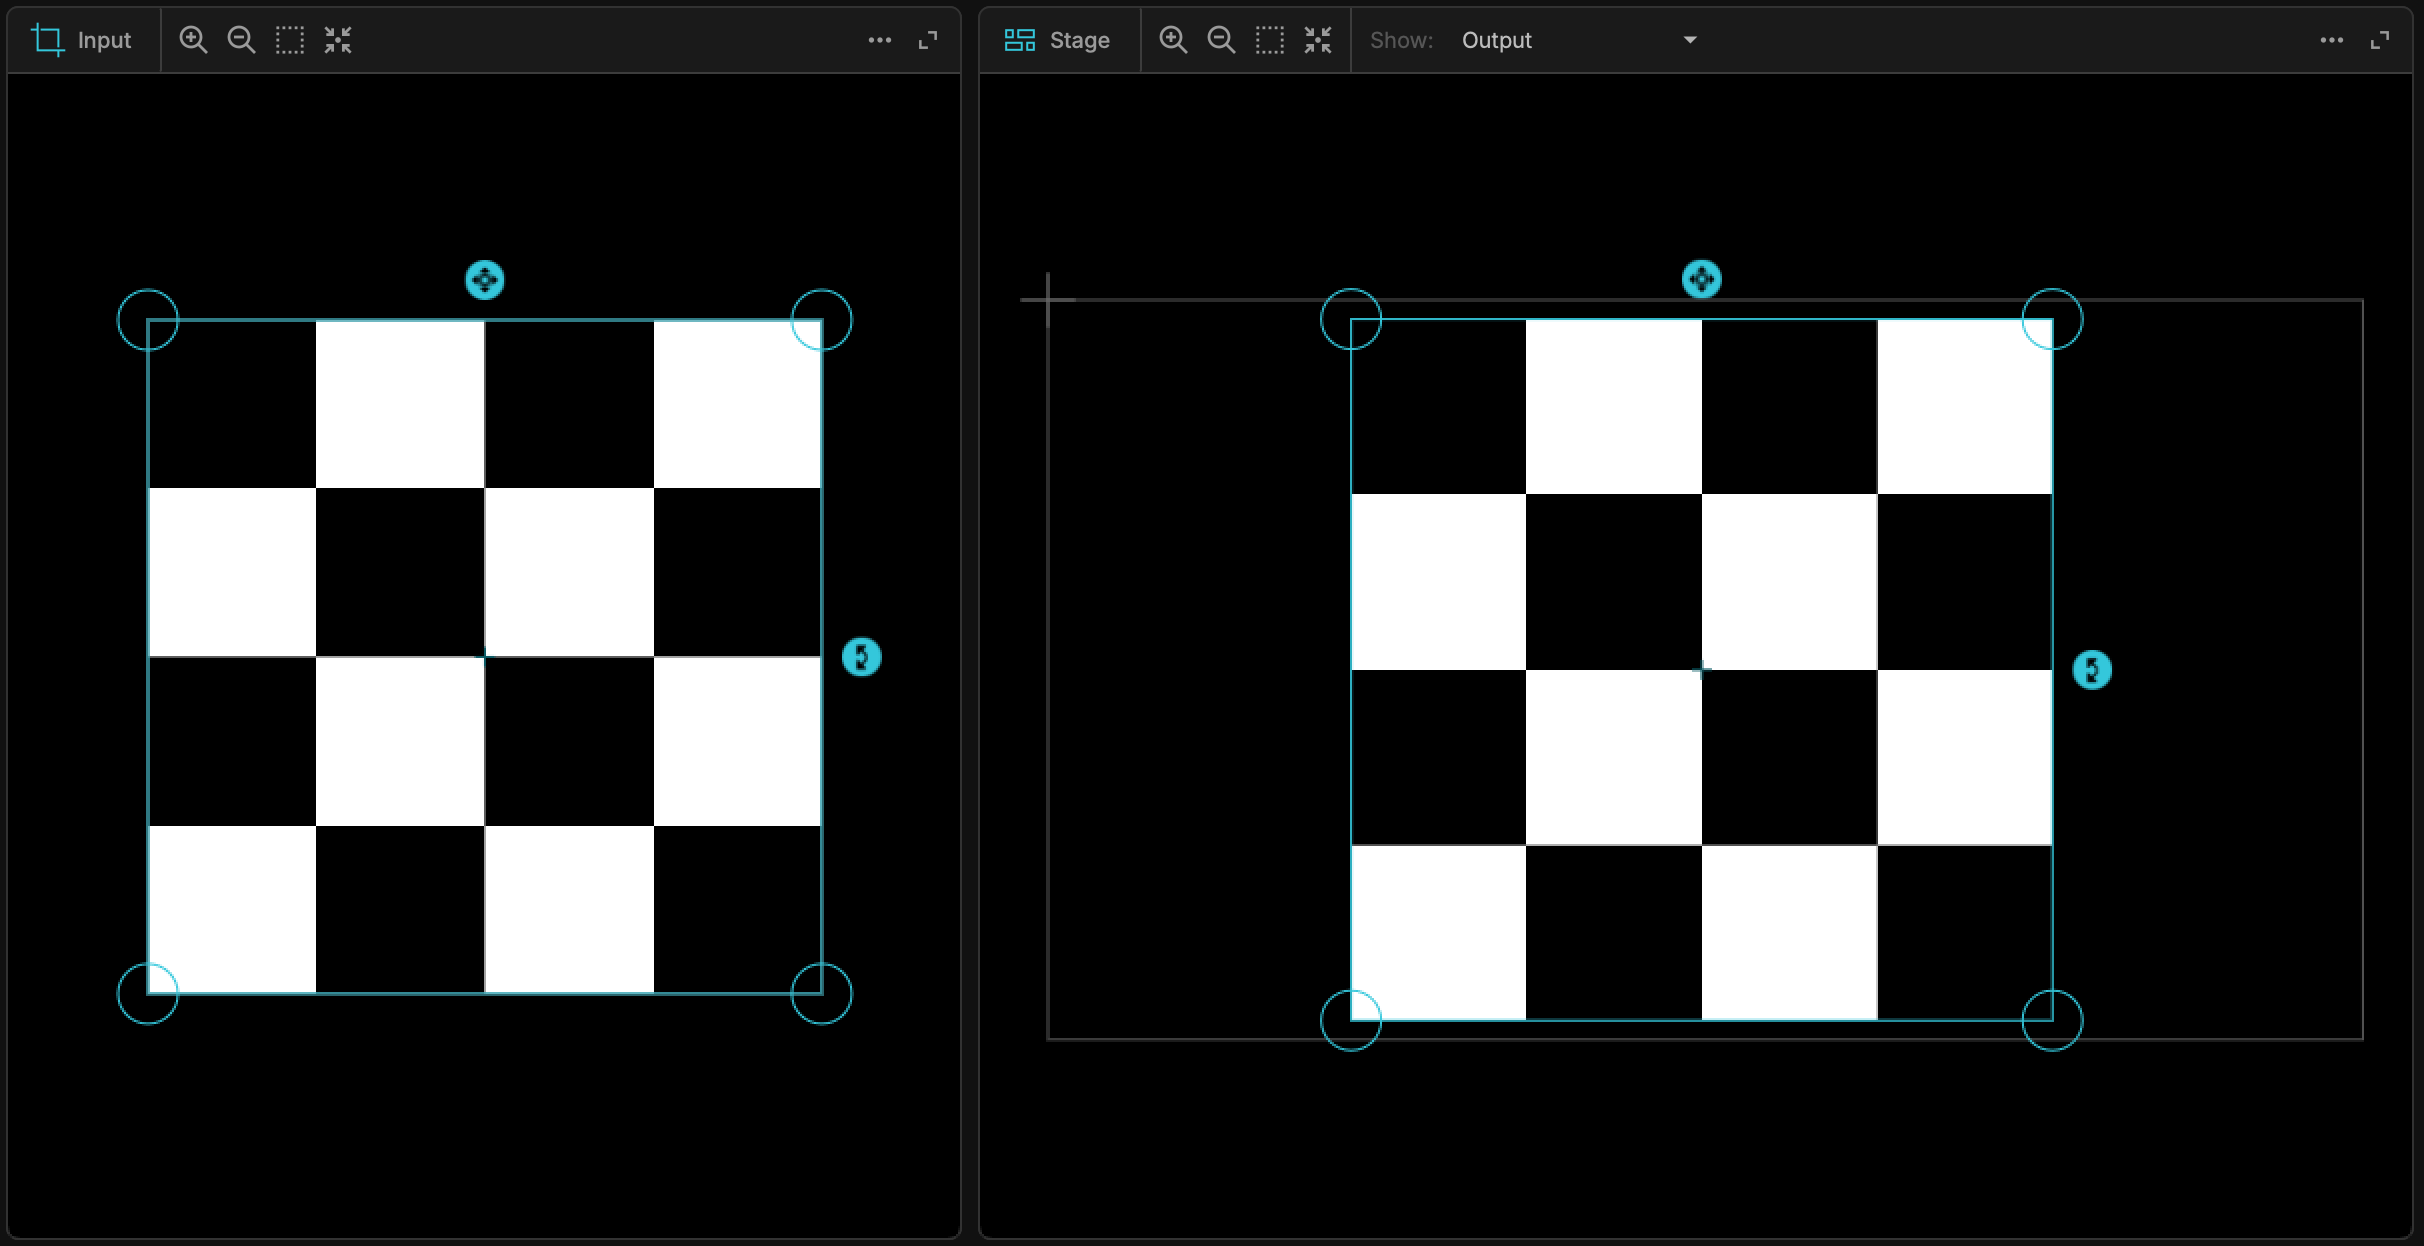
This central space is split into two views, the Input view and the Stage preview:
Views Toolbar
Access essential display options with the view toolbar, at the top of both Views:

Plus, you can also toggle your Input/Stage views to display both, Input or Stage View only with the bar above Views:

Input View
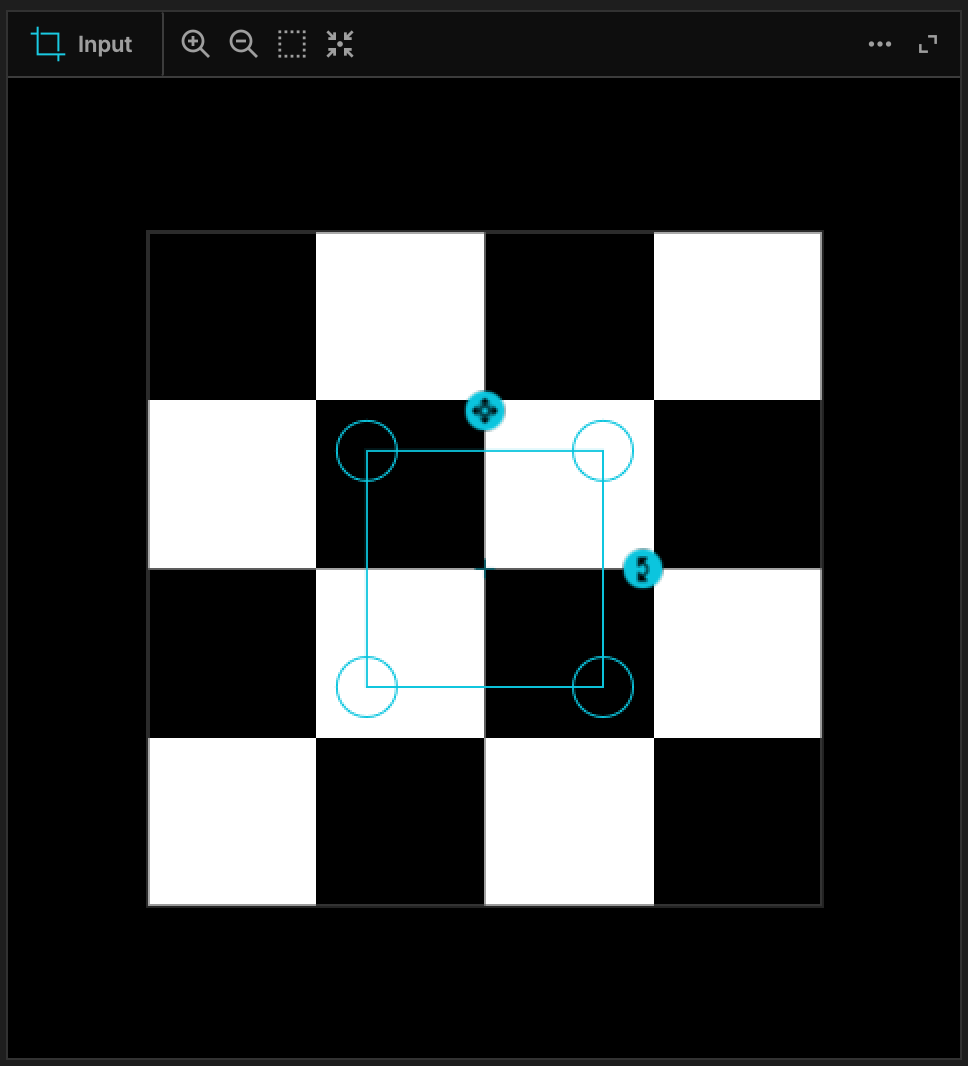
The Input View is where you choose what parts of your source media will be mapped:
Stage Preview
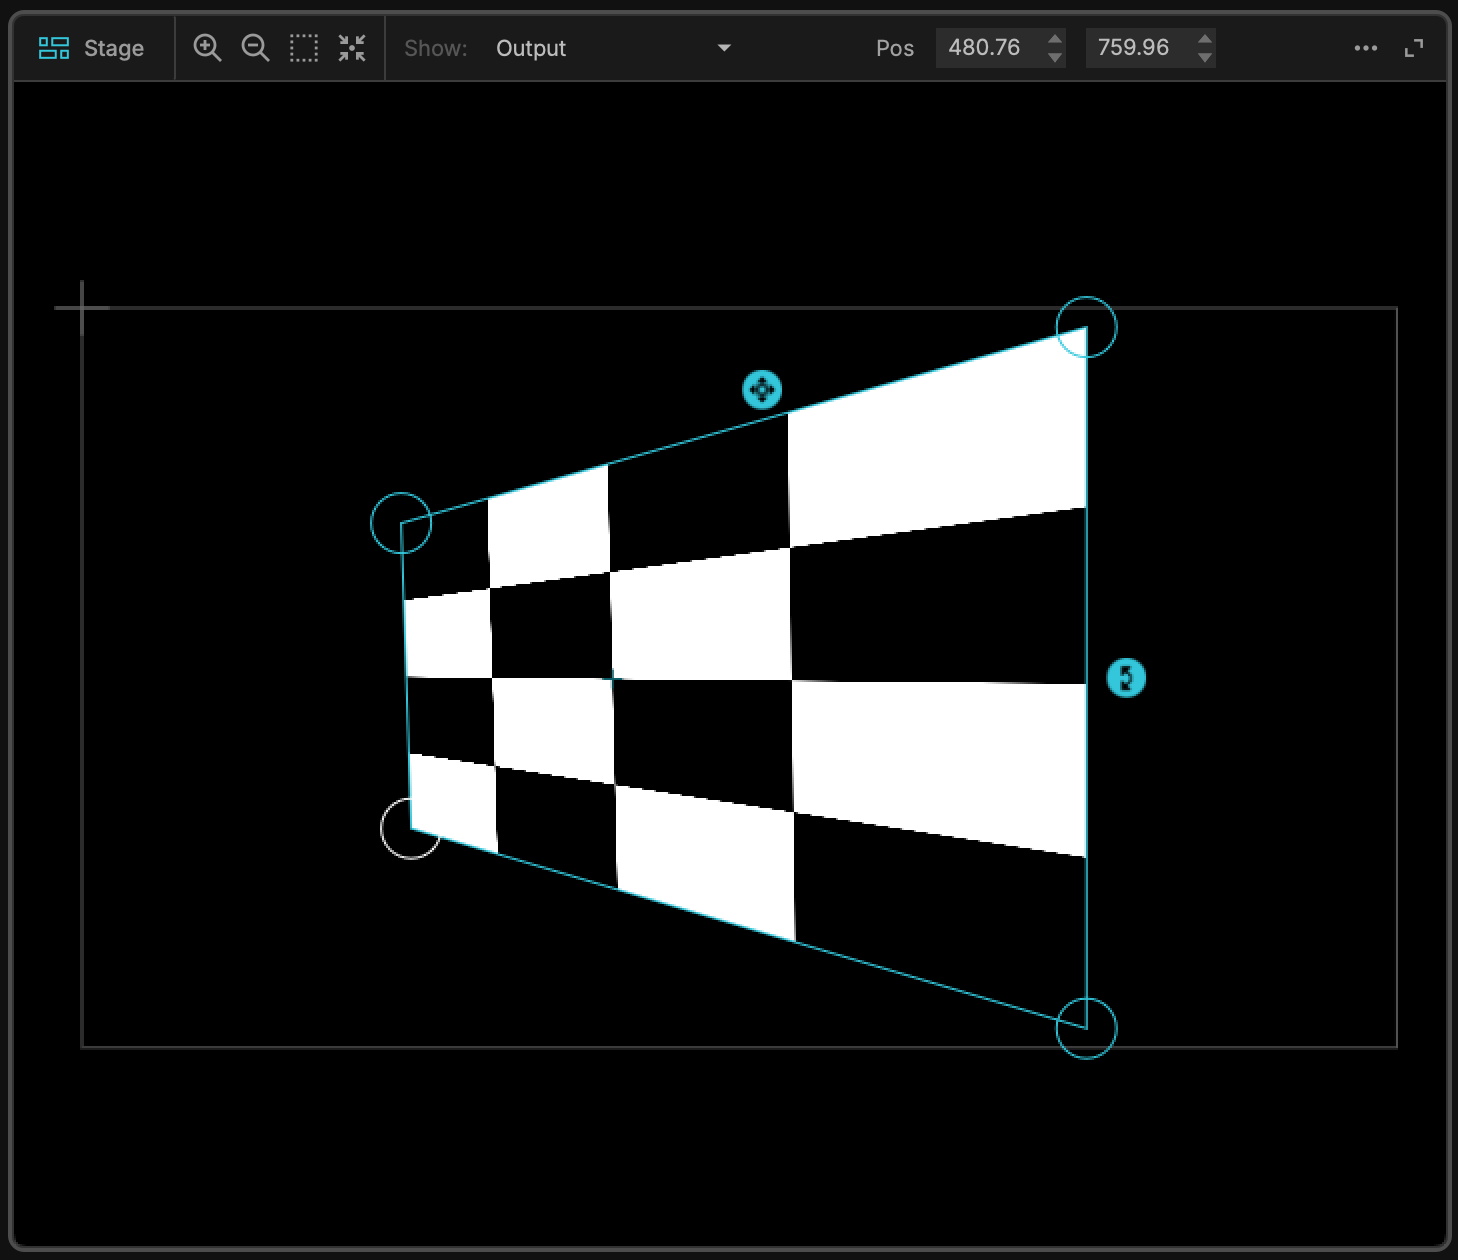
The Stage Preview is where you move your surfaces around and change the perspective to conform to the geometry of the object(s) you are projecting onto:
Adjust
On both Views, buttons are available with your surface:
- The scale button : click, hold and scale.
- The rotate button : click, hold and rotate.
- The 4 handle buttons : clic, hold, adjust the corner’s position. Use the Tab key to move to the next Handle.
Advanced Tools
The bottom part of MadMapper gives you access to various Advanced Tools.
Advanced Tools Top Bar
Common design to all advanced tool is first the top bar:

On the far left is the dropdown list that allows you to select an advanced tool:
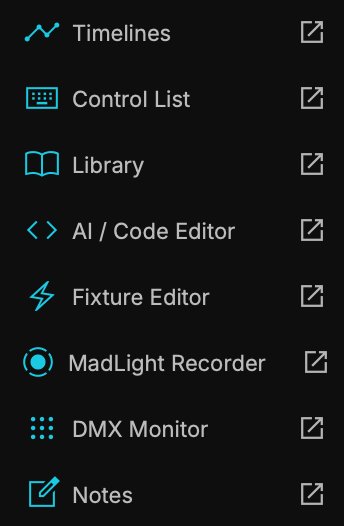
The two icons always at the very right allow you to show/hide the Advanced Tools panel, or to maximize the editor:

Timelines
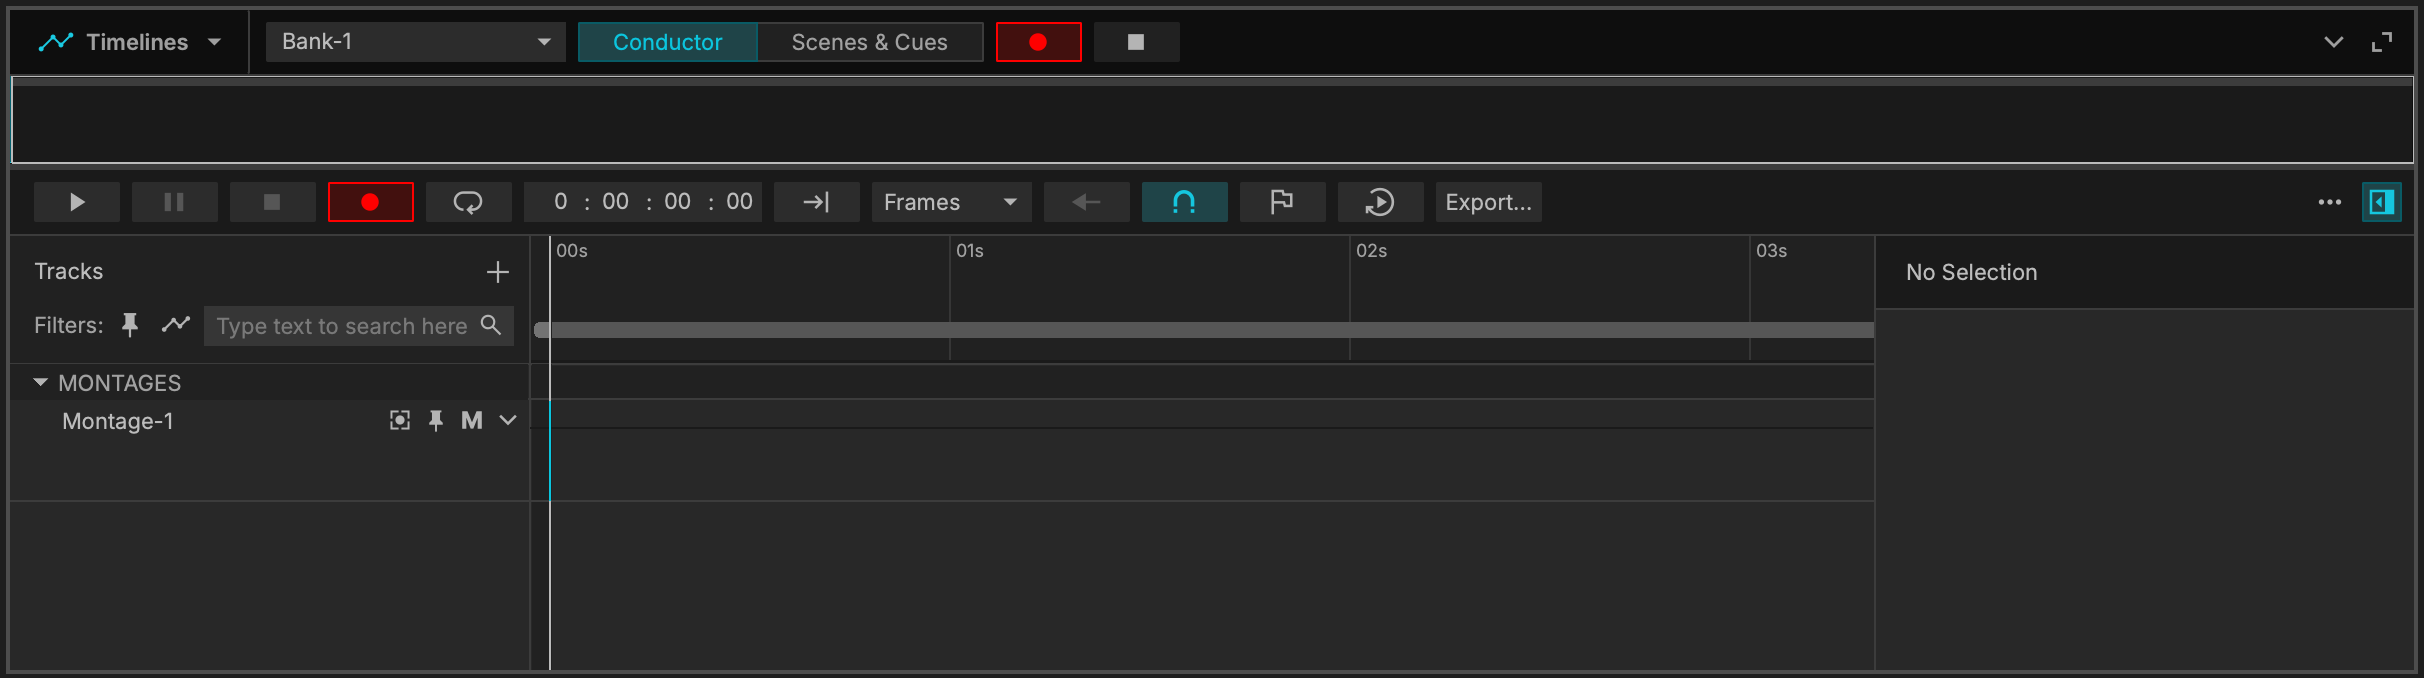
The new Timeline feature is MadMapper 6 biggest addition: it allows you to conduct your entire show, create montage or audio tracks, setup markers and so much more.
Control List
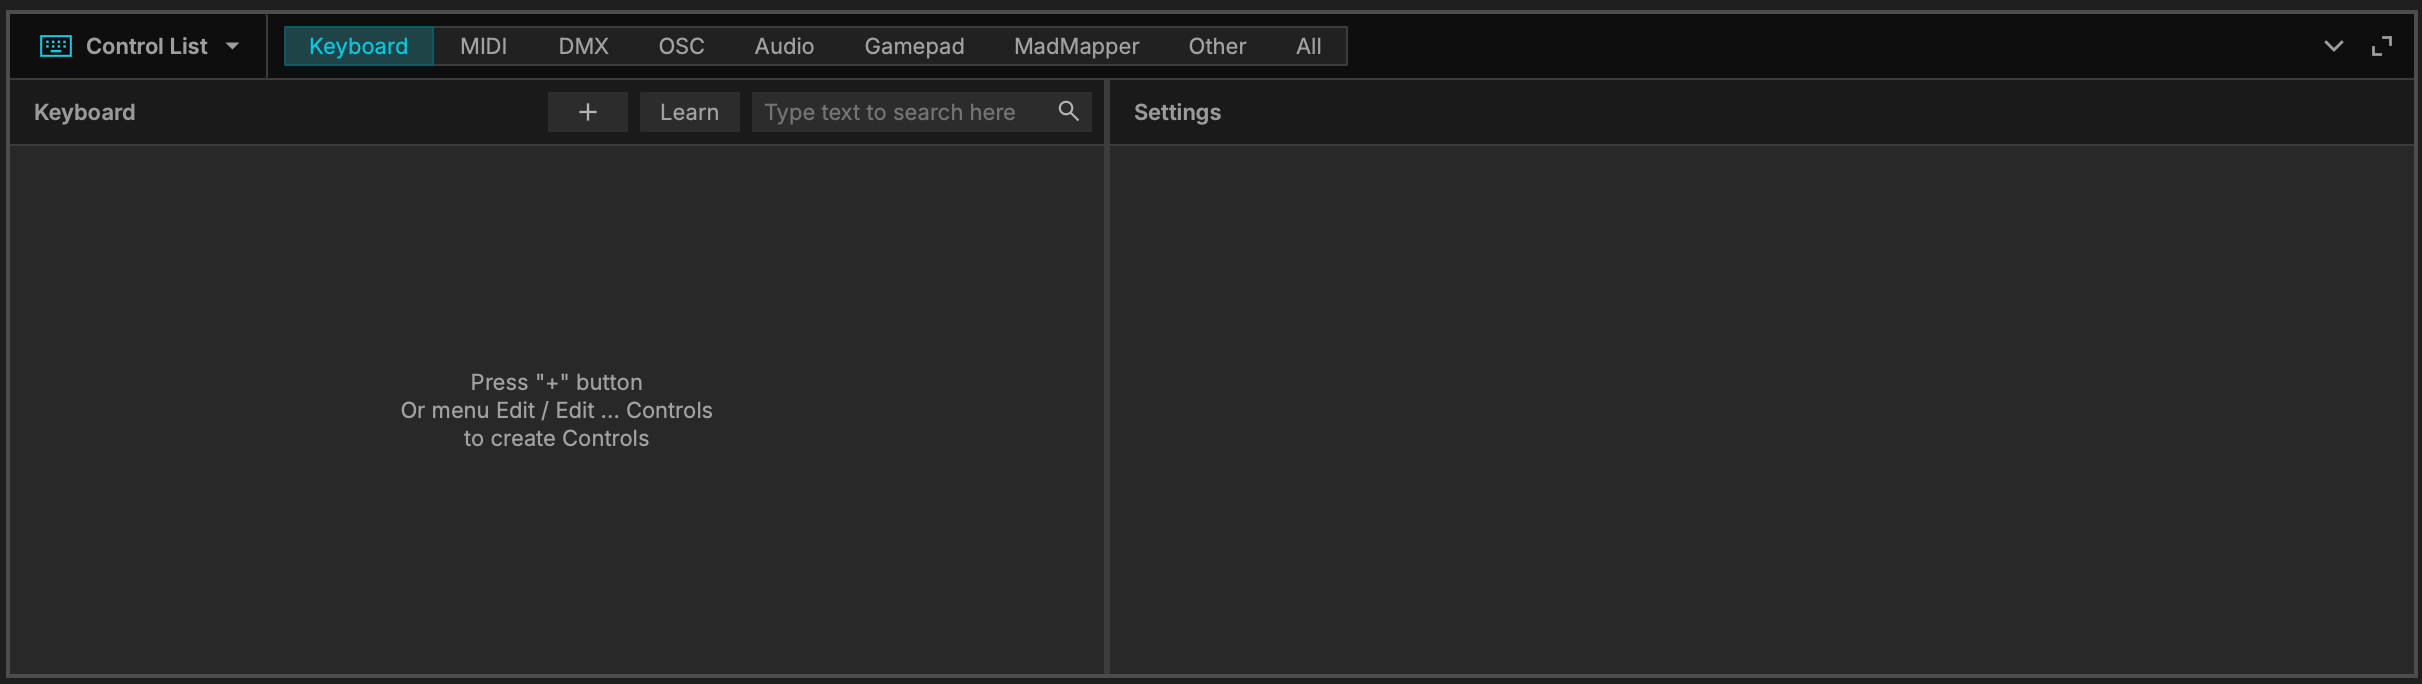
Add, configure and manage your controls according to their category.
By clicking Learn, you can assign controls to many MadMapper functions.
These functions will be highlighted in purple : next to the Learn button, select and define numerous custom controls to the selected target parameters with your keyboard, your MIDI controller, OSC (Open Sound Control), Audio, your Playstation controller, created modules such as the Oscillator (MadMapper controls) or «other» like Leap Motion (needs to be activated in the preferences).
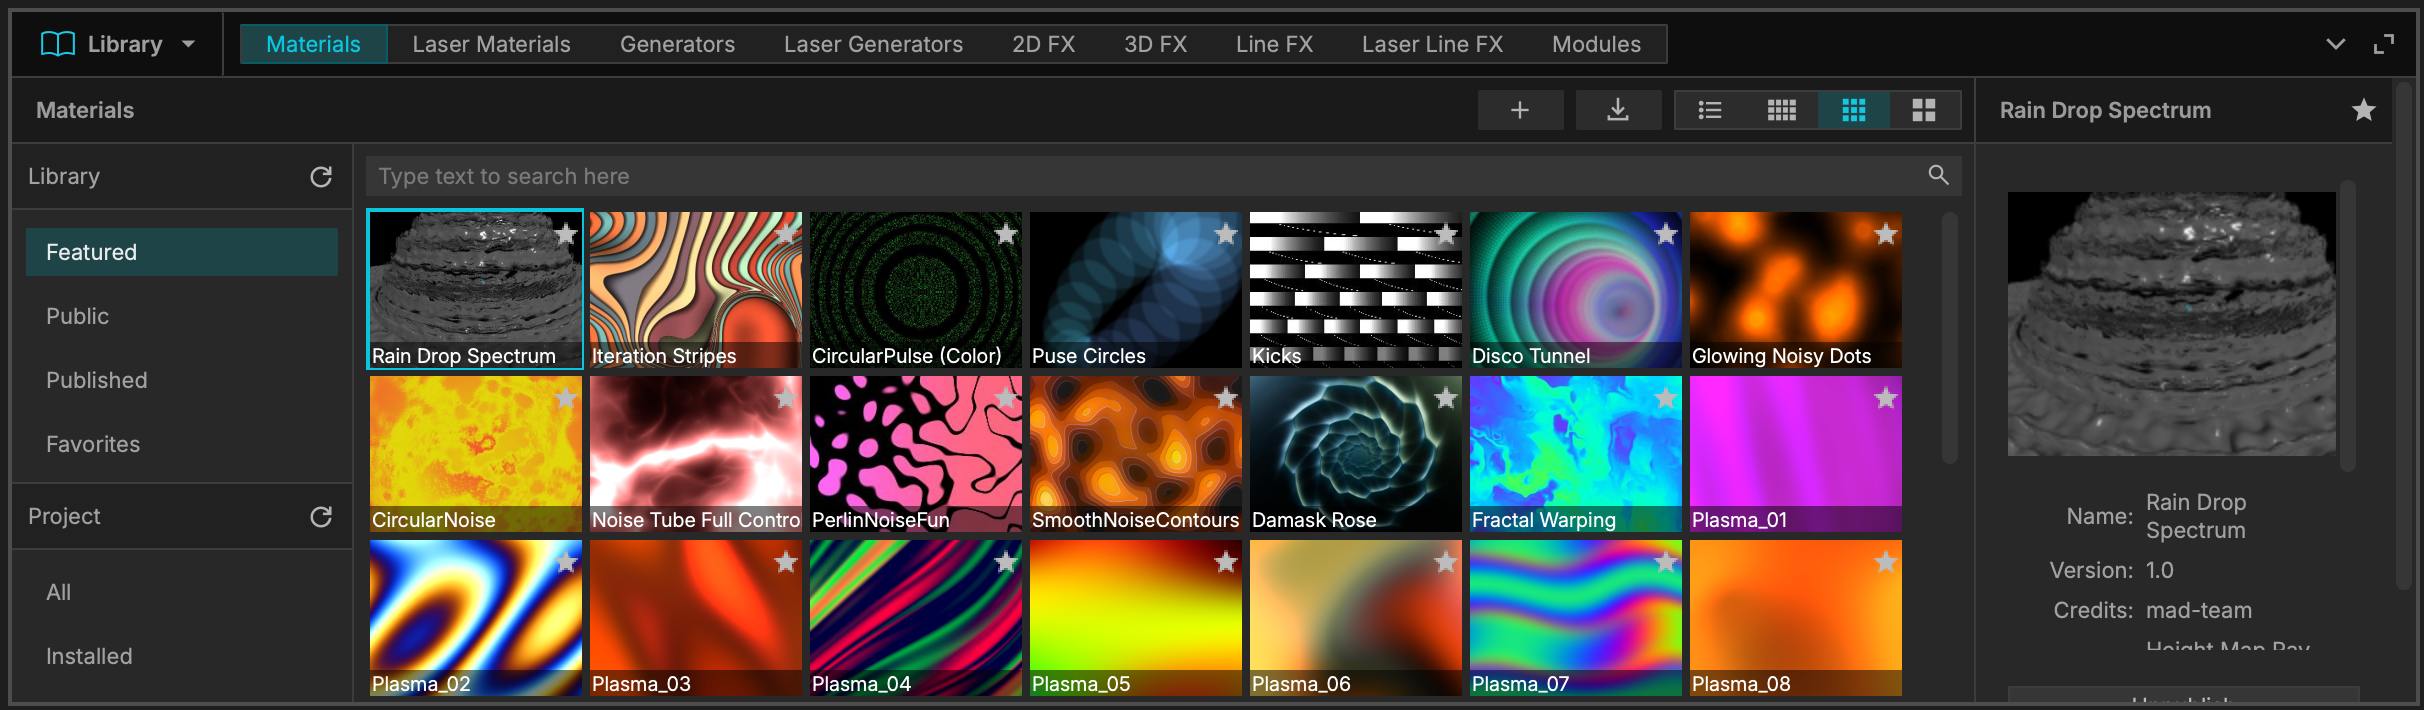
Library
The Materials Library is a great place to share your materials and access those of the community.
For a good start, a curation is made in the featured section.
The panel also allow to add a new material, access online public ones, or your owns, access your local ones: built-in (defaults ones), installed ones from the library, and your owns.
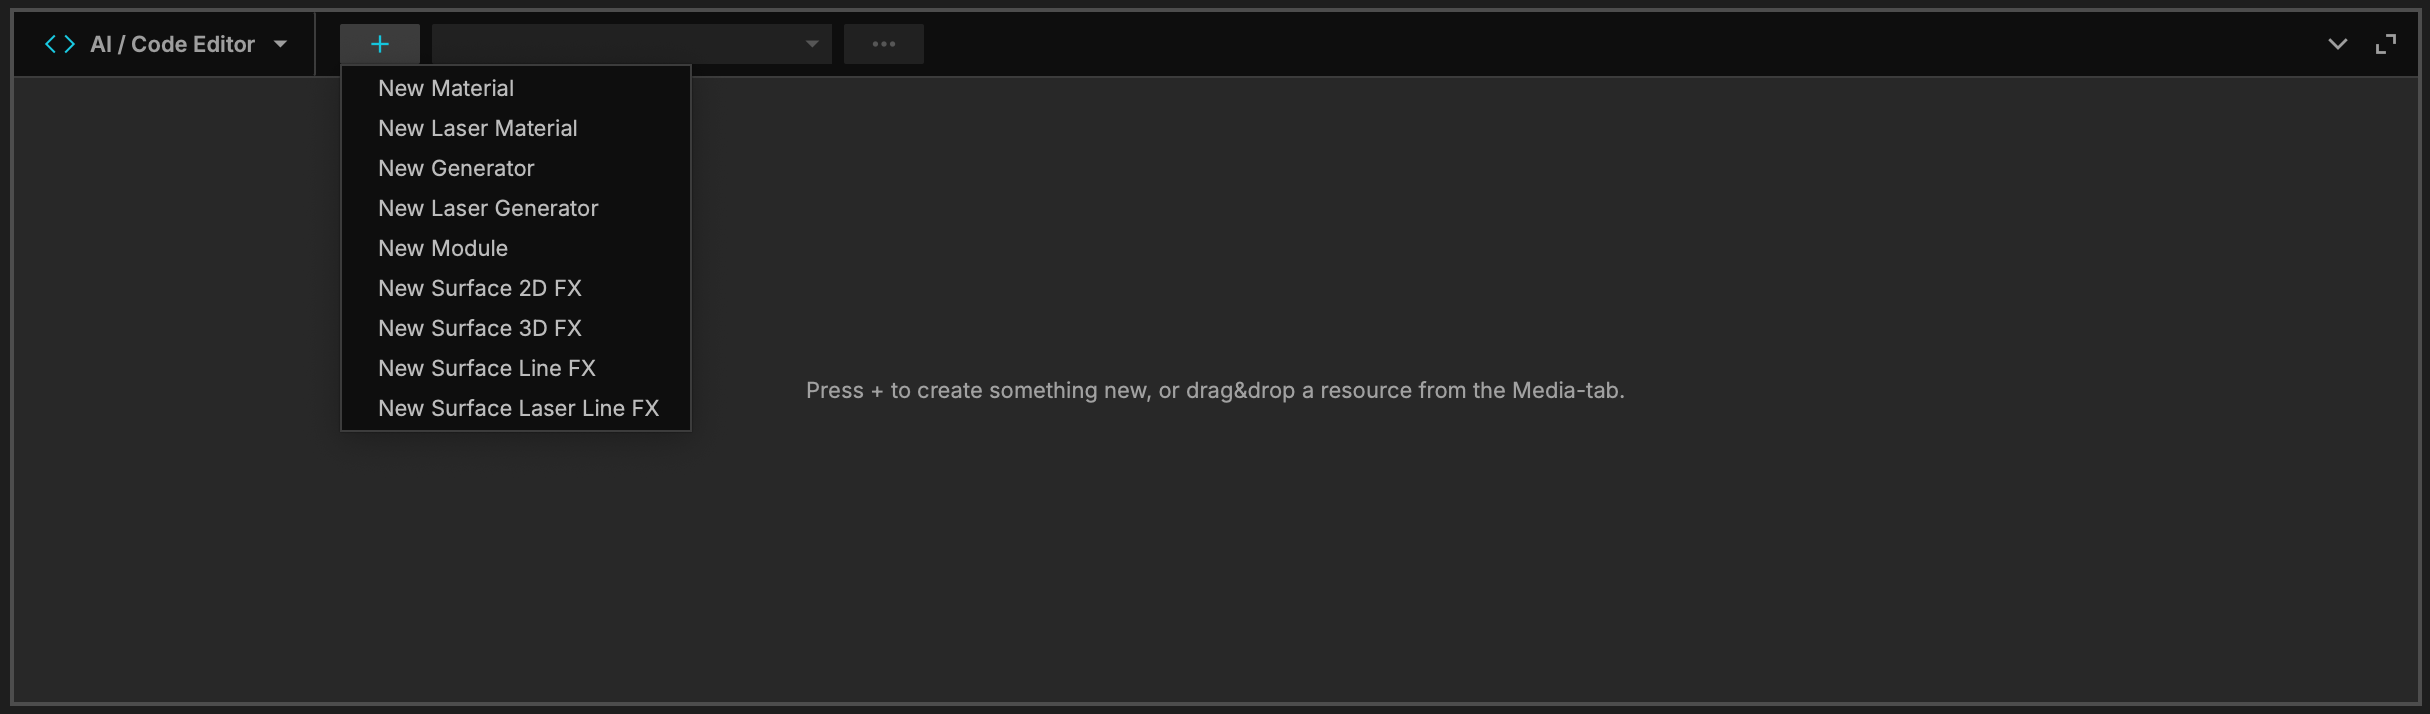
AI / Code Editor
Now completely native within MadMapper’s UI with multi line comments, fast editing, better syntax coloring.
The materials are coded in GLSL (version max 4.1 for Mac, 4.5 for Windows).
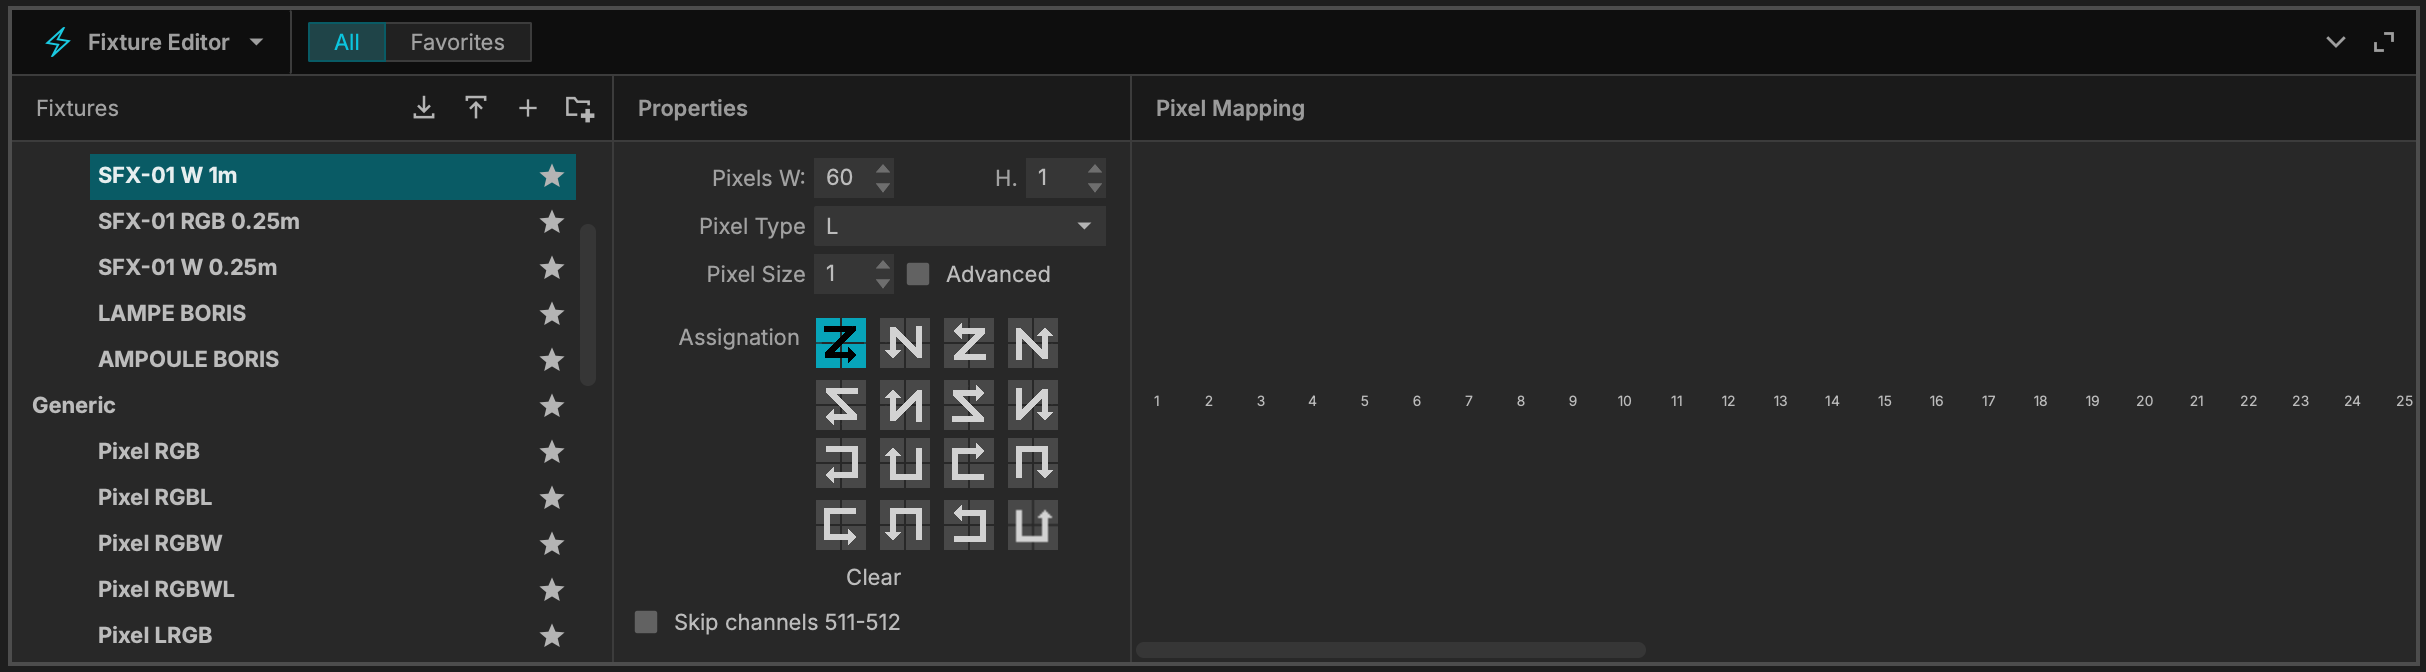
Fixture Editor
Edit your fixtures! For more information we strongly recommend to read the DMX documentation.
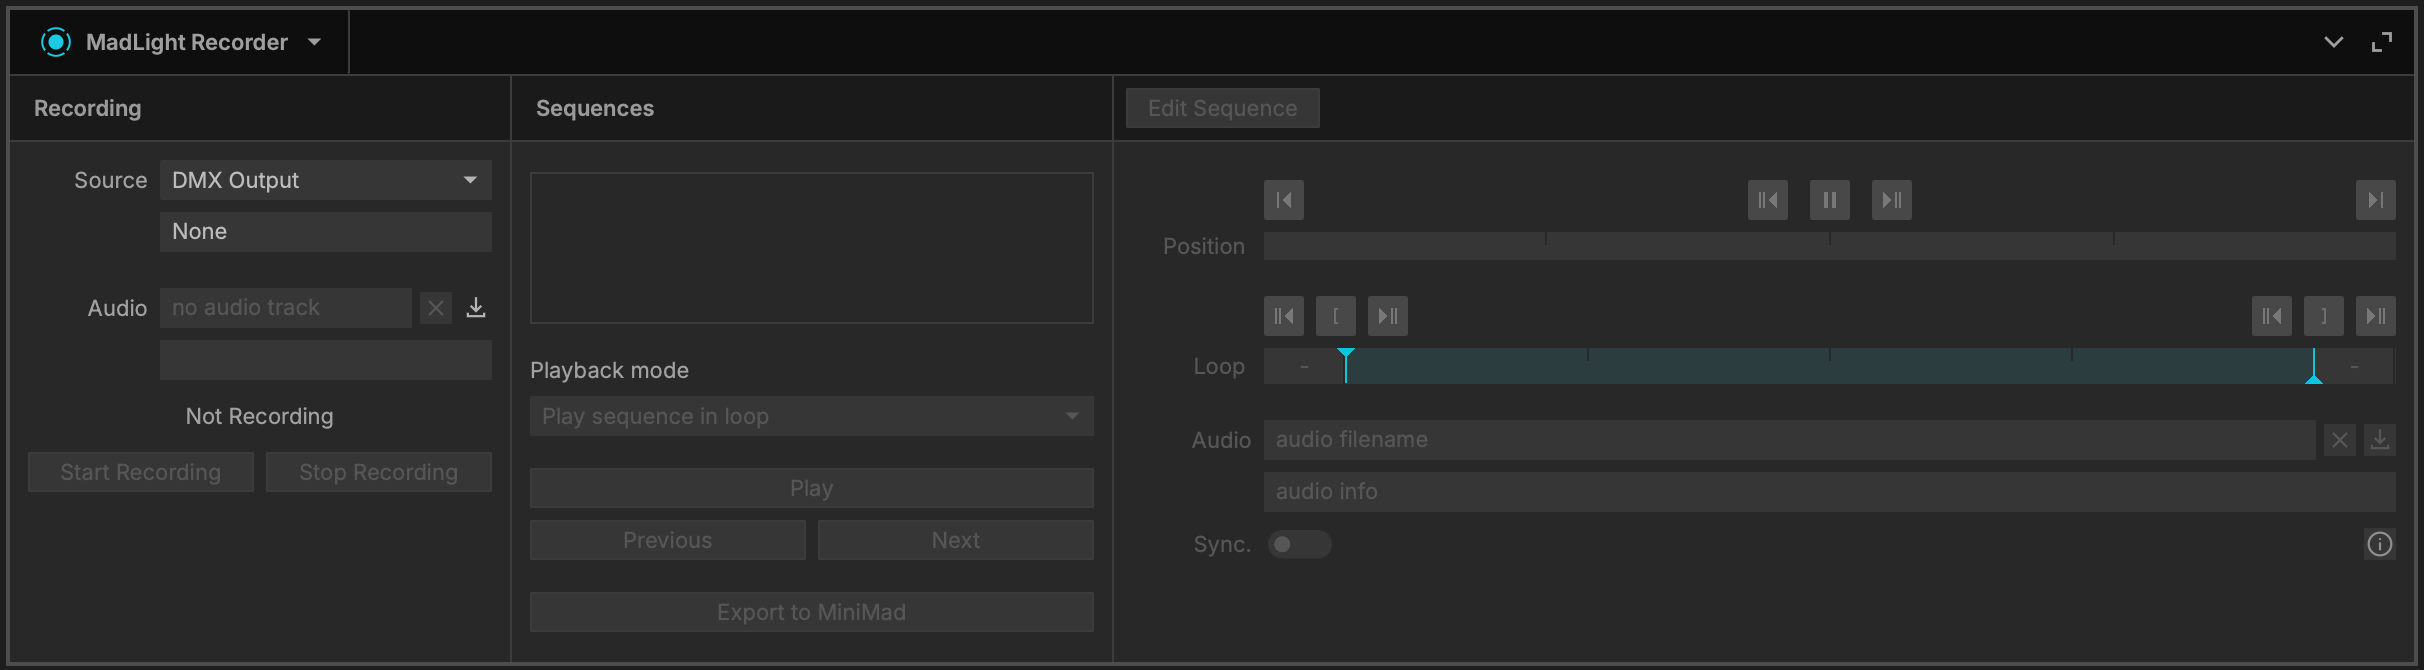
MadLight Recorder
This complete tool is dedicated to the recording of your fixtures, which you will then export to your MiniMad unit(s) for your installations or performances.
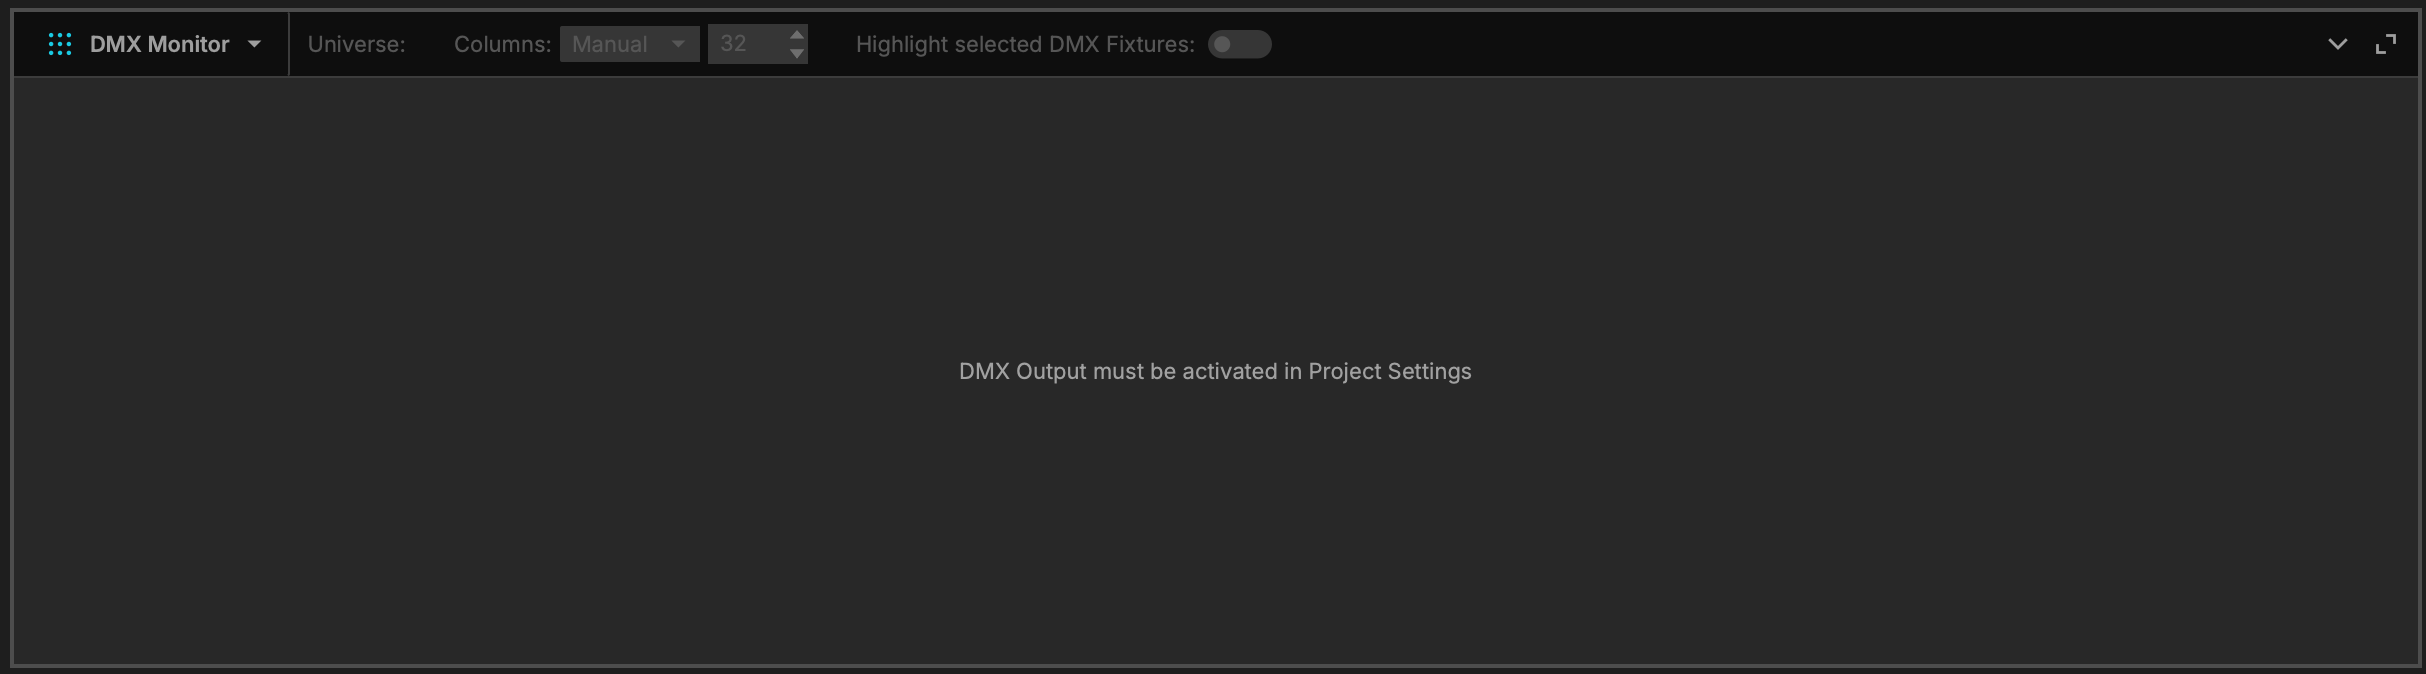
DMX Monitor
The DMX Monitor, now fully integrated within MadMapper’s UI, remains remarkably fast plus more convenient to use.
Notes
Add various notes to your projects.
Other Interface Specifics
Top Bar Overview
MadMapper's top bar provides access to additional features and settings:

Left-Side Collapse
Click on the top-left button to collapse/expand the whole user interface:

AutoSave
Enable or disable Autosave. It's worth noting that we recommend enabling it so that you don't lose your work if something happens to your computer.
Views
Toggle your Input/Output views to display both, Input or Stage View only.
Surfaces
Here's a quick way to toggle Surfaces behavior with these optons: Snap to objects, Lock Surfaces Movement, Object Isolation.

Outputs
Use these buttons to turn on/off fullscreen (Video), or to turn on/off your Laser.

Beta
To remind you that you are working in a Beta version (and therefore not recommended for production), this icon will be displayed:

Separate Media Tab
The last icon at the top right allows you to separate the Media Tab instantly:

Tooltip
The Tooltip (always) at the very bottom left of the application interface displays contextual information when you mouse over any function.

Resolution