Video Surfaces
Basics
Video Surfaces allow you to create virtual surfaces for your real world structure.
The different types of shapes, their flexibility of use and their parameters will allow you to handle your simplest or most complex projects with ease.
Location
Access the Video Surfaces by clicking on Video (manage Video Surfaces) at the top left of the interface:

New Surface
Simply click on the Surface of your choice to add one:

Surfaces List
Added Surfaces (and groups) will be listed on the left in the Surfaces List:
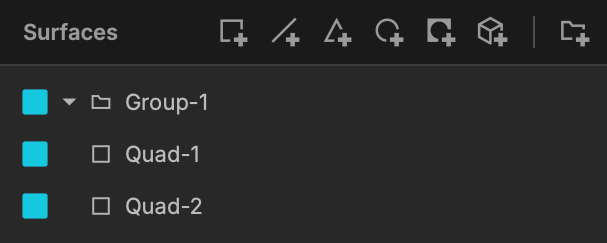
Other options are :
- Display / Un-display a surface.
- Lock / Unlock a surface.
The highlighted surface is also the one that is selected !
Create Groups
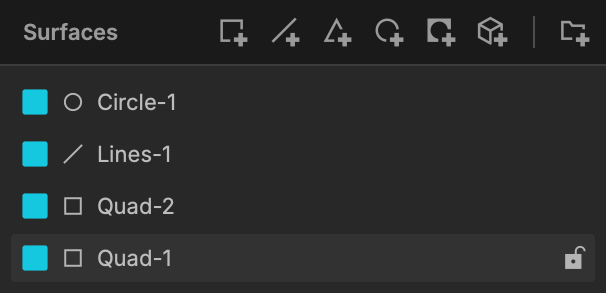
You can create a group with as many surfaces as you want by clicking on the Groups icon at top right of the Surfaces list:
Surface Types
Video Quad
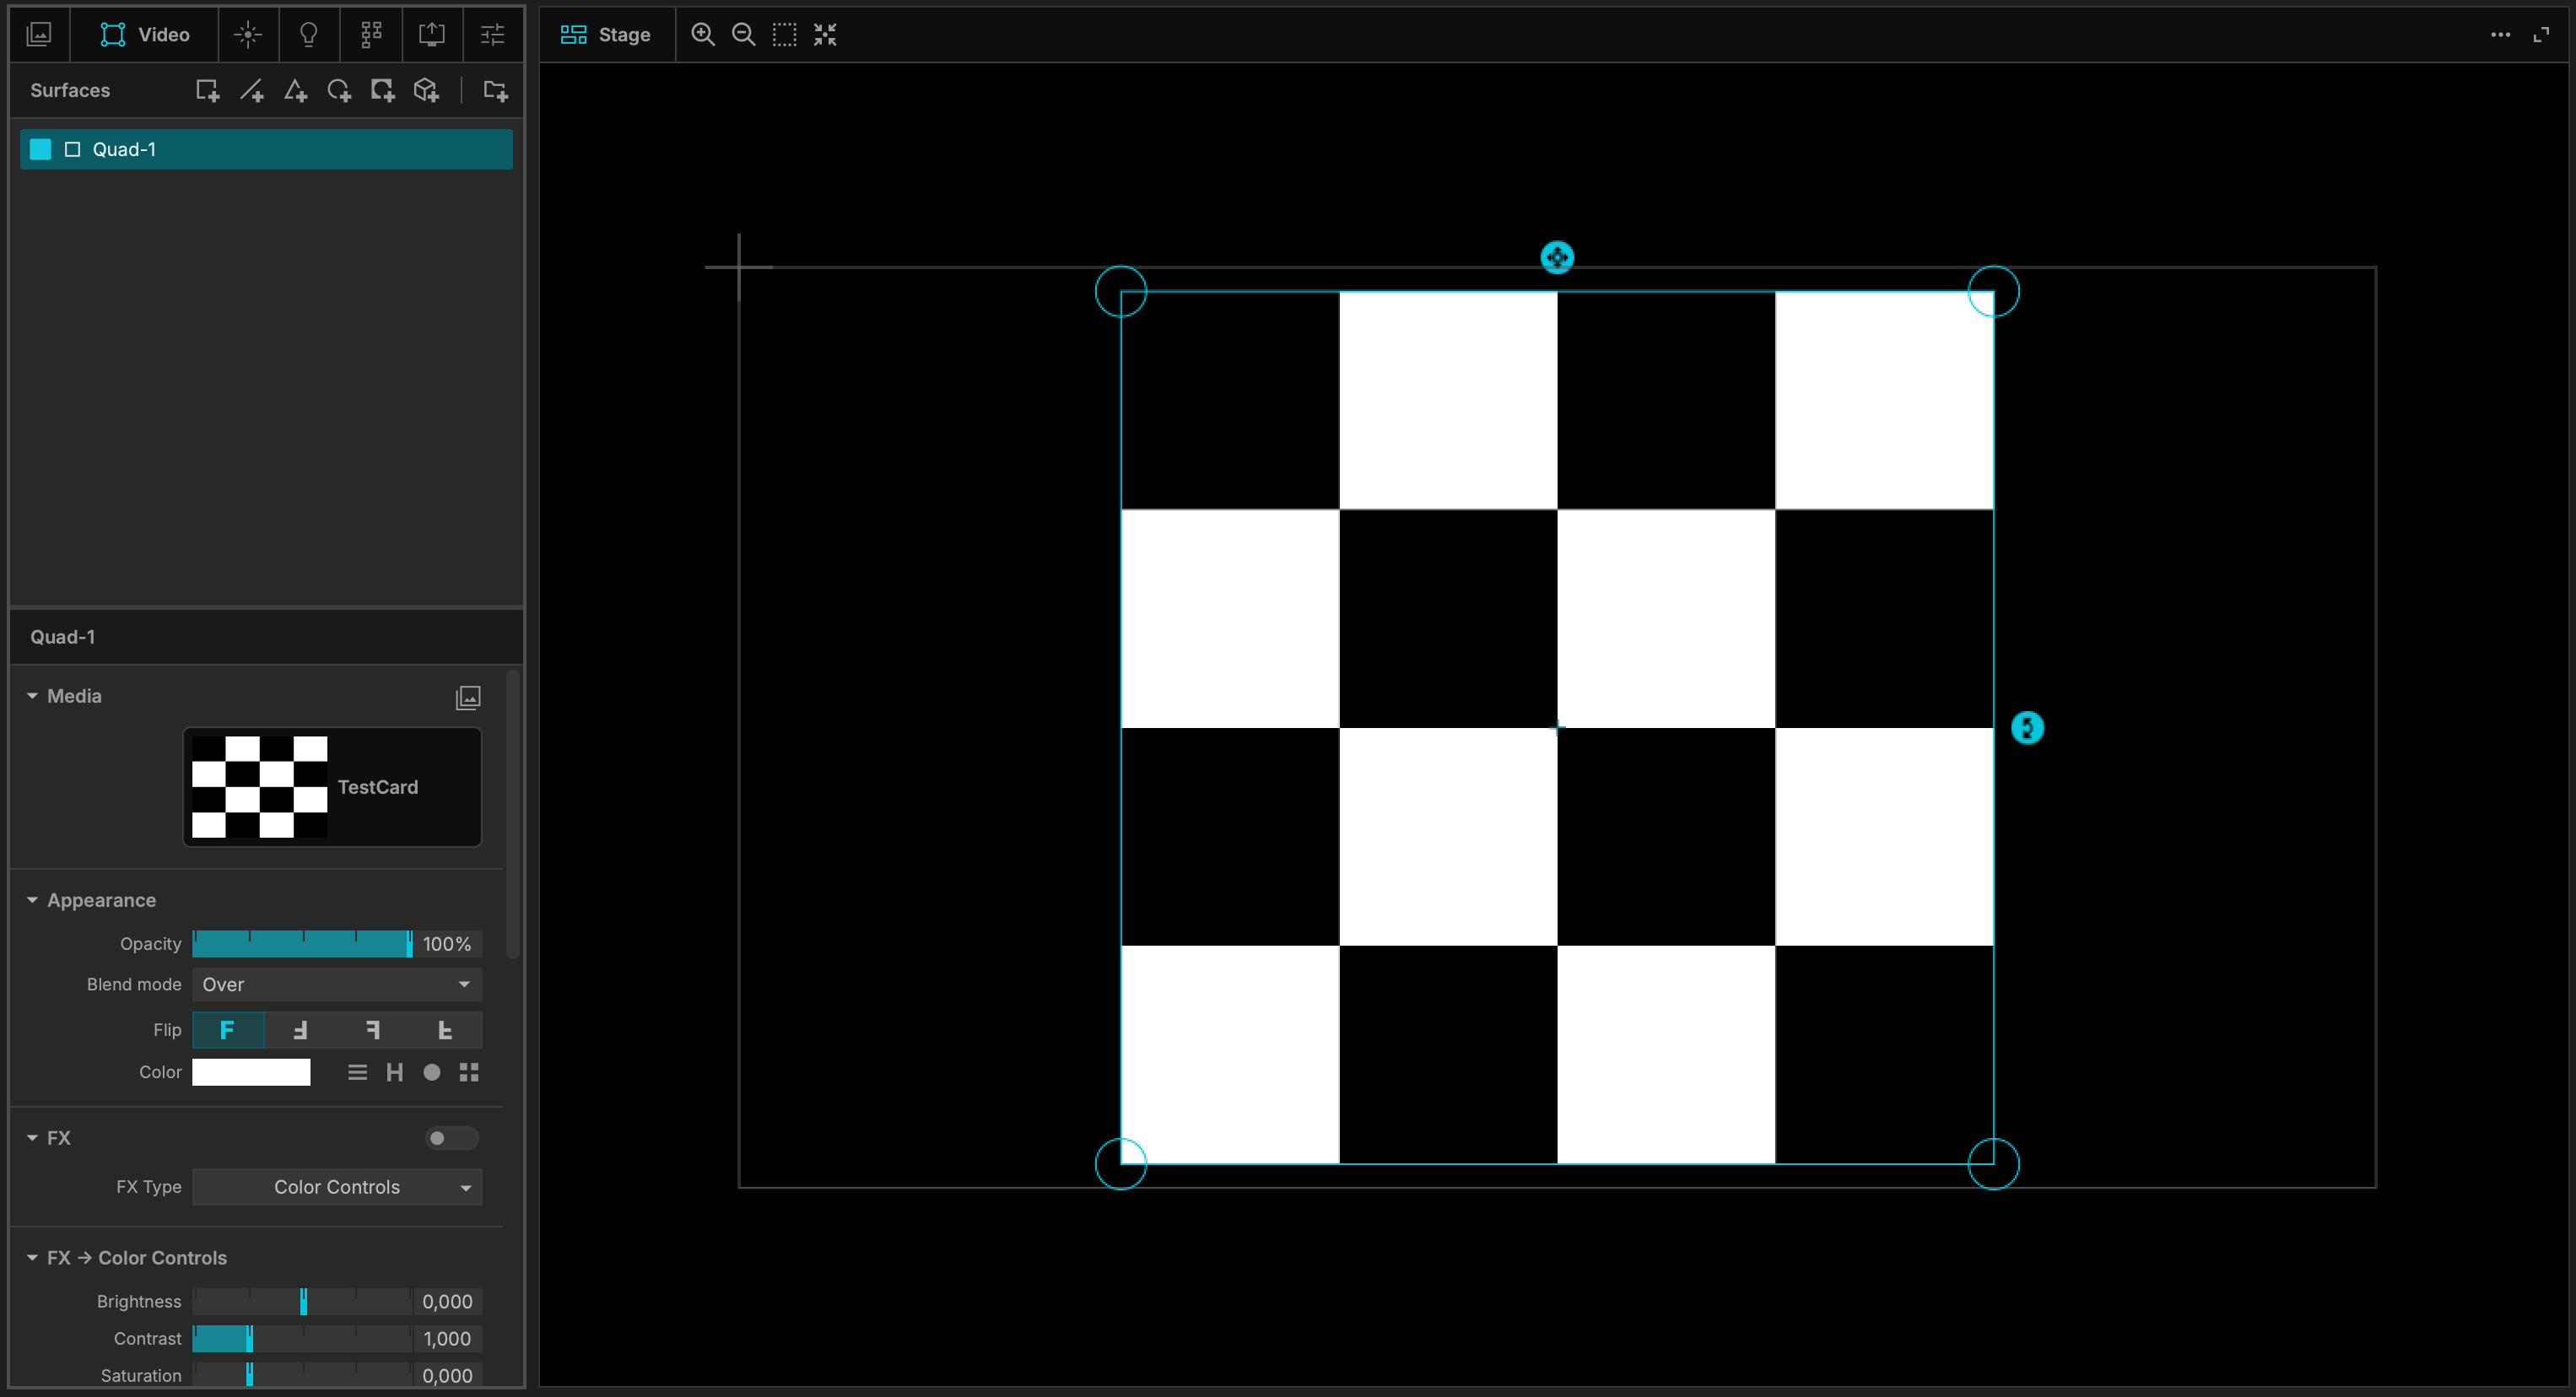
Create a video quad surface:
Video Line
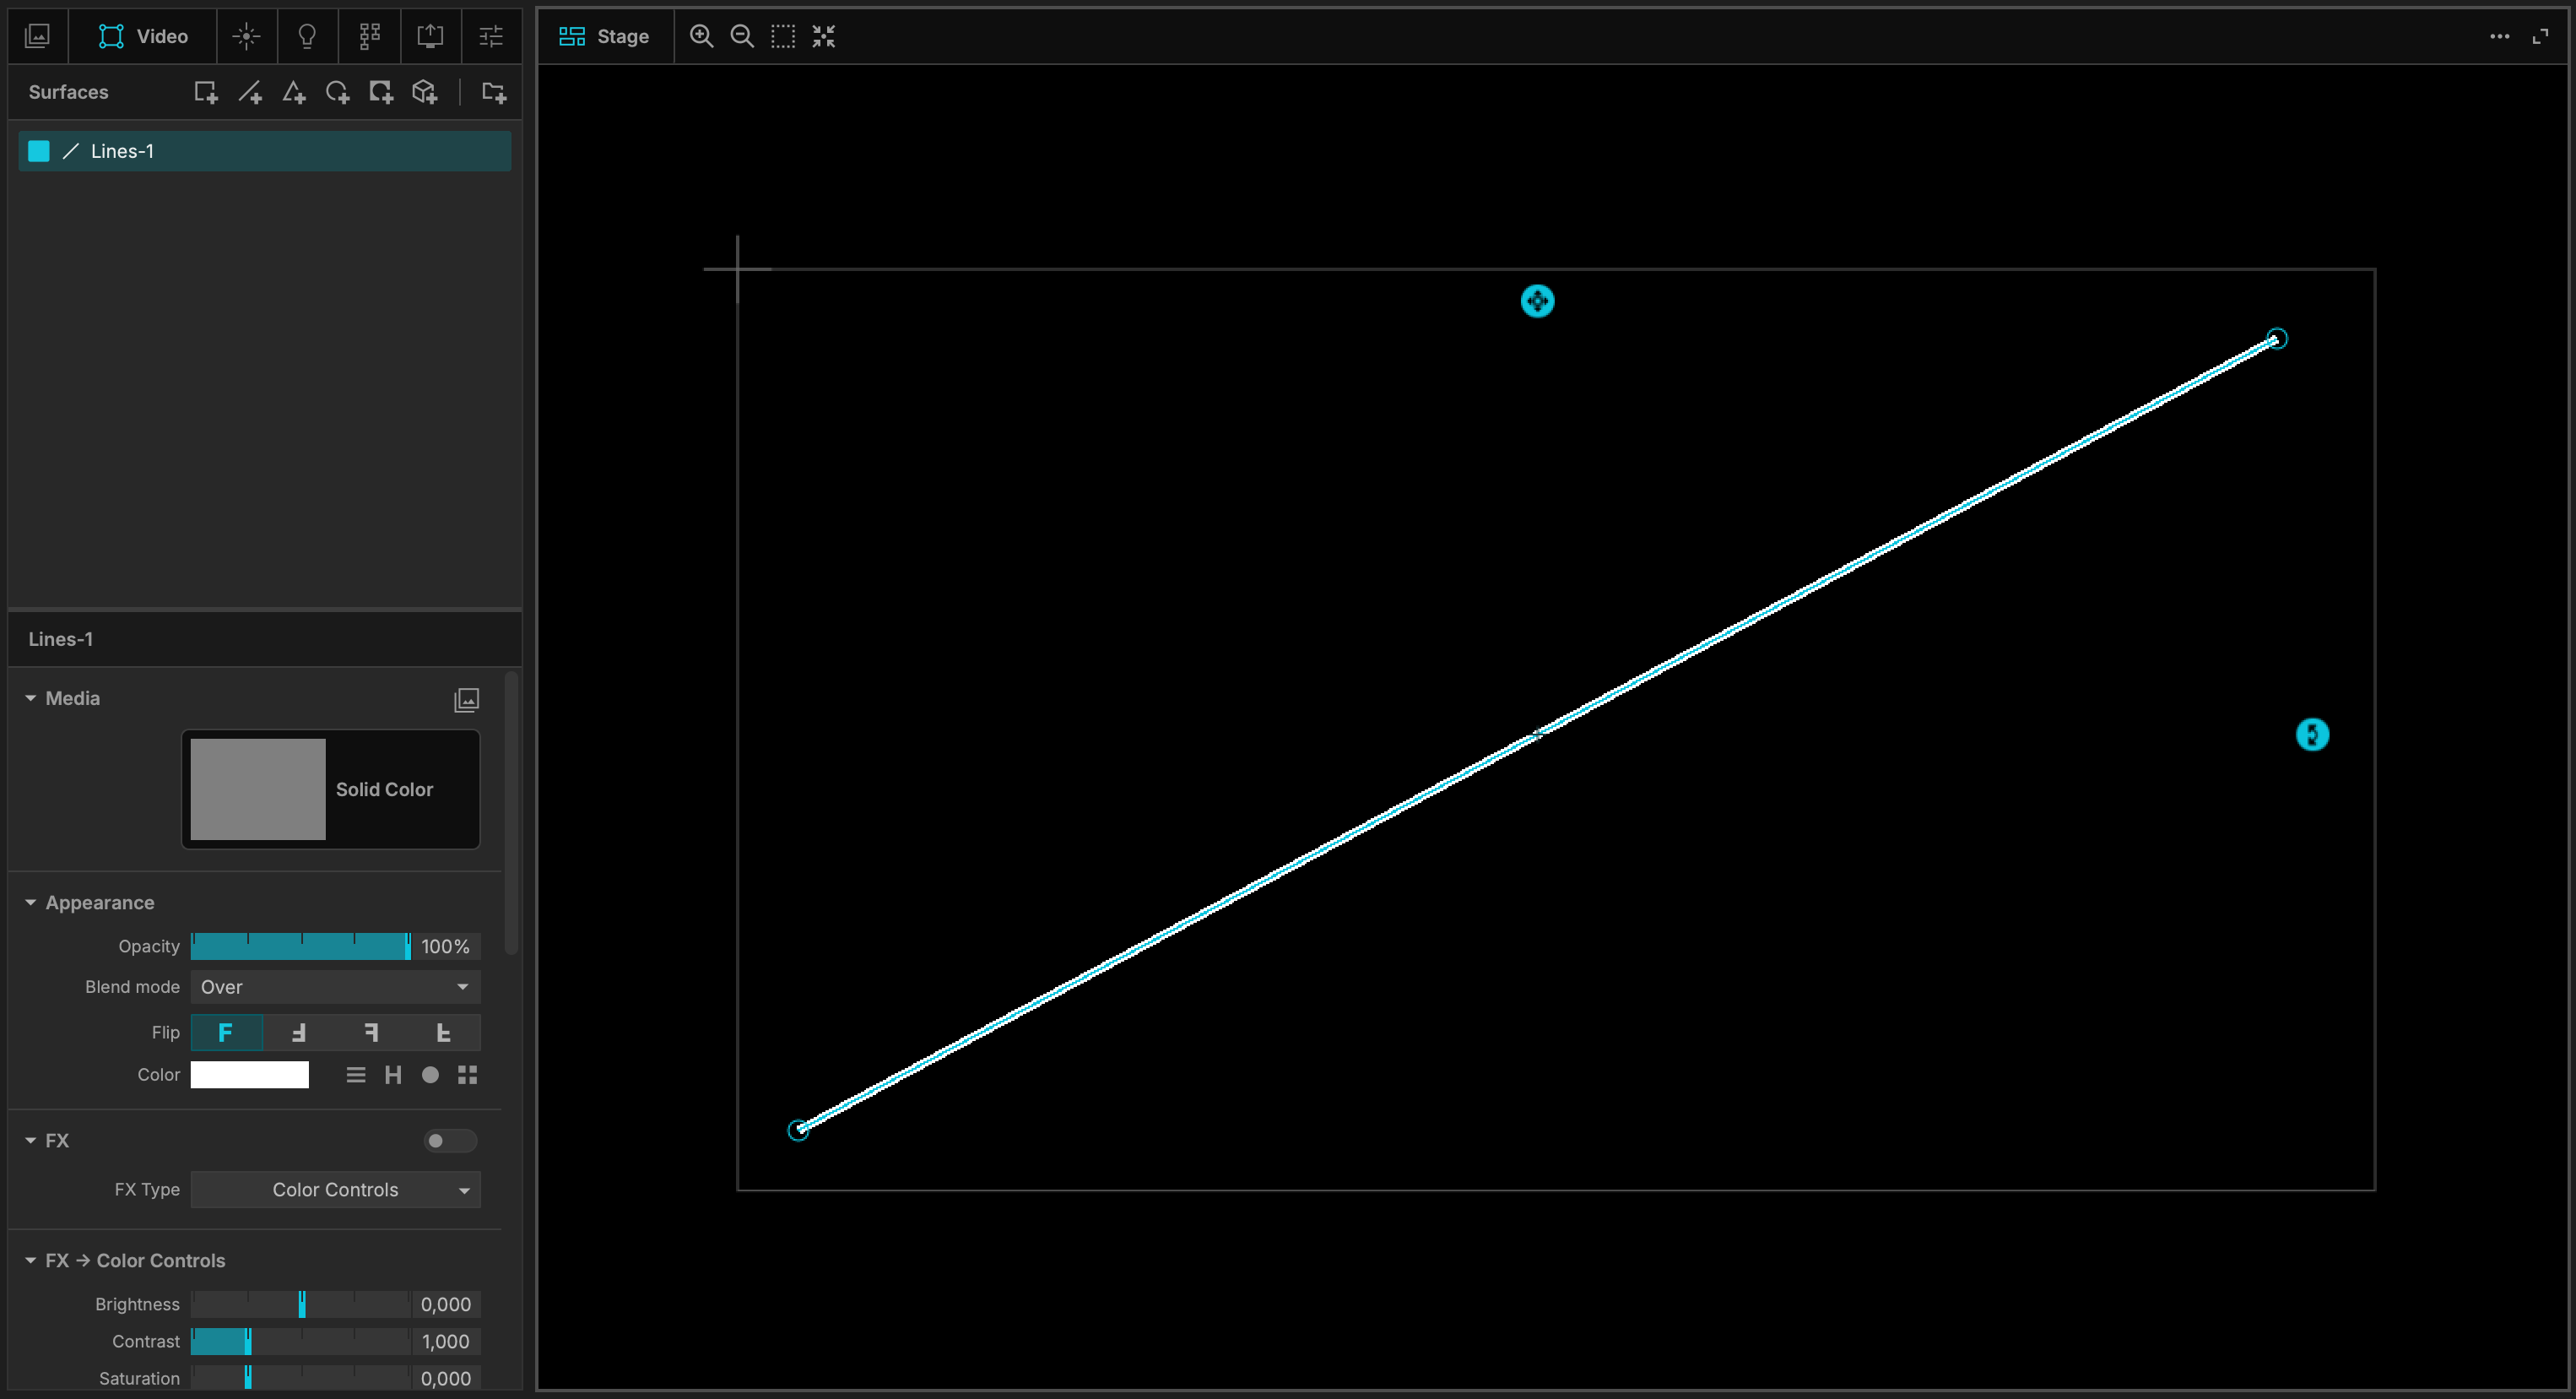
Add lines as a surface : click, move the cursor and your line is being created.
Click again to have an intermediate selection.
Press Enter when you have finished your line:
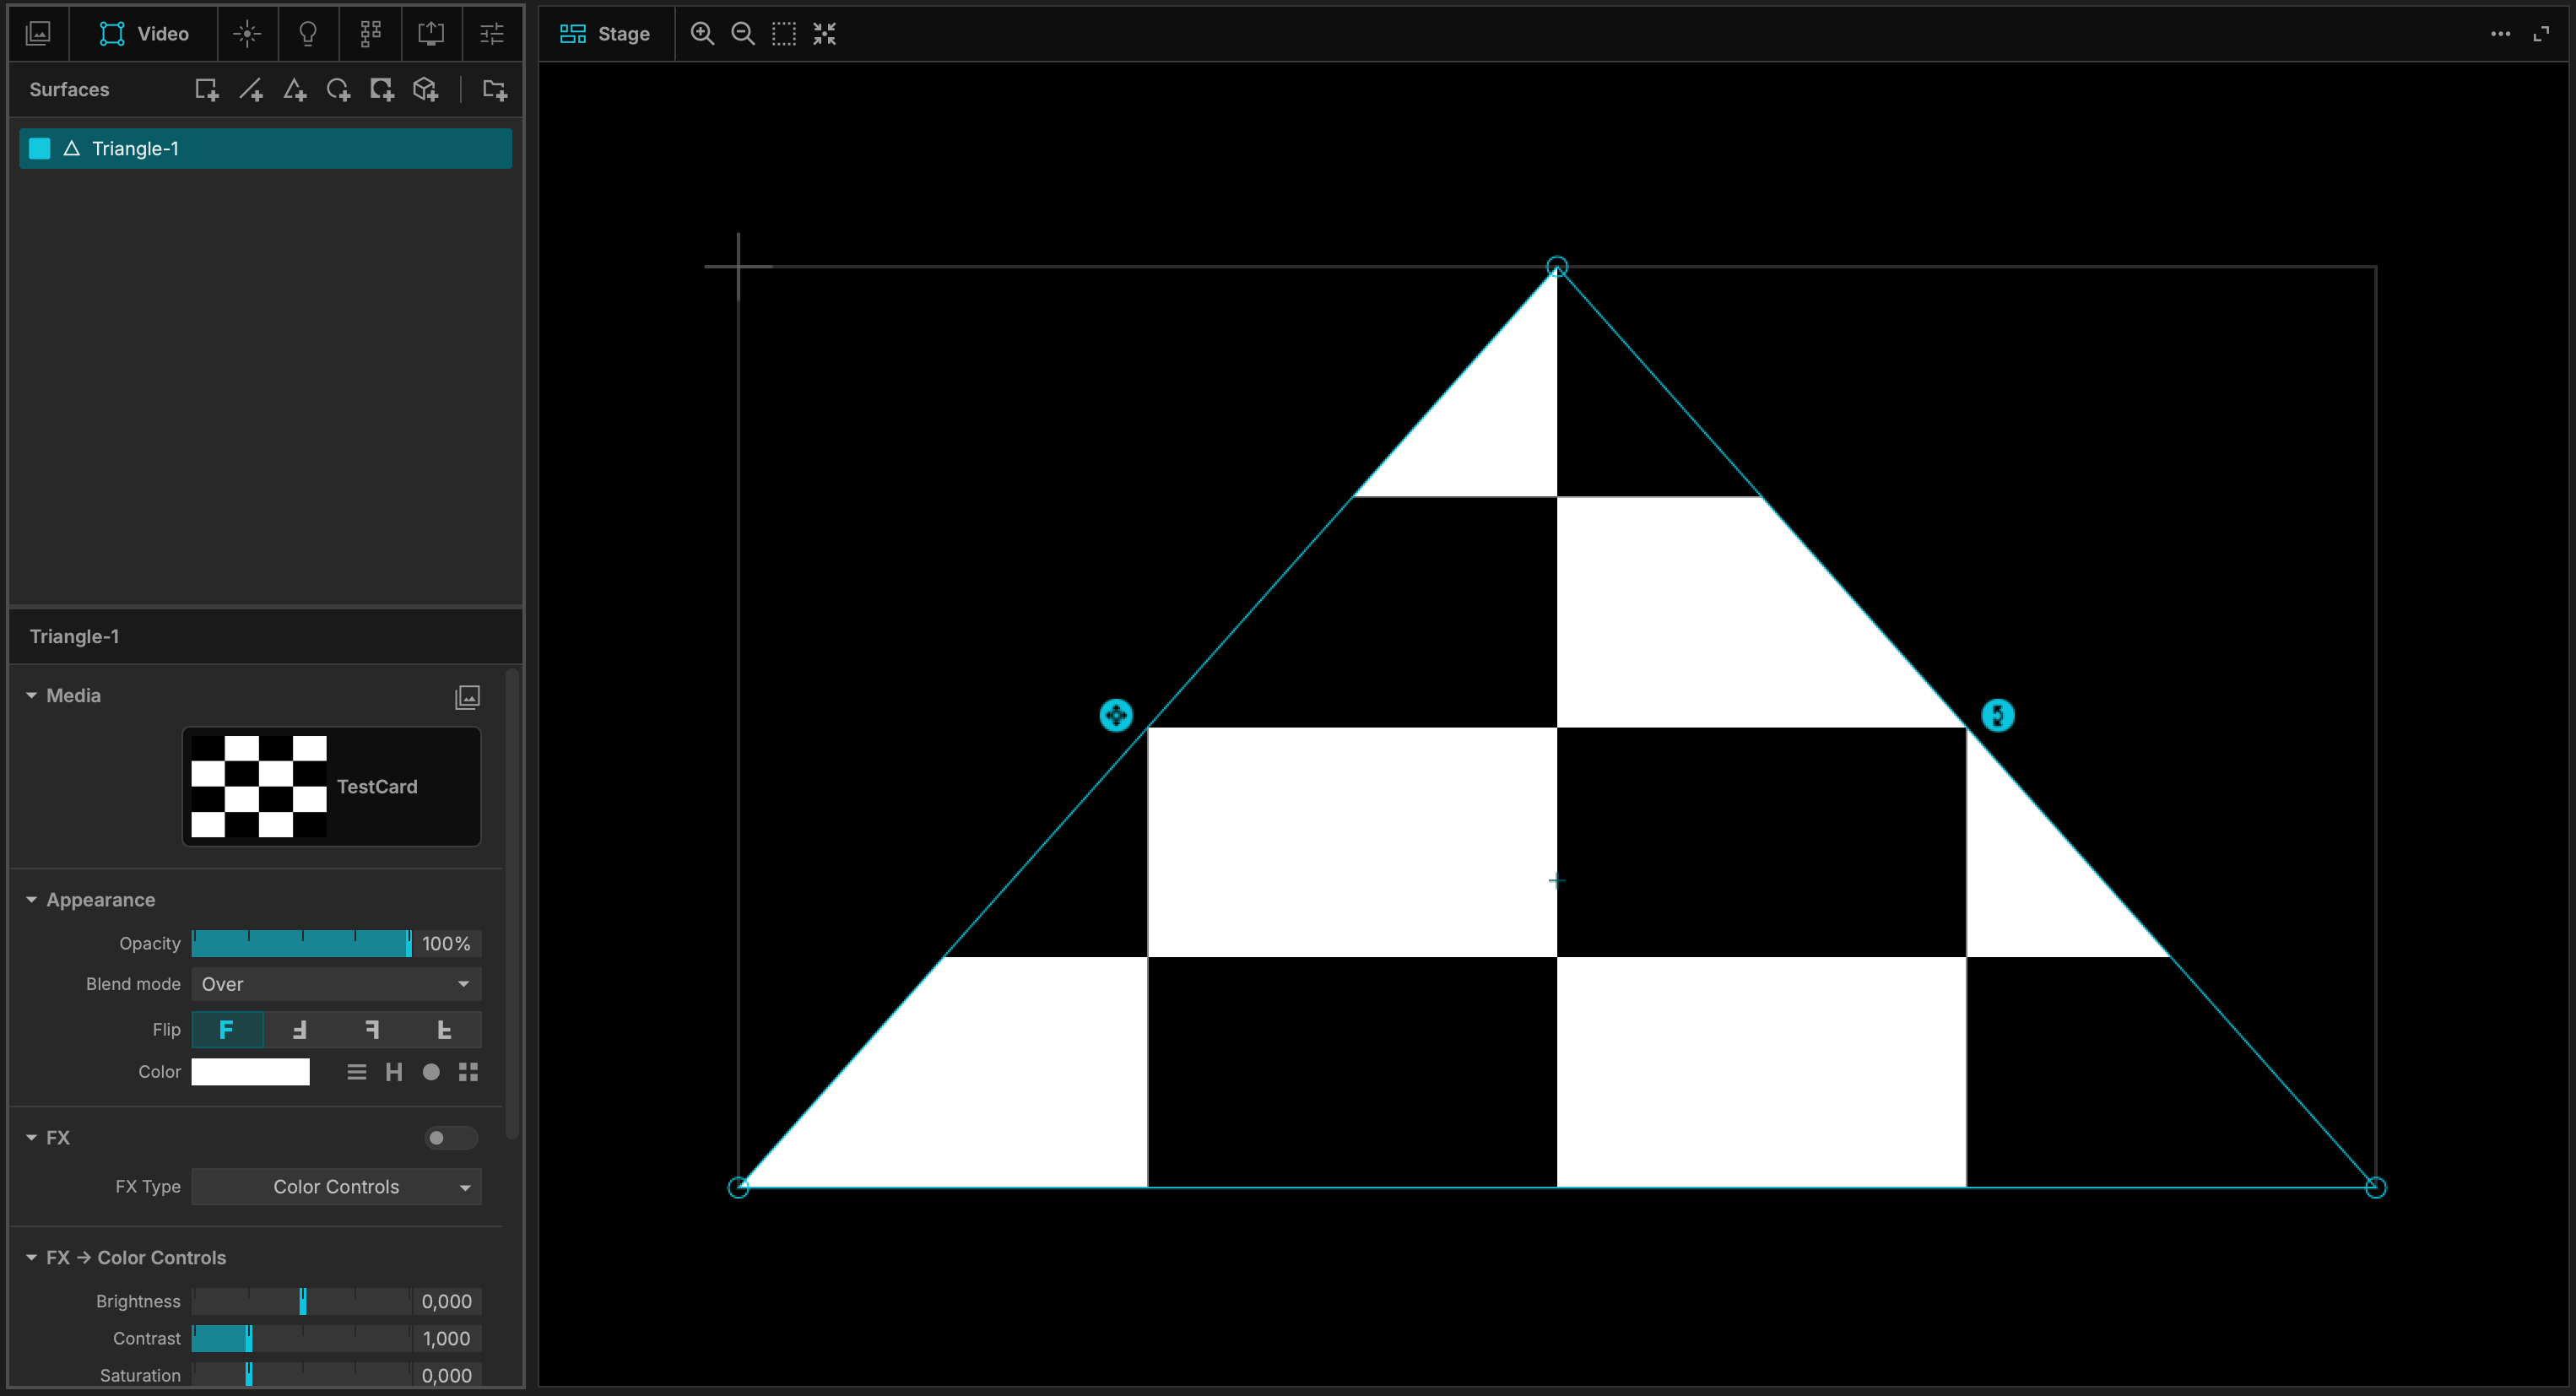
Triangle
Add triangles as a surface - then adjust, scale and rotate your triangle(s) in the Stage View:
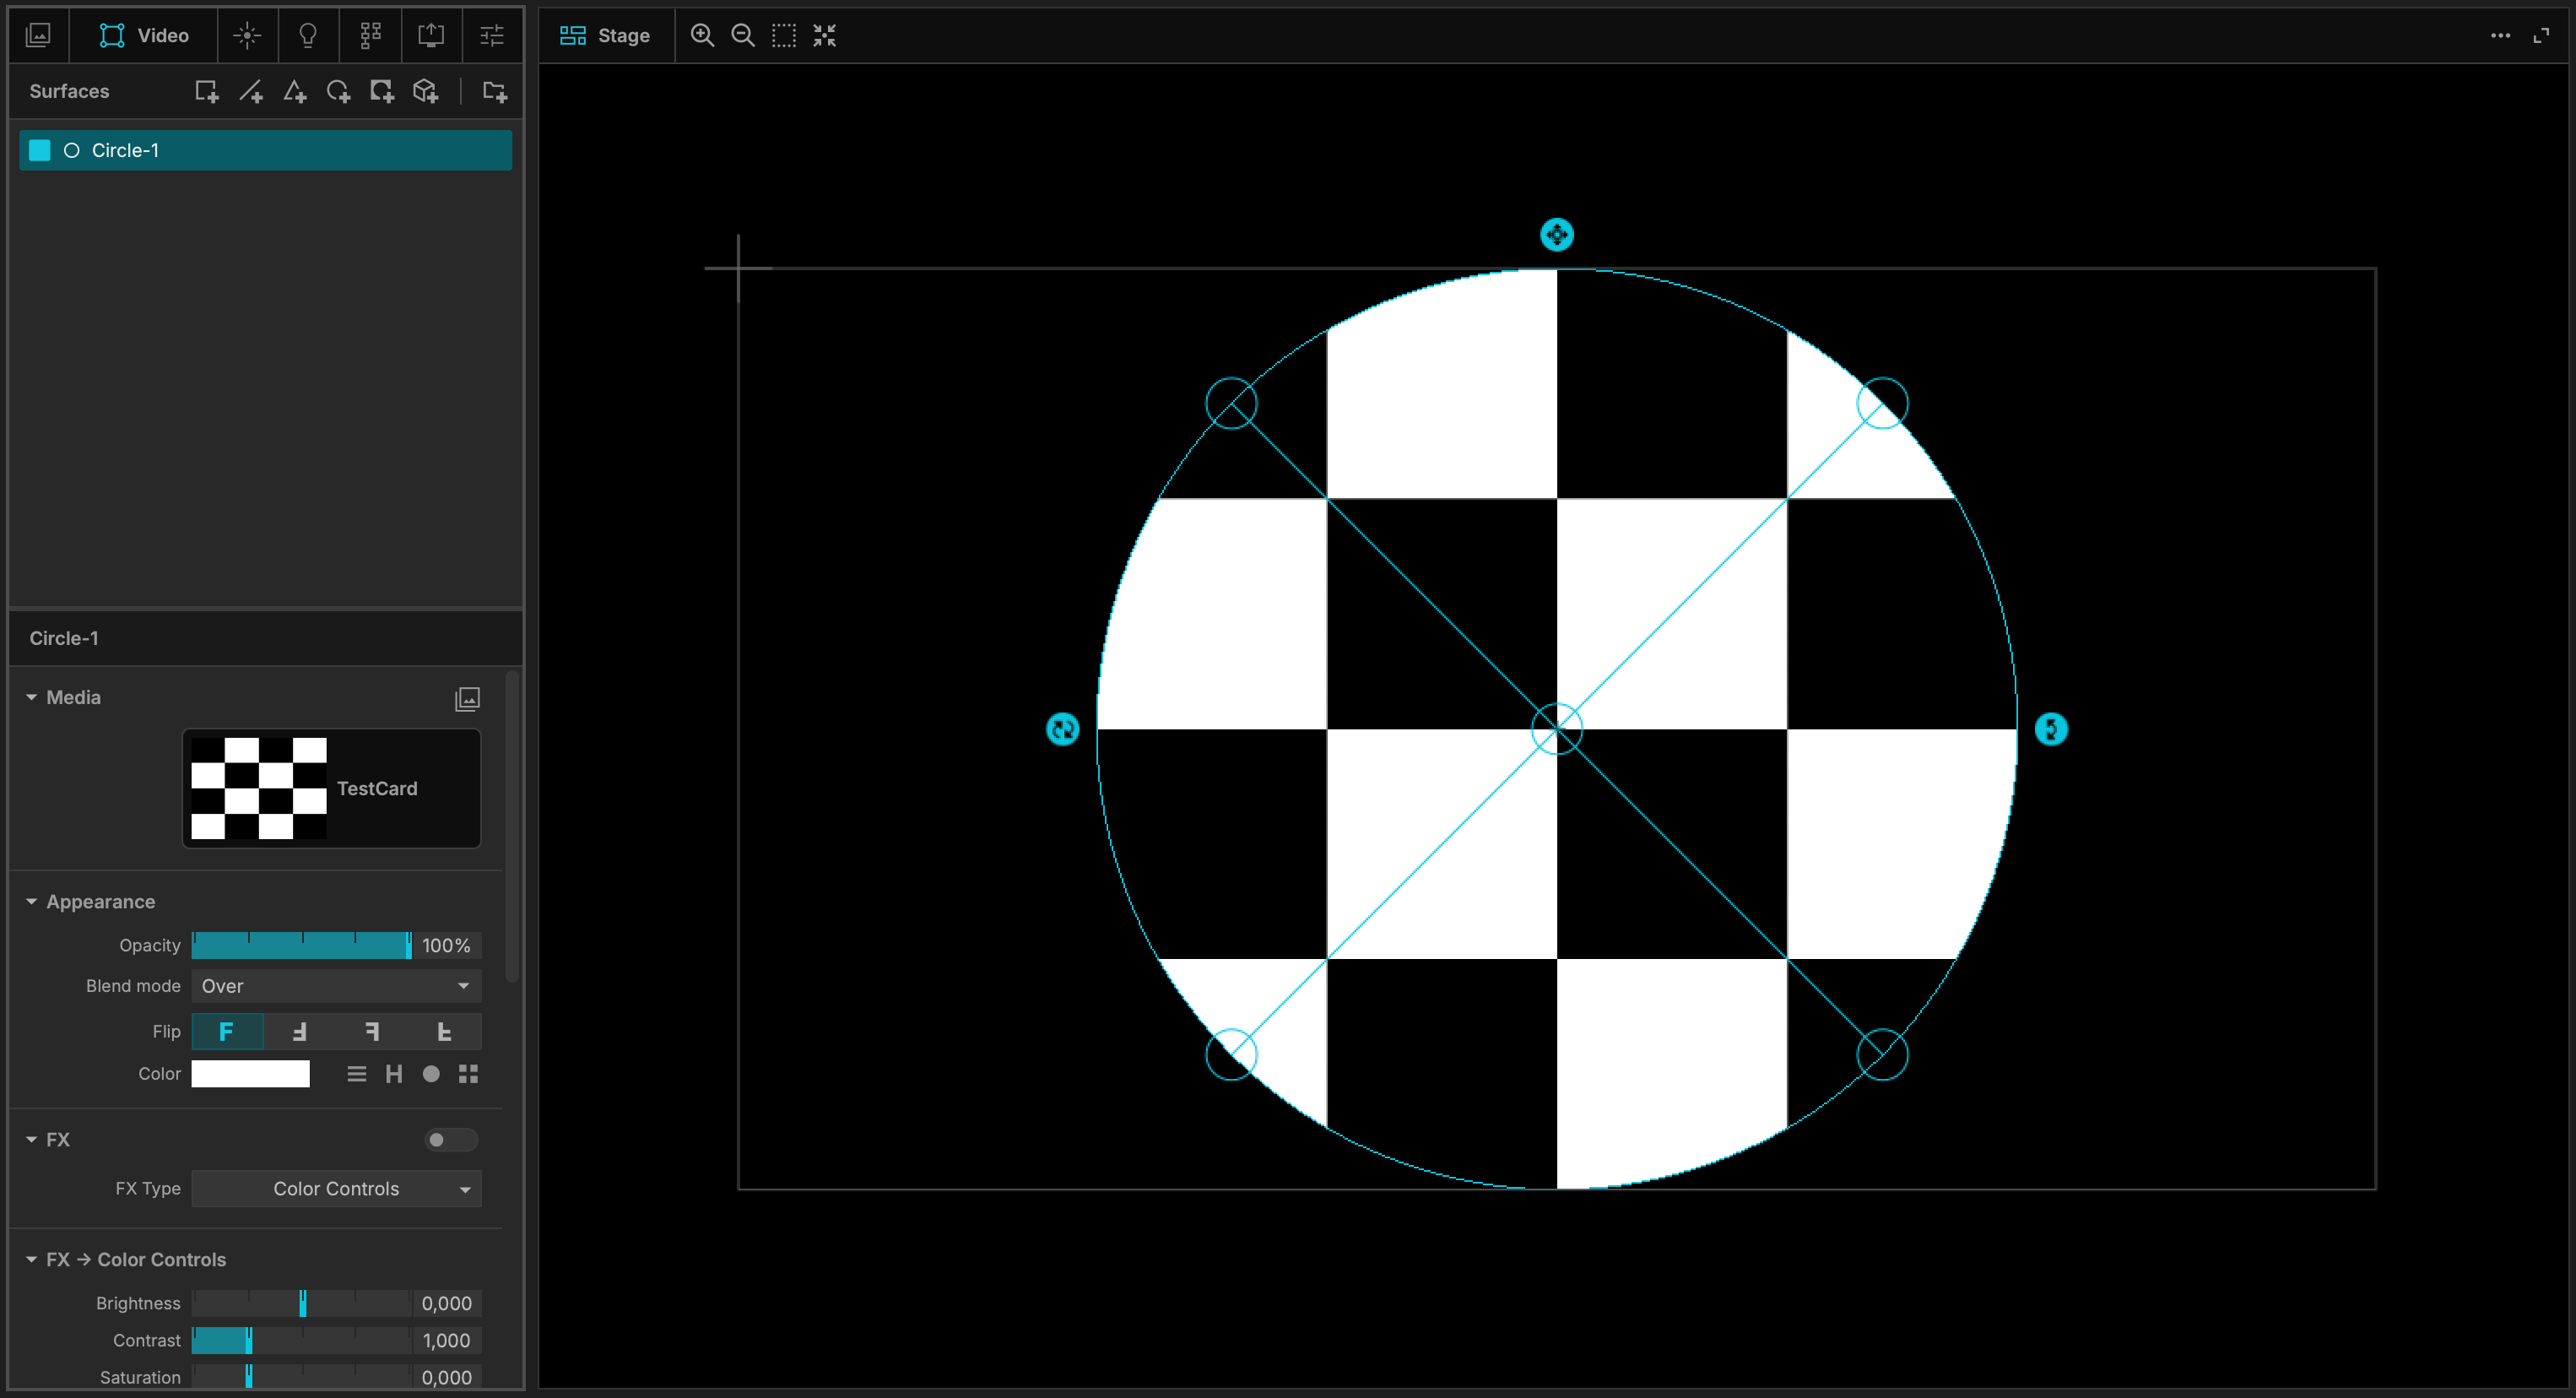
Circle
Add circles as a surface - then adjust (with the four handle points), scale and rotate your circle(s) in the Stage View.
The perspective is scaled with the center handle:
Mask
Add an alpha mask over a surface, in the Preview Output view only.
Press Enter when you are finished.
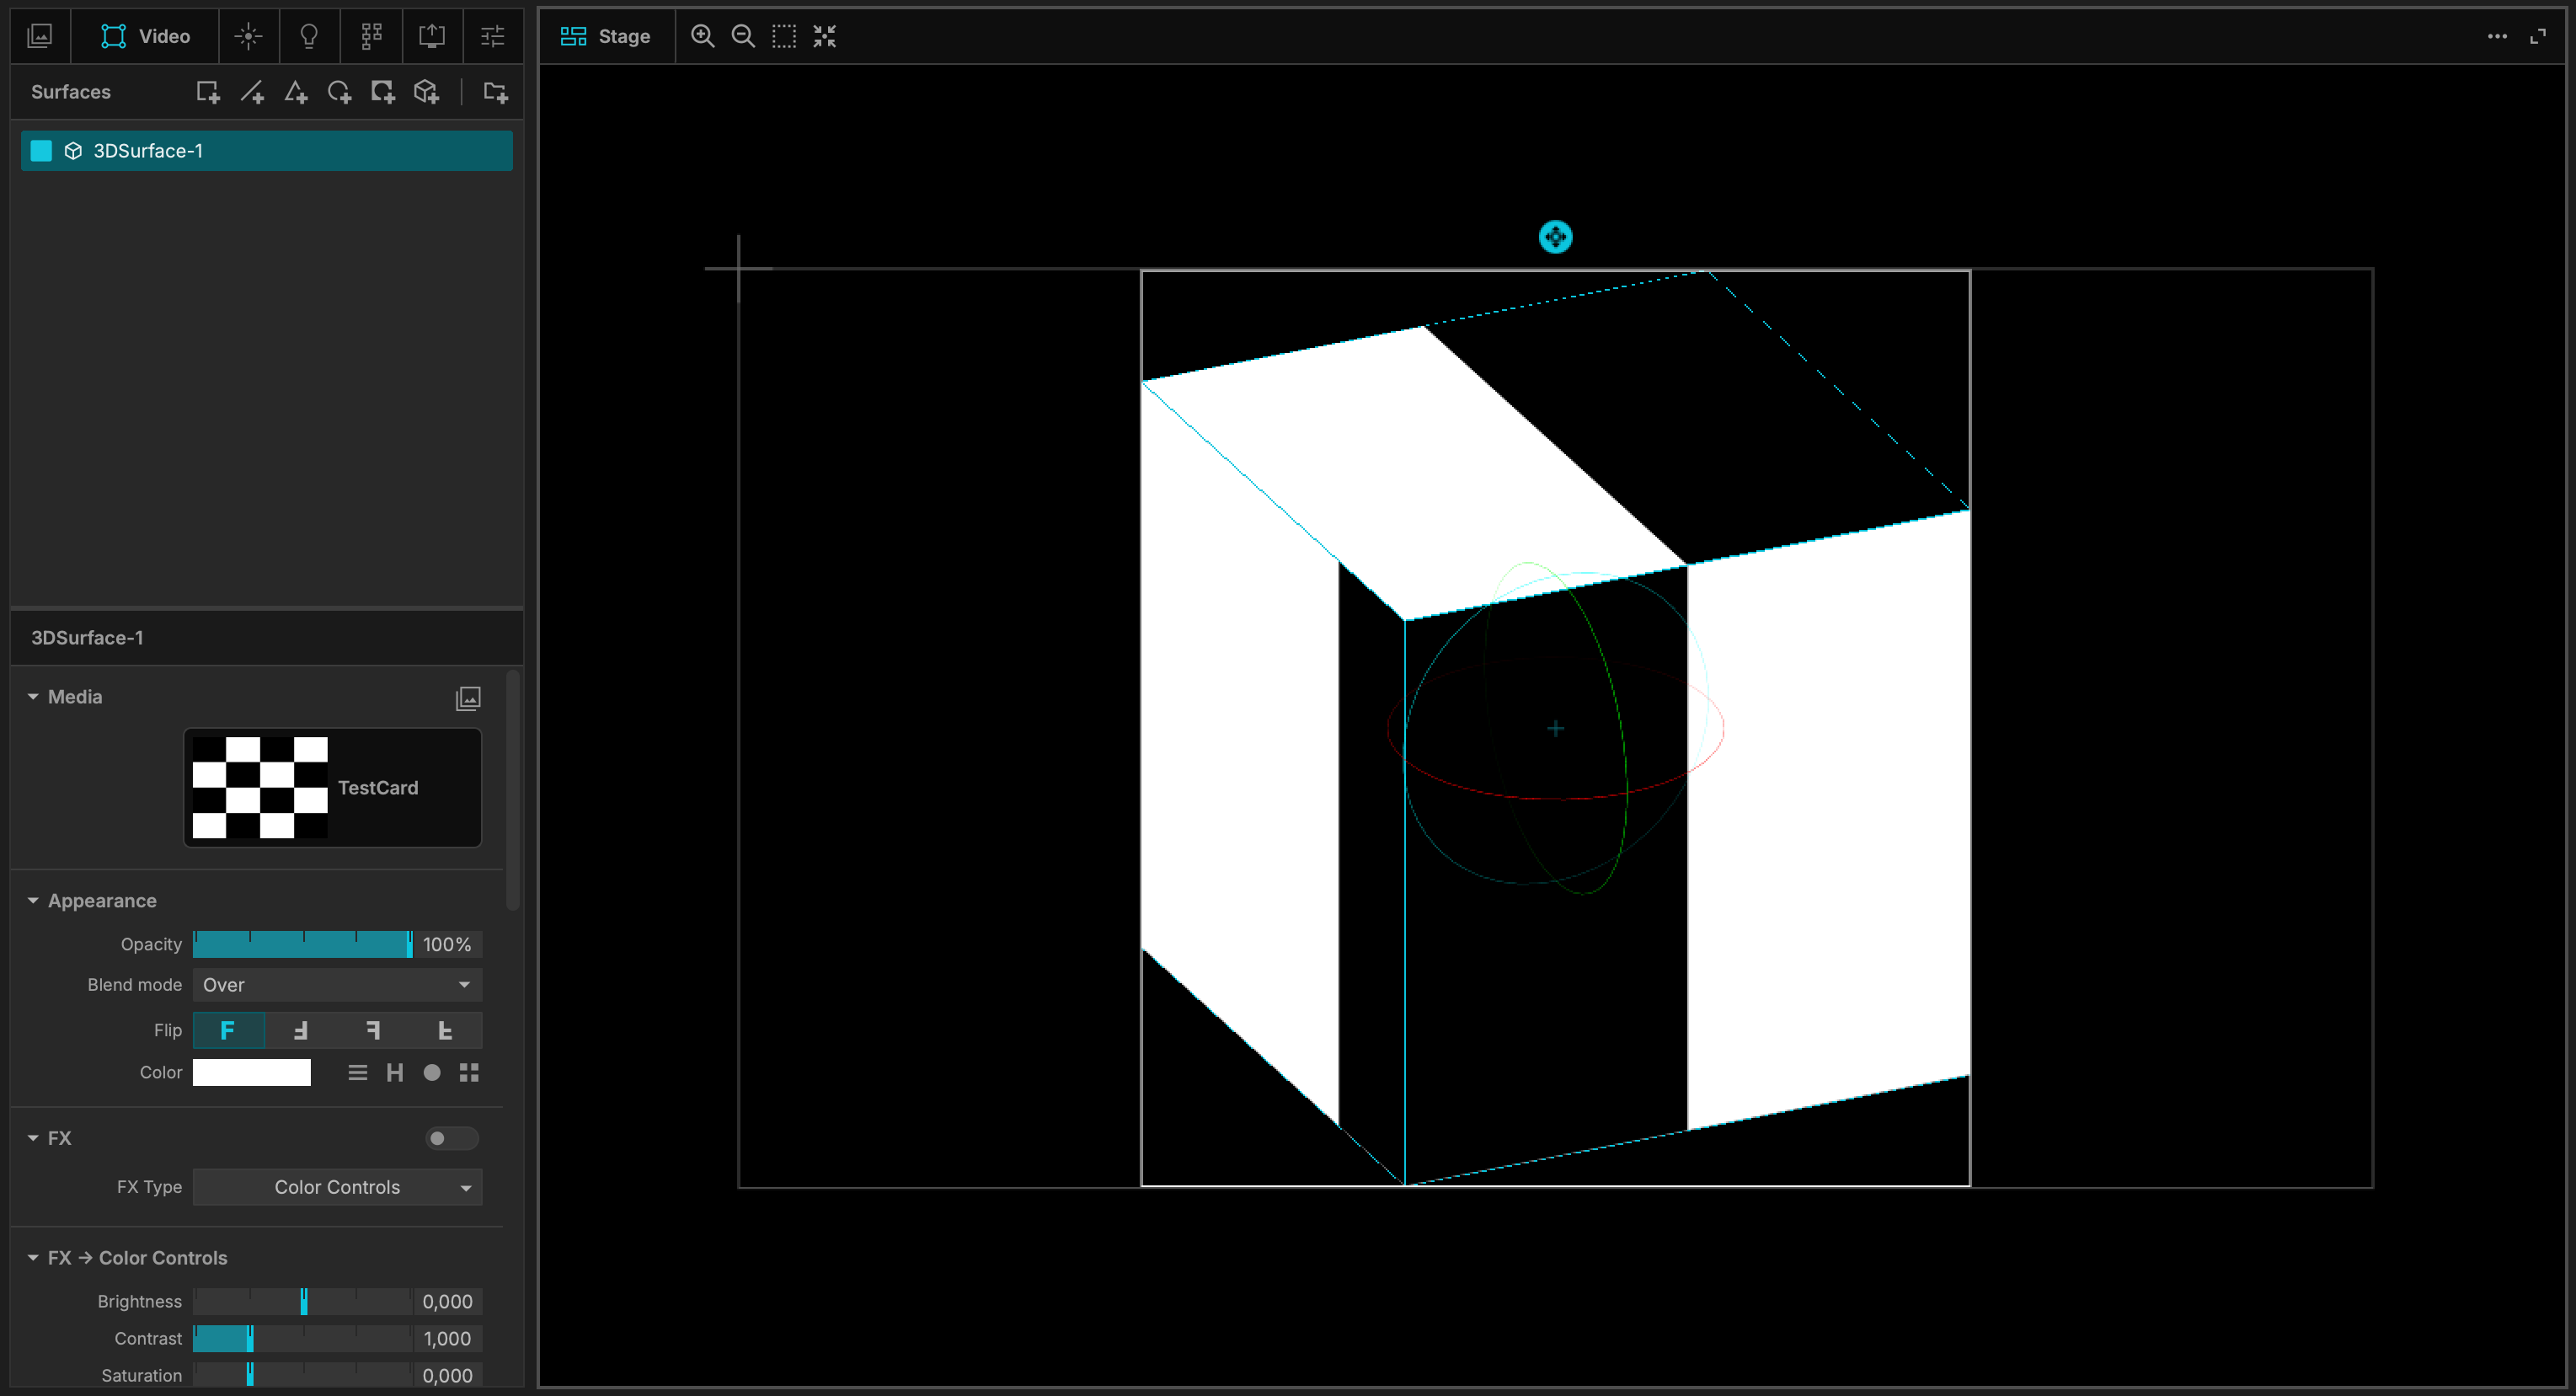
3D Surface
Import and calibrate 3D objects in the .OBJ format:
Surface Inspector
The Surface Inspector, below the list of surfaces, displays the settings and parameters of the selected surface (highlighted in the surfaces list).
However, there are some settings and parameters that are common to all types of surfaces, as detailed below.
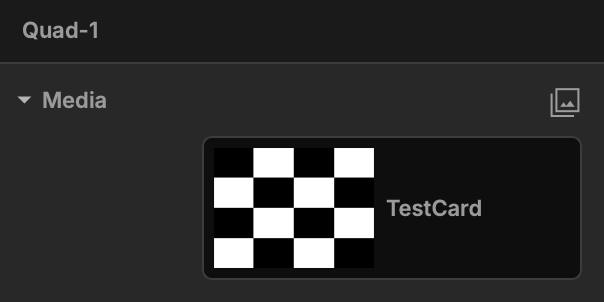
Media
Information about the media used by the surface:
Appearance
Gathers together so-called “standard” settings such Opacity, Blend Modes, Flip, Color.
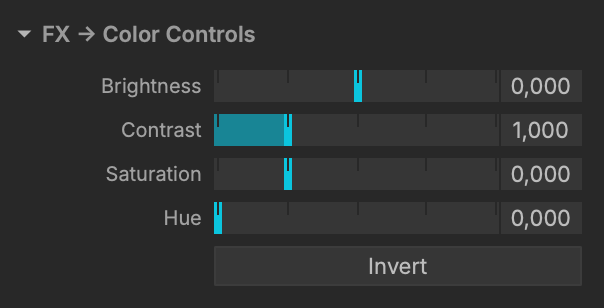
FX -> Color Controls
Adjust various colors settings:
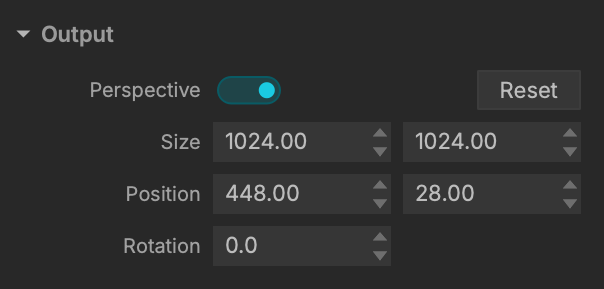
Output
Setup the output parameters of your surface, including the activation or de-activation of Perspective:
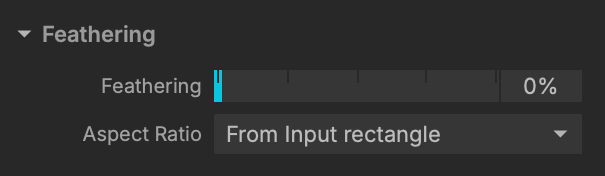
Feathering
Manage feathering, a feature introduced in MadMapper 4:
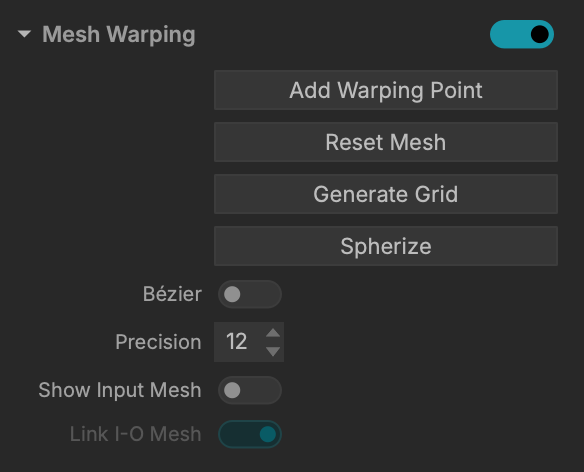
Mesh Warping
Mesh Warping is an essential technique enabling a grid mesh in order to warp the shape.
Add as many control points as needed.
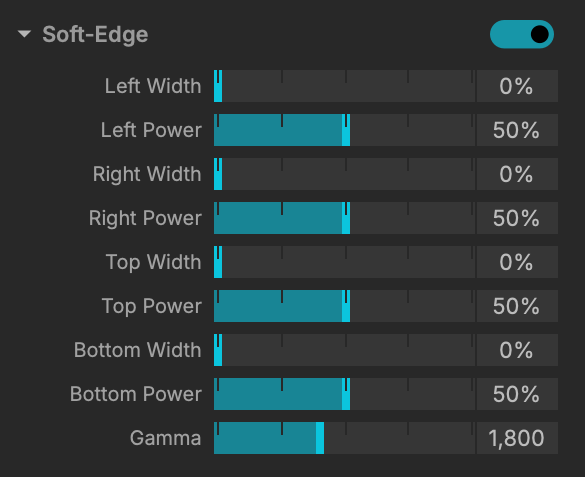
Soft-Edge
Soft edge is useful when you are using multiple surfaces and comes with various parameters:
Specific Parameters
You will find specific settings depending on the type of Surface.
For example, the 3D surface Inspector comes with specific tools and parameters such as wireframe, lighting, edit UVs, etc.