Live Performance & Control
MadMapper is designed to act as a highly responsive live performance instrument. The software can be driven by a wide variety of external hardware and software inputs, allowing you to trigger media, adjust parameters, and synchronize visuals with audio or lighting systems in real-time.
The Control List
The Control List is the central hub for adding, configuring, and managing your external inputs according to their specific category.
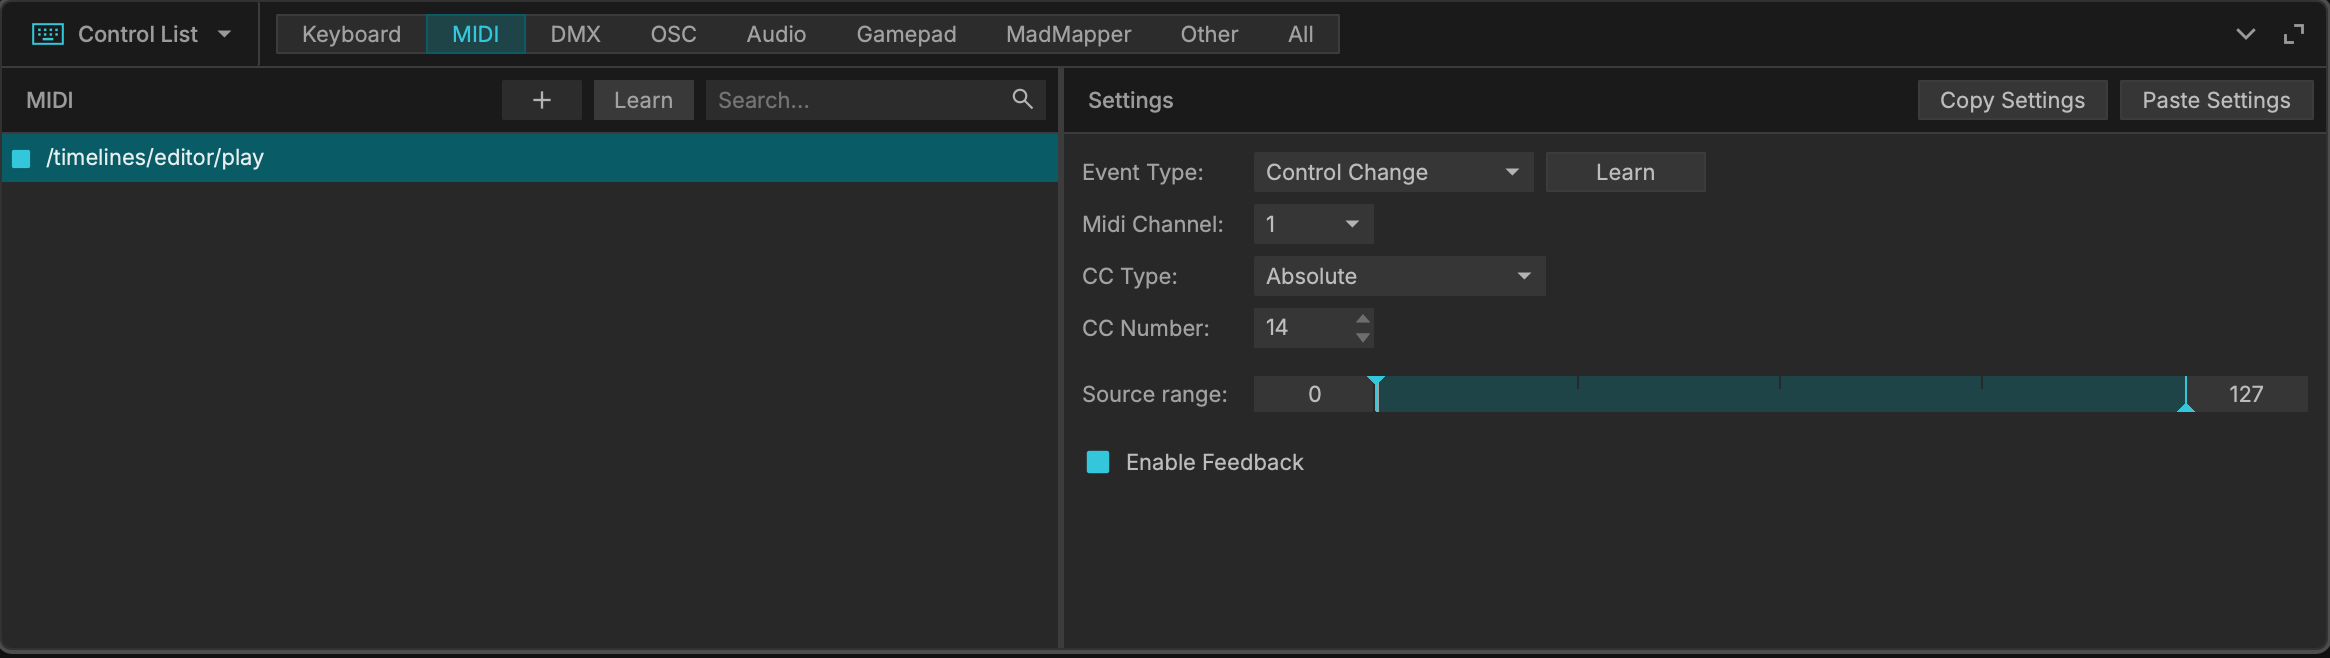
Categories: The Control List is divided into specific tabs for different input protocols: Keyboard, MIDI, DMX, OSC, Audio, Gamepad, MadMapper, Other, and an "All" tab that displays every control currently configured on your system.

Accessing the List: You can open this window by navigating to Tools > Control List from the top menu, or by using the keyboard shortcut Cmd + L (Mac) / Ctrl + L (PC).
Ways to Configure Controls (The "Learn" System)
Assigning an external signal to a parameter in MadMapper can be done in three primary ways:
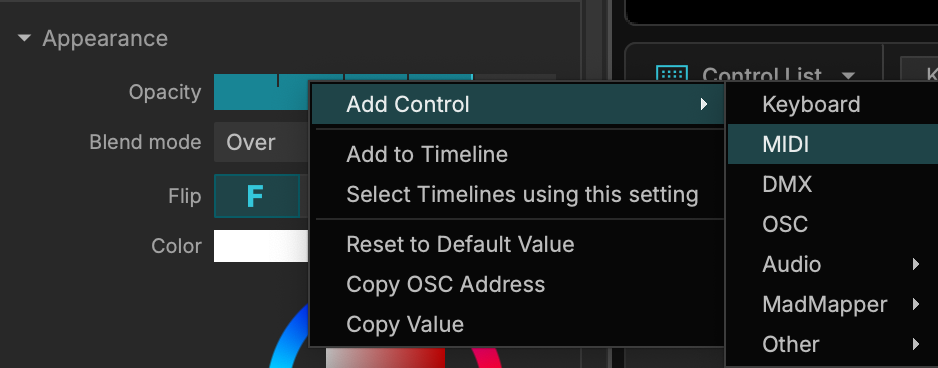
- Right-Click Mapping: Right-click directly on any slider, button, or parameter in the interface and select Add Control (e.g., Add Control > MIDI).
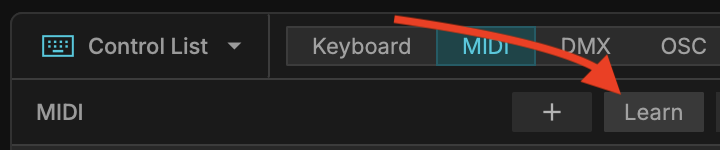
2. Learn Mode: Click the Learn button located in the Control List or upper toolbar. The Learn button is a toggle, meaning detection will remain actively listening for incoming signals until you click Learn again. When active, all map-able items will highlight with a specific color based on the selected control protocol.
-
-
Keyboard Learn highlights in Blue.
-
MIDI Learn highlights in Green.
-
OSC Learn highlights in Yellow.
-
DMX Learn highlights in Purple.
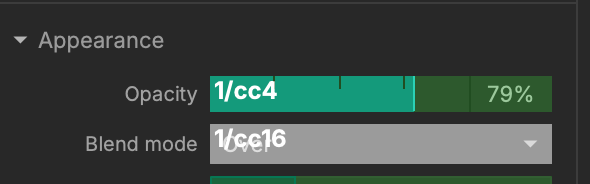
When a control is successfully assigned, the specific trigger value (such as the MIDI note or CC number) will be displayed directly over the UI item.
3. The Edit Menu: You can navigate to the top Edit menu to explicitly activate specific learn states, such as "Edit Keyboard Controls" or "Edit MIDI Controls". This menu also contains the Clear all controls command if you need to completely reset your project's mappings.
Control Categories
Keyboard Control
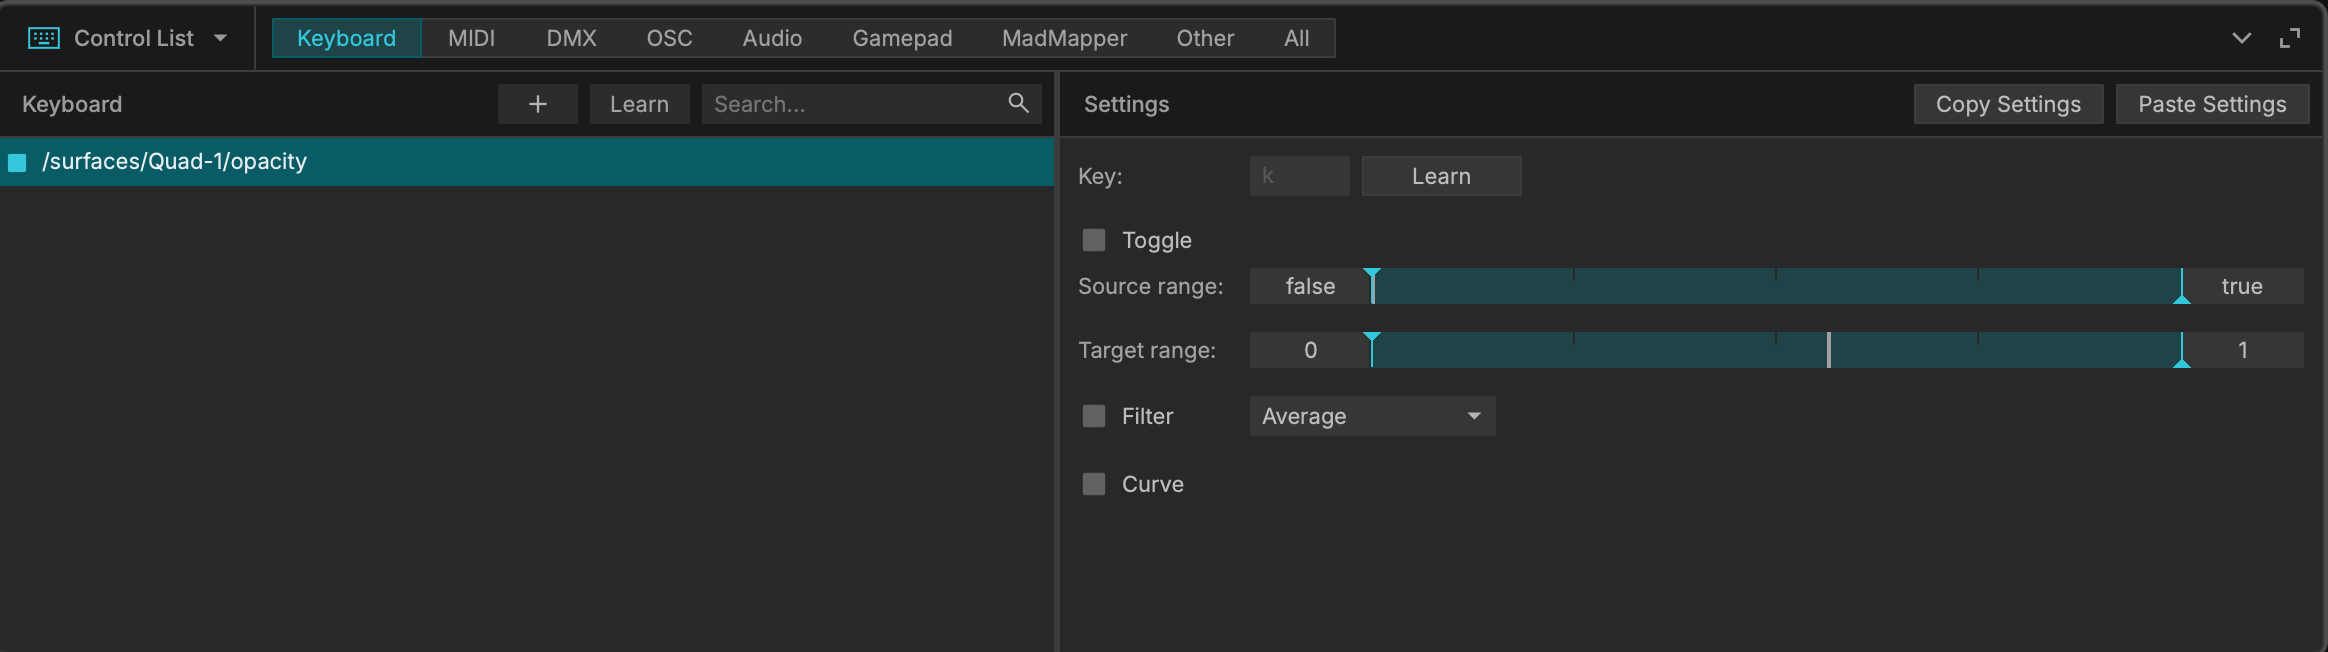
Map standard computer keystrokes to trigger actions, toggle visibility, or switch media within your project.
-
Momentary vs. Toggle: By default, keyboard controls are mapped as momentary switches (the assigned action or state is only active while the key is physically held down).
-
Enabling Toggle: If you want a keypress to behave as a persistent switch, check the Toggle box in the Control List settings for that specific key. This allows you to press a key once to turn a parameter on, and press it again to turn it off.
MIDI Control
Connect external MIDI hardware (such as keyboards, drum pads, or motorized faders) to physically interact with your project.
-
Connecting Controllers: MadMapper automatically detects class-compliant USB MIDI devices. To verify your device is detected, navigate to Preferences > Project > MIDI.
-
Feedback Routing: In the MIDI Preferences, you can use the Feedback Device dropdown menu to enable bidirectional routing. This is essential if your MIDI controller features motorized faders or LED buttons that need to reflect MadMapper's current state.
-
Note Events: Map MIDI notes to trigger specific movie clips, cue timeline markers, or toggle surface visibility.
-
Control Change (CC): Map MIDI CC messages (from knobs and faders) to continuous parameters like opacity, scale, or playback speed.
-
Pitch Bend: Map 14-bit Pitch Bend data for ultra-smooth, high-resolution control over sensitive parameters like rotation or laser beam positioning.
OSC Control
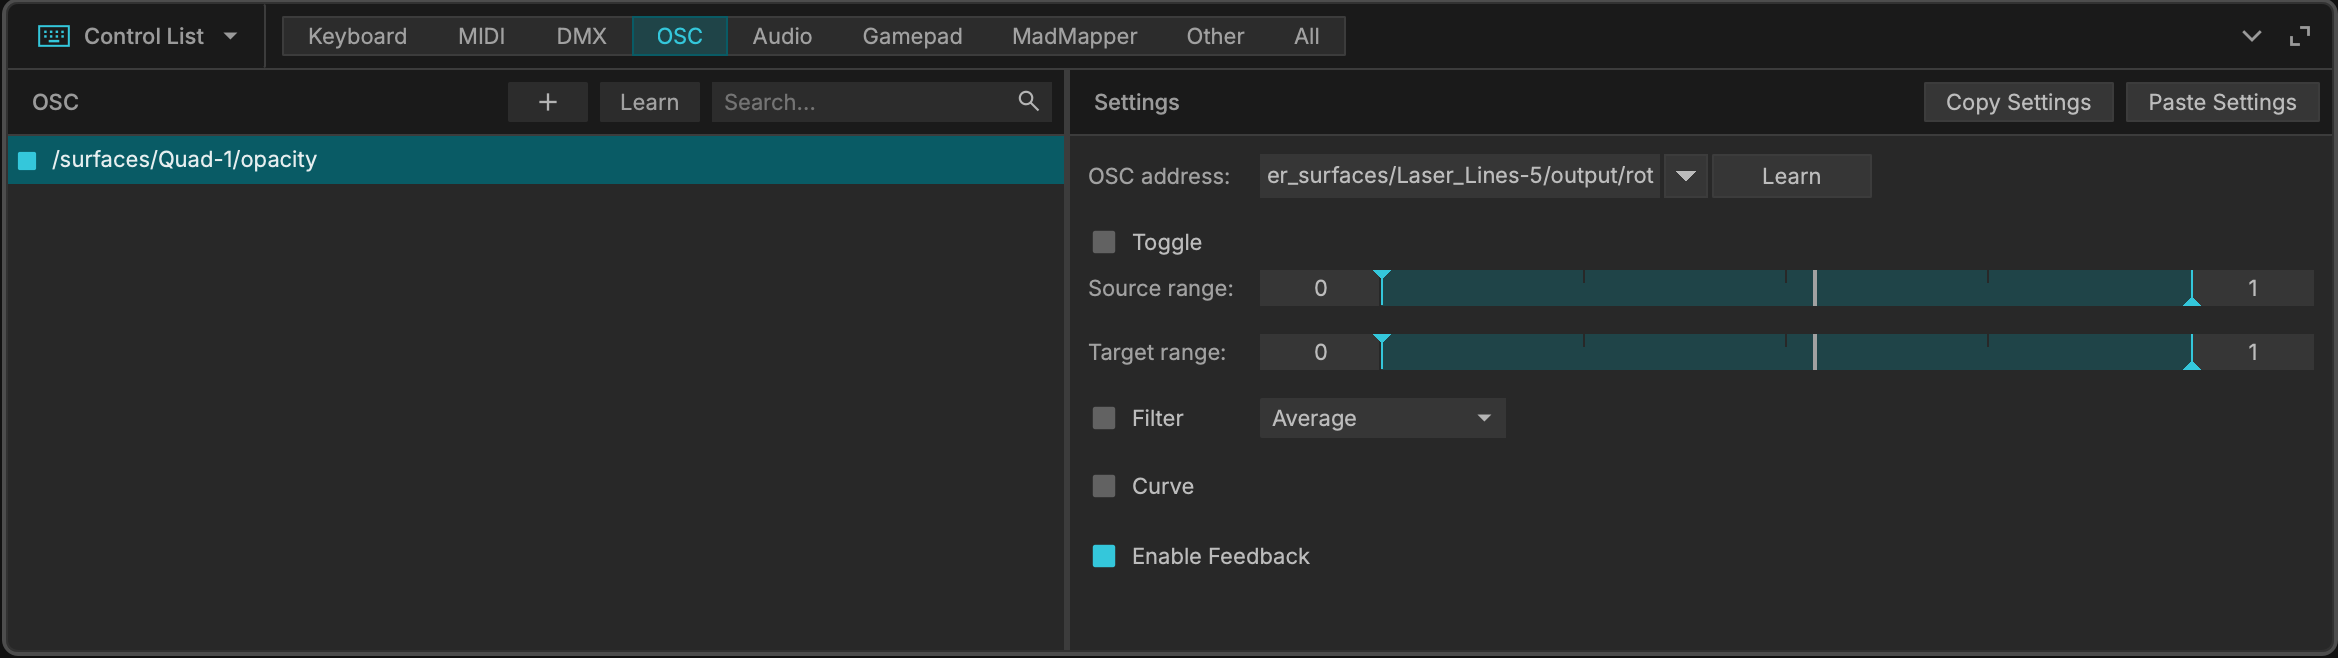
Open Sound Control (OSC) is a high-speed, network-based protocol used to connect MadMapper to external software, custom iPad interfaces, or entirely separate computers.
-
Network Setup: Configure your Input and Feedback ports to establish custom setups and bidirectional communication. This allows MadMapper to receive commands while simultaneously sending outgoing feedback to keep tablet interfaces (like TouchOSC) perfectly in sync.
-
Multi-Computer Control: Because OSC operates over standard IP networks, you can easily send commands from one machine to control another copy of MadMapper running on a completely different computer on the same local network.
-
OSCQuery: MadMapper supports the OSCQuery protocol, allowing compatible external software (such as TouchDesigner, Vezér, or Chataigne) to automatically discover and map MadMapper's entire parameter tree over the network without manual configuration. For a detailed breakdown of endpoints, see the OSC Commands & Channels List.
-
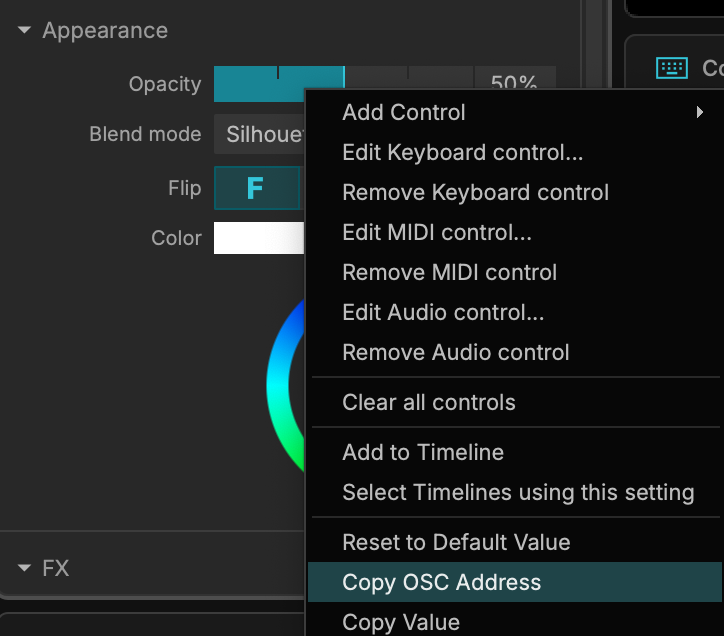
Finding Exact OSC Addresses: Because specific OSC addresses depend entirely on the custom names you give to the surfaces and media files within your unique project, the addresses are dynamic. To find the exact OSC address for any specific setting, right-click directly on the desired slider, button, or parameter in the MadMapper interface and select Copy OSC Address. This copies the properly formatted address to your clipboard, ready to be pasted into your external control software.
Gamepad
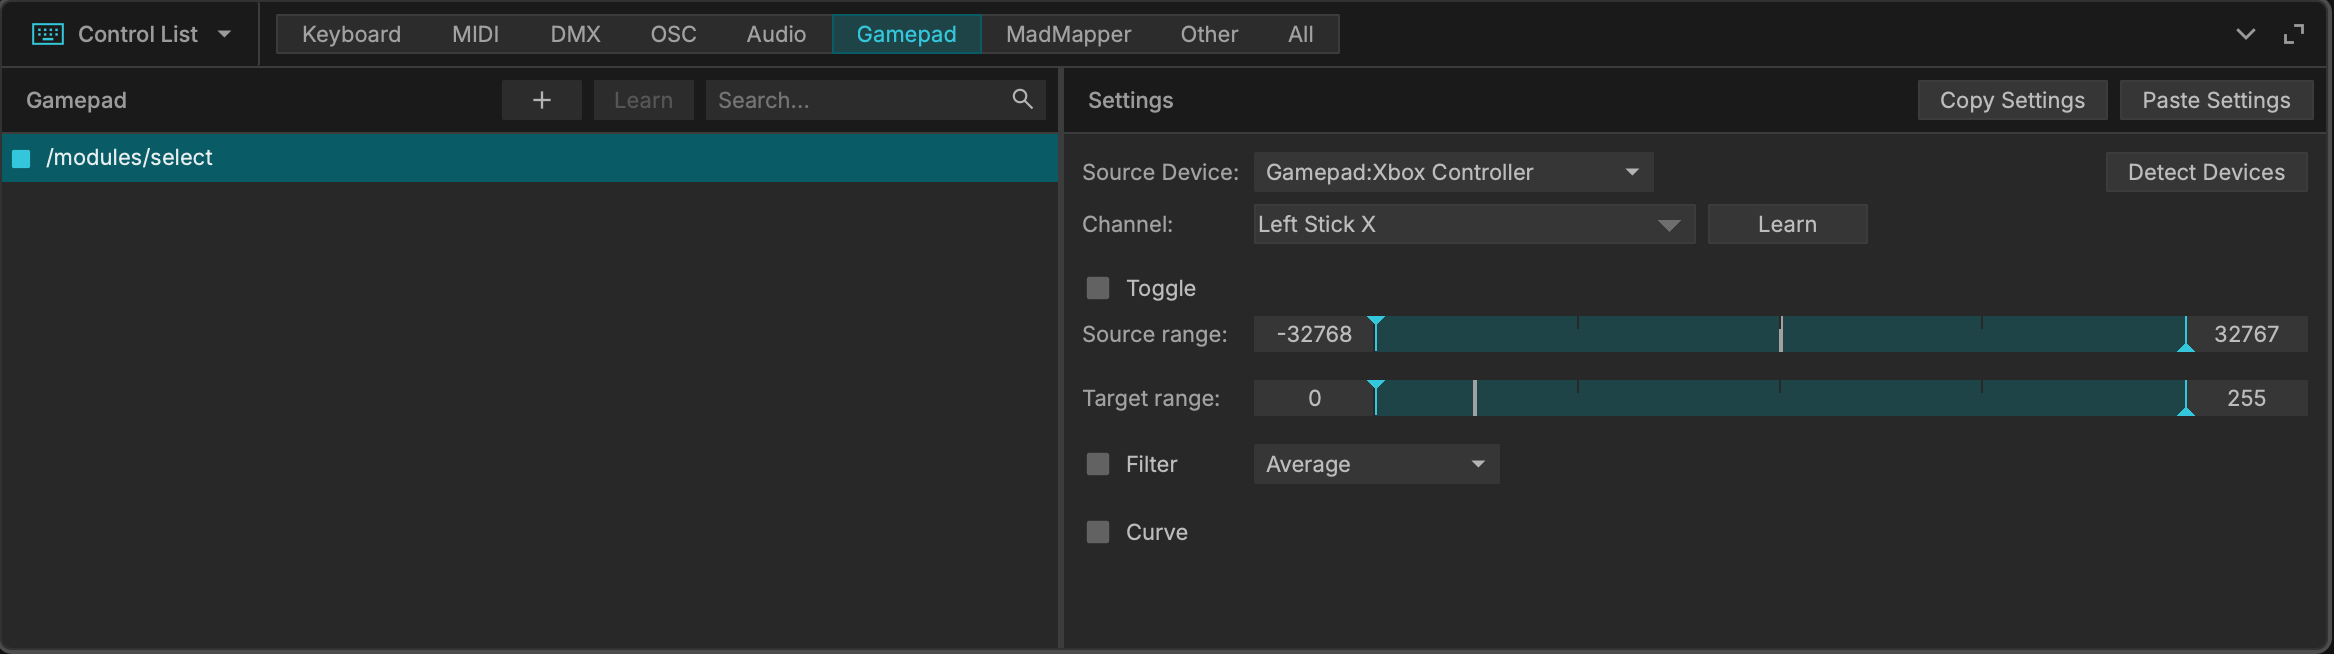
For a highly portable and ergonomic control solution, MadMapper allows you to map parameters to physical video game controllers.
-
Supported Devices: Native support is included for PS3, PS4, and PS5 DualSense controllers, as well as generic USB HID devices. Xbox controllers are also fully supported (Note: Xbox controllers are only supported via Bluetooth on macOS).
-
Joystick Mapping: You can map specific analog inputs (such as Left Stick X/Y, or the Left/Right Triggers) and digital buttons (A, B, X, Y, Bumpers, and D-Pad directions) to any software parameter. Analog thumbsticks are ideal for mapping to X/Y coordinates, allowing you to smoothly physically drive the position of a projector, surface, or laser beam.
-
Customizing the Response: Within the Gamepad Control List, you can precisely define how the controller affects the software by setting the mathematical Source Range and Target Range, applying an averaging Filter, tweaking the response Curve, or setting a button to Toggle.
DMX Input for Control
In addition to outputting DMX to lighting fixtures, MadMapper can receive incoming DMX data, allowing a dedicated lighting designer to control your video and laser mapping directly from an external lighting console.
-
Routing: Configure your listening universe via Art-Net, sACN, or a physical USB DMX interface.
-
Parameter Mapping: Map incoming DMX channels to control master opacity, trigger scenes, or select media banks, seamlessly integrating the video mapping into the venue's master lighting cues.
Audio, MadMapper & Other Inputs
-
Audio: Utilize system audio devices (such as external USB interfaces) or built-in microphones to drive parameters dynamically. You can map variables to specific frequency bands like amplitude, bass, medium, and treble, or link them to timing data like ltc_time, bpm, beatCount, and specific fractional beat divisions (e.g., 1_beats, 4_beats, 16_beats). You can globally adjust the listening device, set the master input level, and fine-tune the reactive range.
-
MadMapper (Internal Modules): This tab allows you to use internal software processes to automate other parameters within your project. This includes tying controls directly to the master BPM or Media Playback states, or using specialized generative modules like the OscillatorBank, Macro, Pollution, or Weather.
-
Tempo Control: To keep your generative visuals and video playback perfectly locked to the beat, you can manually tap the tempo or dial in a specific BPM (Beats Per Minute) in the main toolbar, which will then drive any parameters mapped via this tab.
-
Other: This tab is used for specialized external integrations, most notably Ableton Link devices or Ableton Live triggering.
-
Ableton Link & MIDI Clock: By mapping controls through this tab, you can sync MadMapper's internal clock to external audio software (like Ableton Live) or DJ hardware over the local network. This ensures your generative parameters and laser patterns pulse exactly in time with the live audio without needing to manually tap the tempo.
The MadMapper API (OSC)
MadMapper features a robust, fully documented OSC API, allowing advanced users to programmatically control almost every aspect of the software.
-
Input & Feedback Ports: Define exactly where MadMapper listens for API commands and where it broadcasts status updates.
-
Setting & Getting Values: You can explicitly set a parameter by sending a value to its address. You can also "Get" a value to query the software for its current state without changing it.
-
URL Patterns: The API uses a logical, human-readable folder structure (e.g., /surfaces/Quad-1/opacity).
-
Wildcards: The API supports the * wildcard, allowing you to change multiple parameters simultaneously with a single command (e.g., sending 0 to /surfaces/*/opacity will instantly black out every surface in your project).
Integration: Processing, TouchDesigner, Max/MSP
MadMapper is designed to act as the final projection and mapping hub for complex creative coding workflows. You can easily integrate it with visual programming environments like TouchDesigner, Max/MSP, or Processing.
-
Local Video Routing: Use Syphon (on macOS) or Spout (on Windows) to send live, zero-latency video textures generated in TouchDesigner or Processing directly into MadMapper's media bin when running both applications on the same machine.
-
Network & External Video Routing: If you are running content from one computer to another—for example, generating visuals on a Windows computer and mapping them via a Mac—you can use NDI to send the video streams over your local network. Alternatively, you can bring physical video signals into MadMapper using external Capture Cards (such as USB or PCIe HDMI capture devices).
-
Data Routing: Simultaneously use OSC to pass mathematical data, tracking coordinates, or generative variables from your coding environment into MadMapper to dynamically adjust surface geometries, laser paths, or shader parameters in real-time.
TouchDesigner Setup (Syphon/Spout)
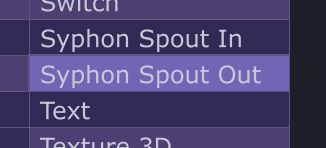
In TouchDesigner, locate the Syphon Spout Out TOP operator and add it to your network to broadcast your final composition.
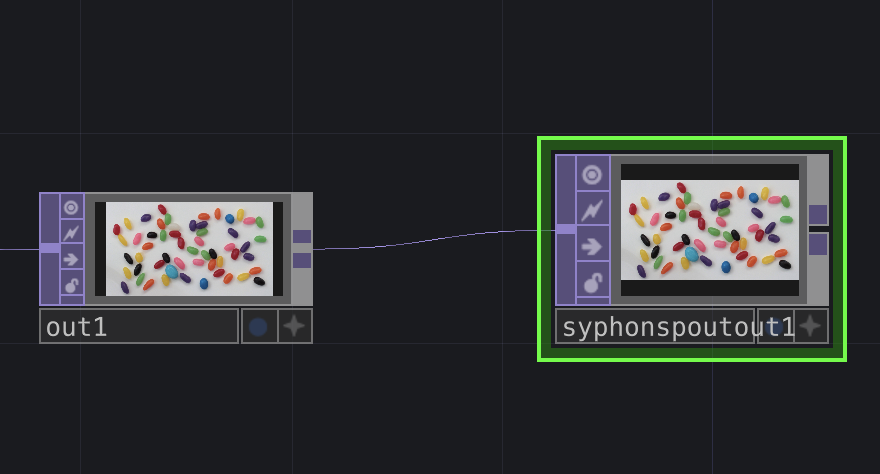
Once the TouchDesigner output is active, MadMapper will automatically detect the Syphon or Spout source. It will appear in your Media Bin, allowing you to drag it directly onto your surfaces.
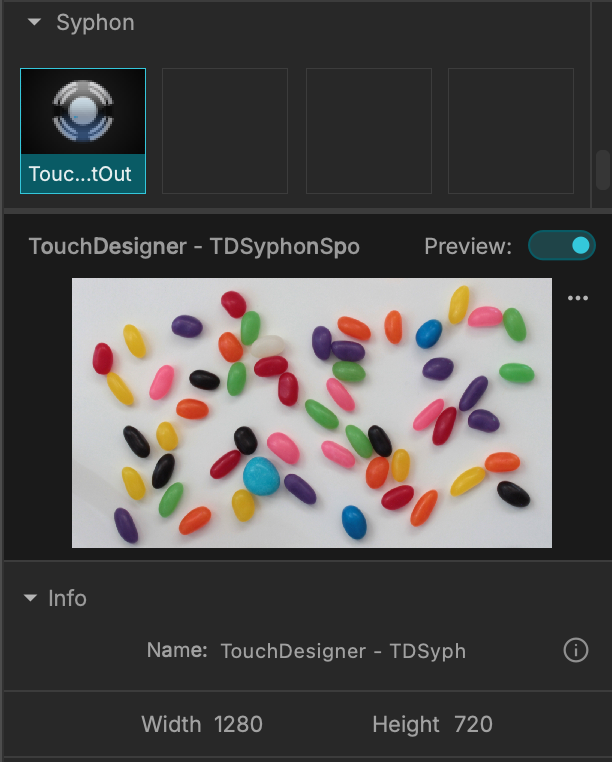
Note on Resolution: Non-commercial TouchDesigner licenses are hard-capped at a maximum resolution of 1280x720. While MadMapper can scale this feed up to fit your desired physical output, you will need to upgrade to a paid TouchDesigner license if you require a higher native rendering resolution.
TouchDesigner NDI Settings
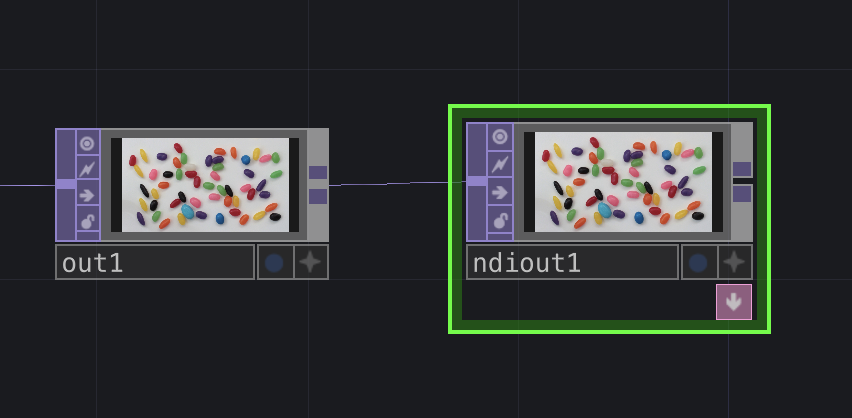
The process for utilizing NDI sources is similar to Syphon/Spout, but the video data travels over your local network. Active NDI streams on your local or area network will automatically appear in MadMapper's Media Bin under the Live Inputs category.
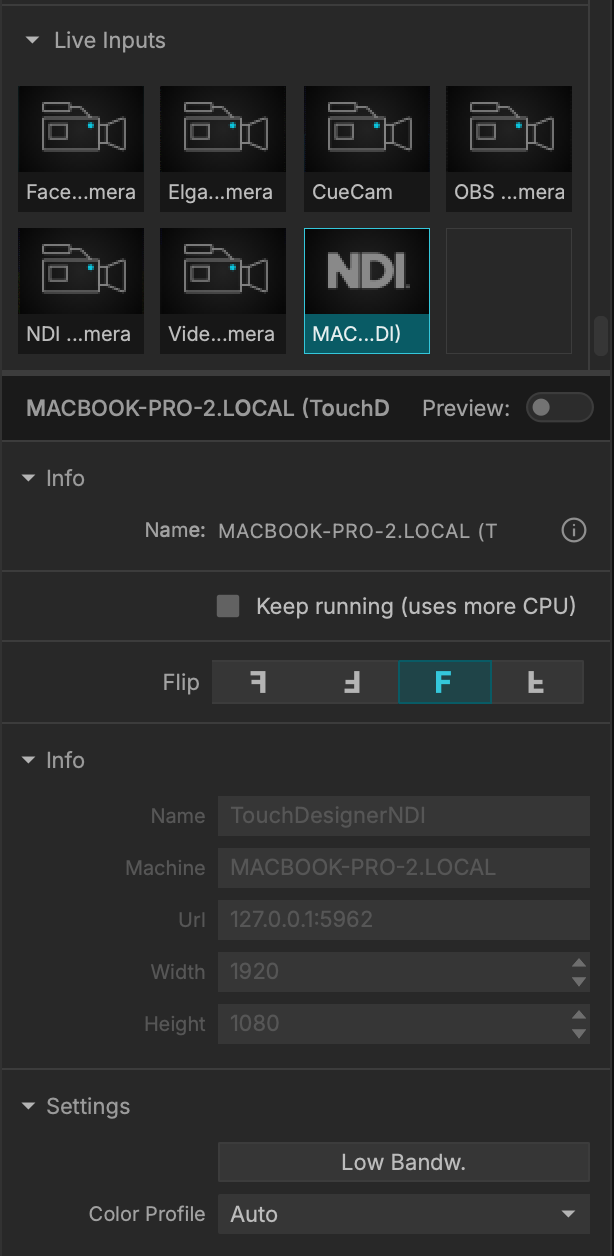
When an NDI source is selected, the Media Inspector adapts to provide specialized options to manage the network stream:
-
Keep running (uses more CPU): Check this box to force MadMapper to continuously process the incoming stream in the background, ensuring immediate availability even when the source is not currently mapped to an active, visible surface.
-
Flip: Quickly invert or mirror the incoming video feed horizontally or vertically.
-
Info: A read-only block that verifies the exact NDI sender Name, the originating Machine name, the network URL (IP address and port), and the native Width and Height of the incoming stream.
-
Settings: Toggle Low Bandw. (Low Bandwidth) to request a lower quality stream from the sender and reduce network load if you are experiencing stuttering. You can also manually assign the Color Profile here.