Online Material Library
MadMapper includes an integrated Public Material Library that allows users to browse, download, publish, and share generative visual effects with the global community.
MadMapper Materials are generative visual assets built using GLSL shader code (specifically the ISF - Interactive Shader Format). Because they are mathematically generated in real-time by your GPU, they are resolution-independent and highly optimized for live performance.
Accessing the Library
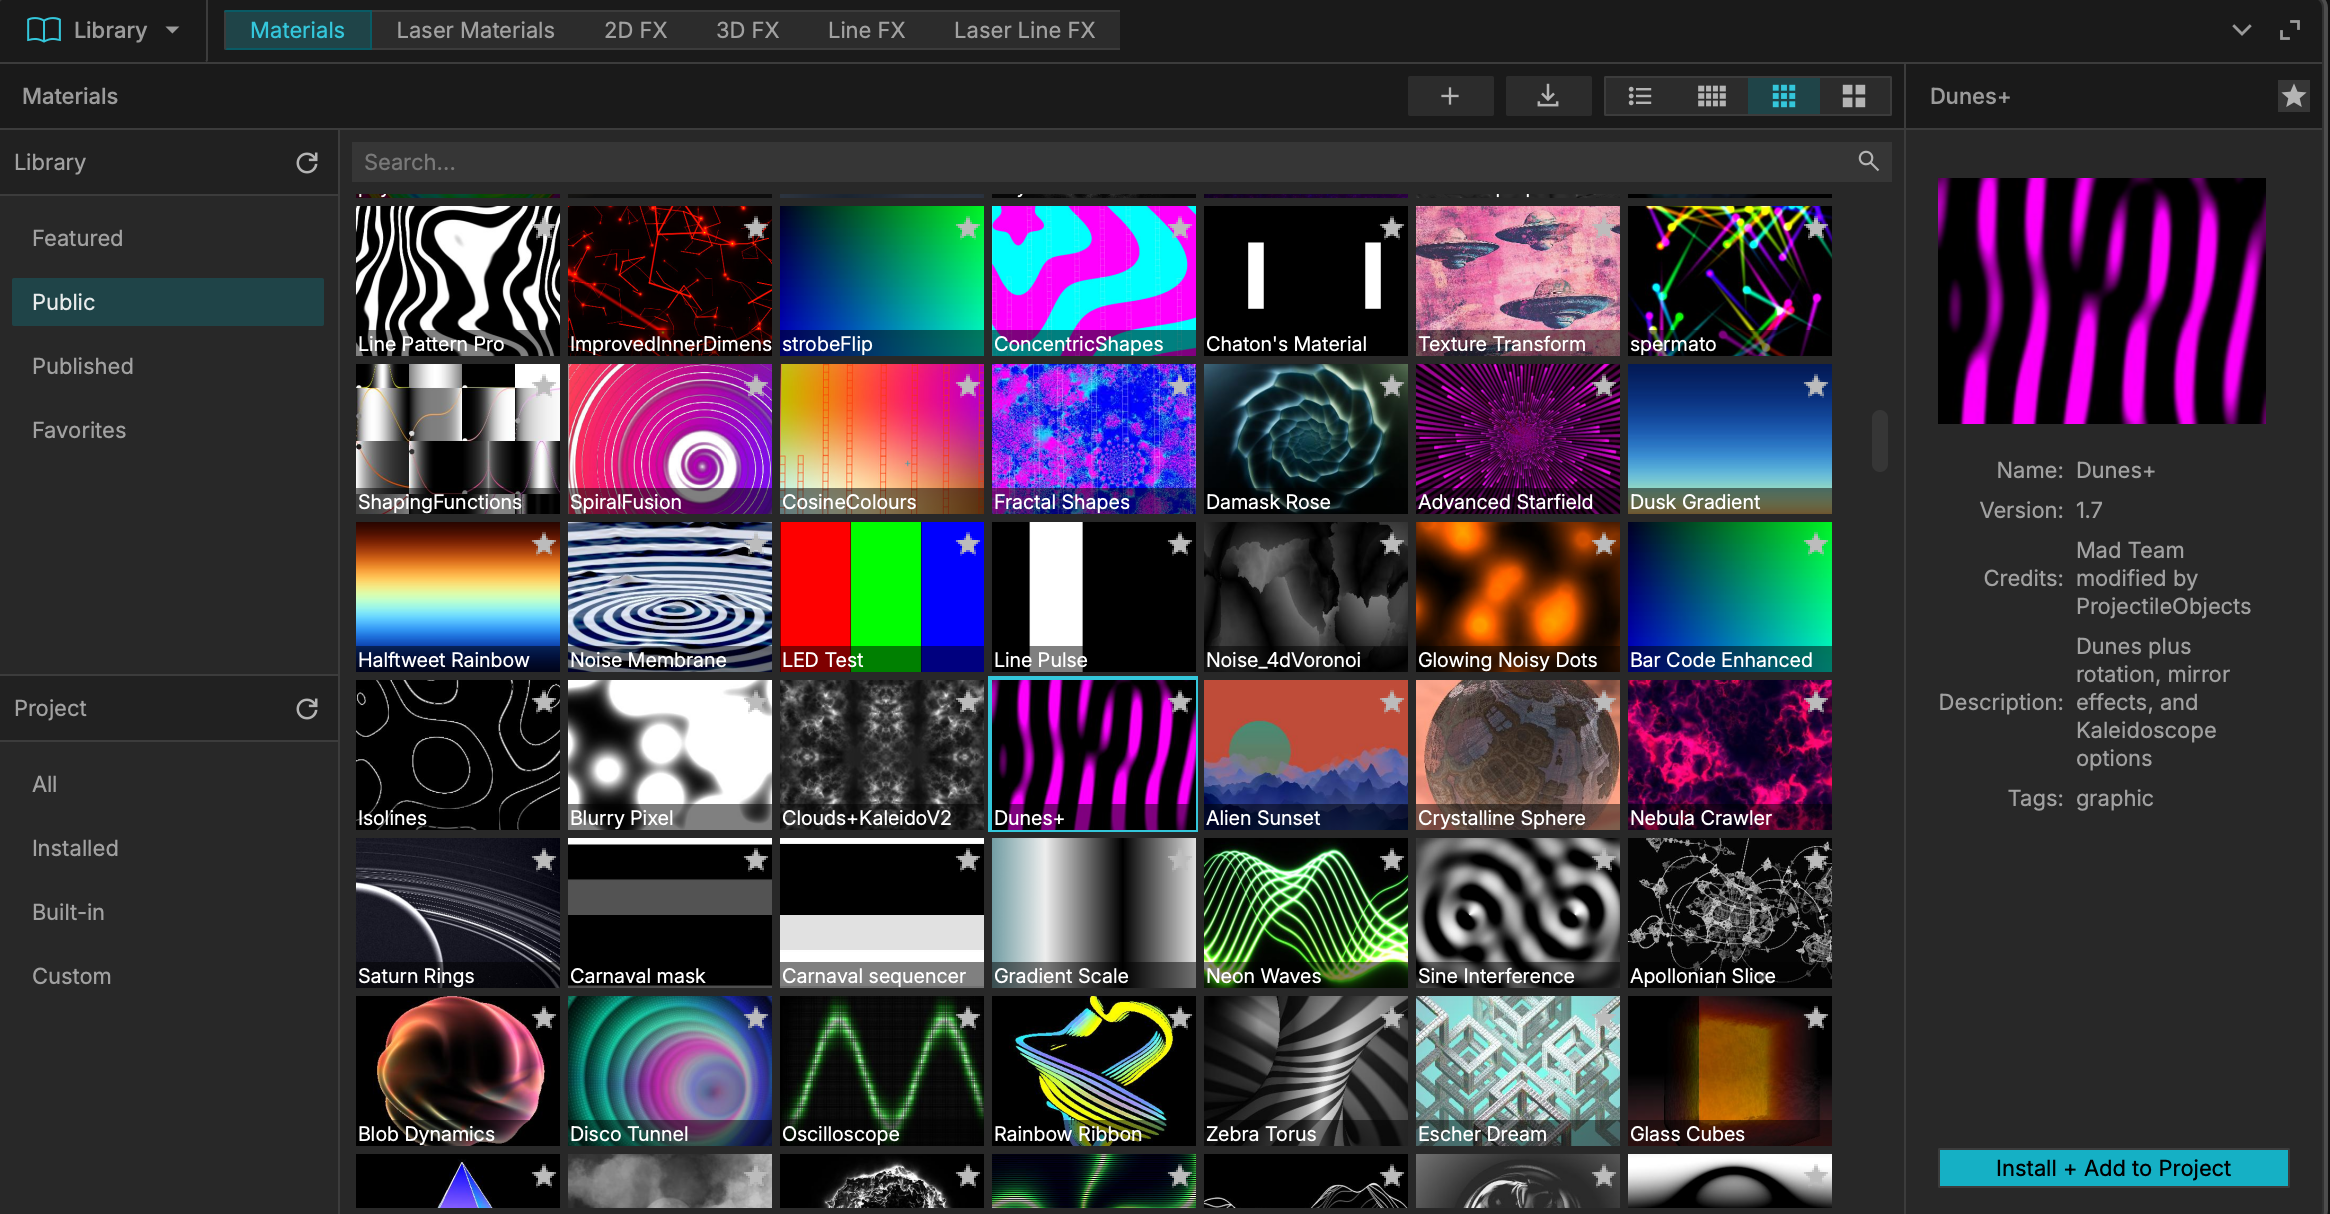
To access the community repository, navigate to the top menu bar and select Tools > Library.
This opens the Library in the advanced toolbar. From there, select Public to view the lists of widely available Materials, Laser Materials, 2D FX, 3D FX, Line FX, and Laser Line FX from the MadMapper community.
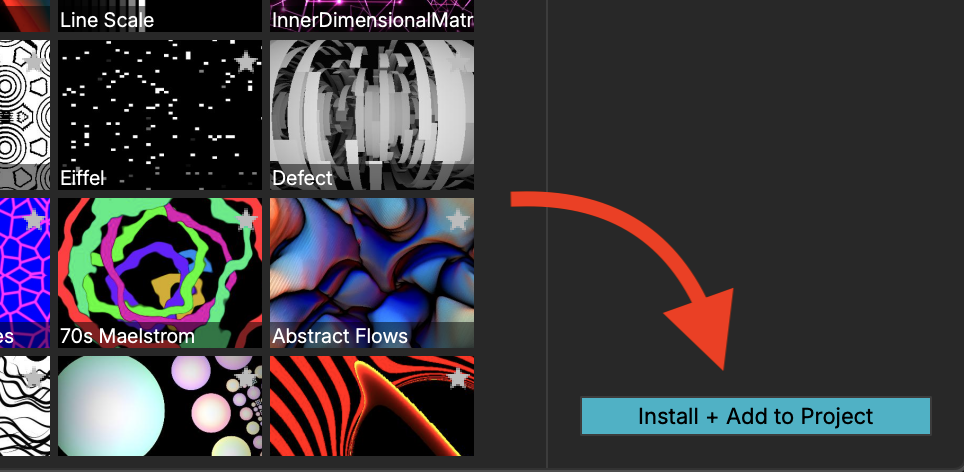
From here, you can click the star icon to add an item to your Favorites, or click Install + Add to Project to place it directly into your Media Bin.
Creating and Authoring Materials
If you are comfortable writing GLSL code or modifying existing shaders, you can create your own custom materials directly within MadMapper's built-in Code Editor, or use MadAI to generate them with a few simple prompts.
There are three primary ways to create your own Materials directly inside MadMapper:
-
Use MadAI: Quickly generate a new Material with a few simple text prompts.
-
Duplicate and Modify: Duplicate an existing Material and edit it in the Code Editor.
-
Create from Scratch: Build your own Material from a blank template using the Code Editor, referencing the MadMaterials Documentation and GLSL Shader Function References.
Using MadAI
Open the Code Editor by going to Tools > AI / Code Editor. With the Code Editor open, click the + icon and select what you would like to create.
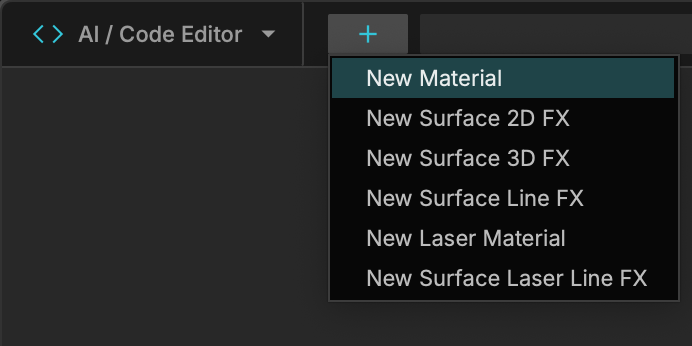
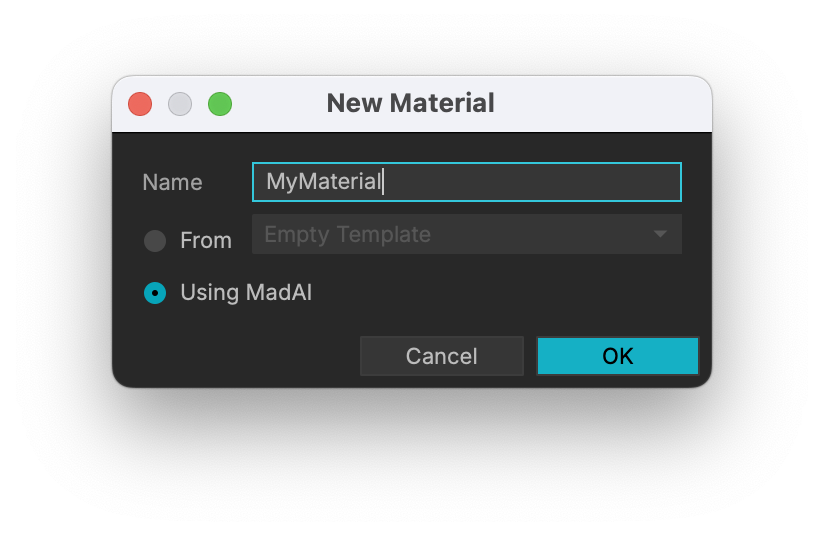
From there, you can choose a template or select Using MadAI.
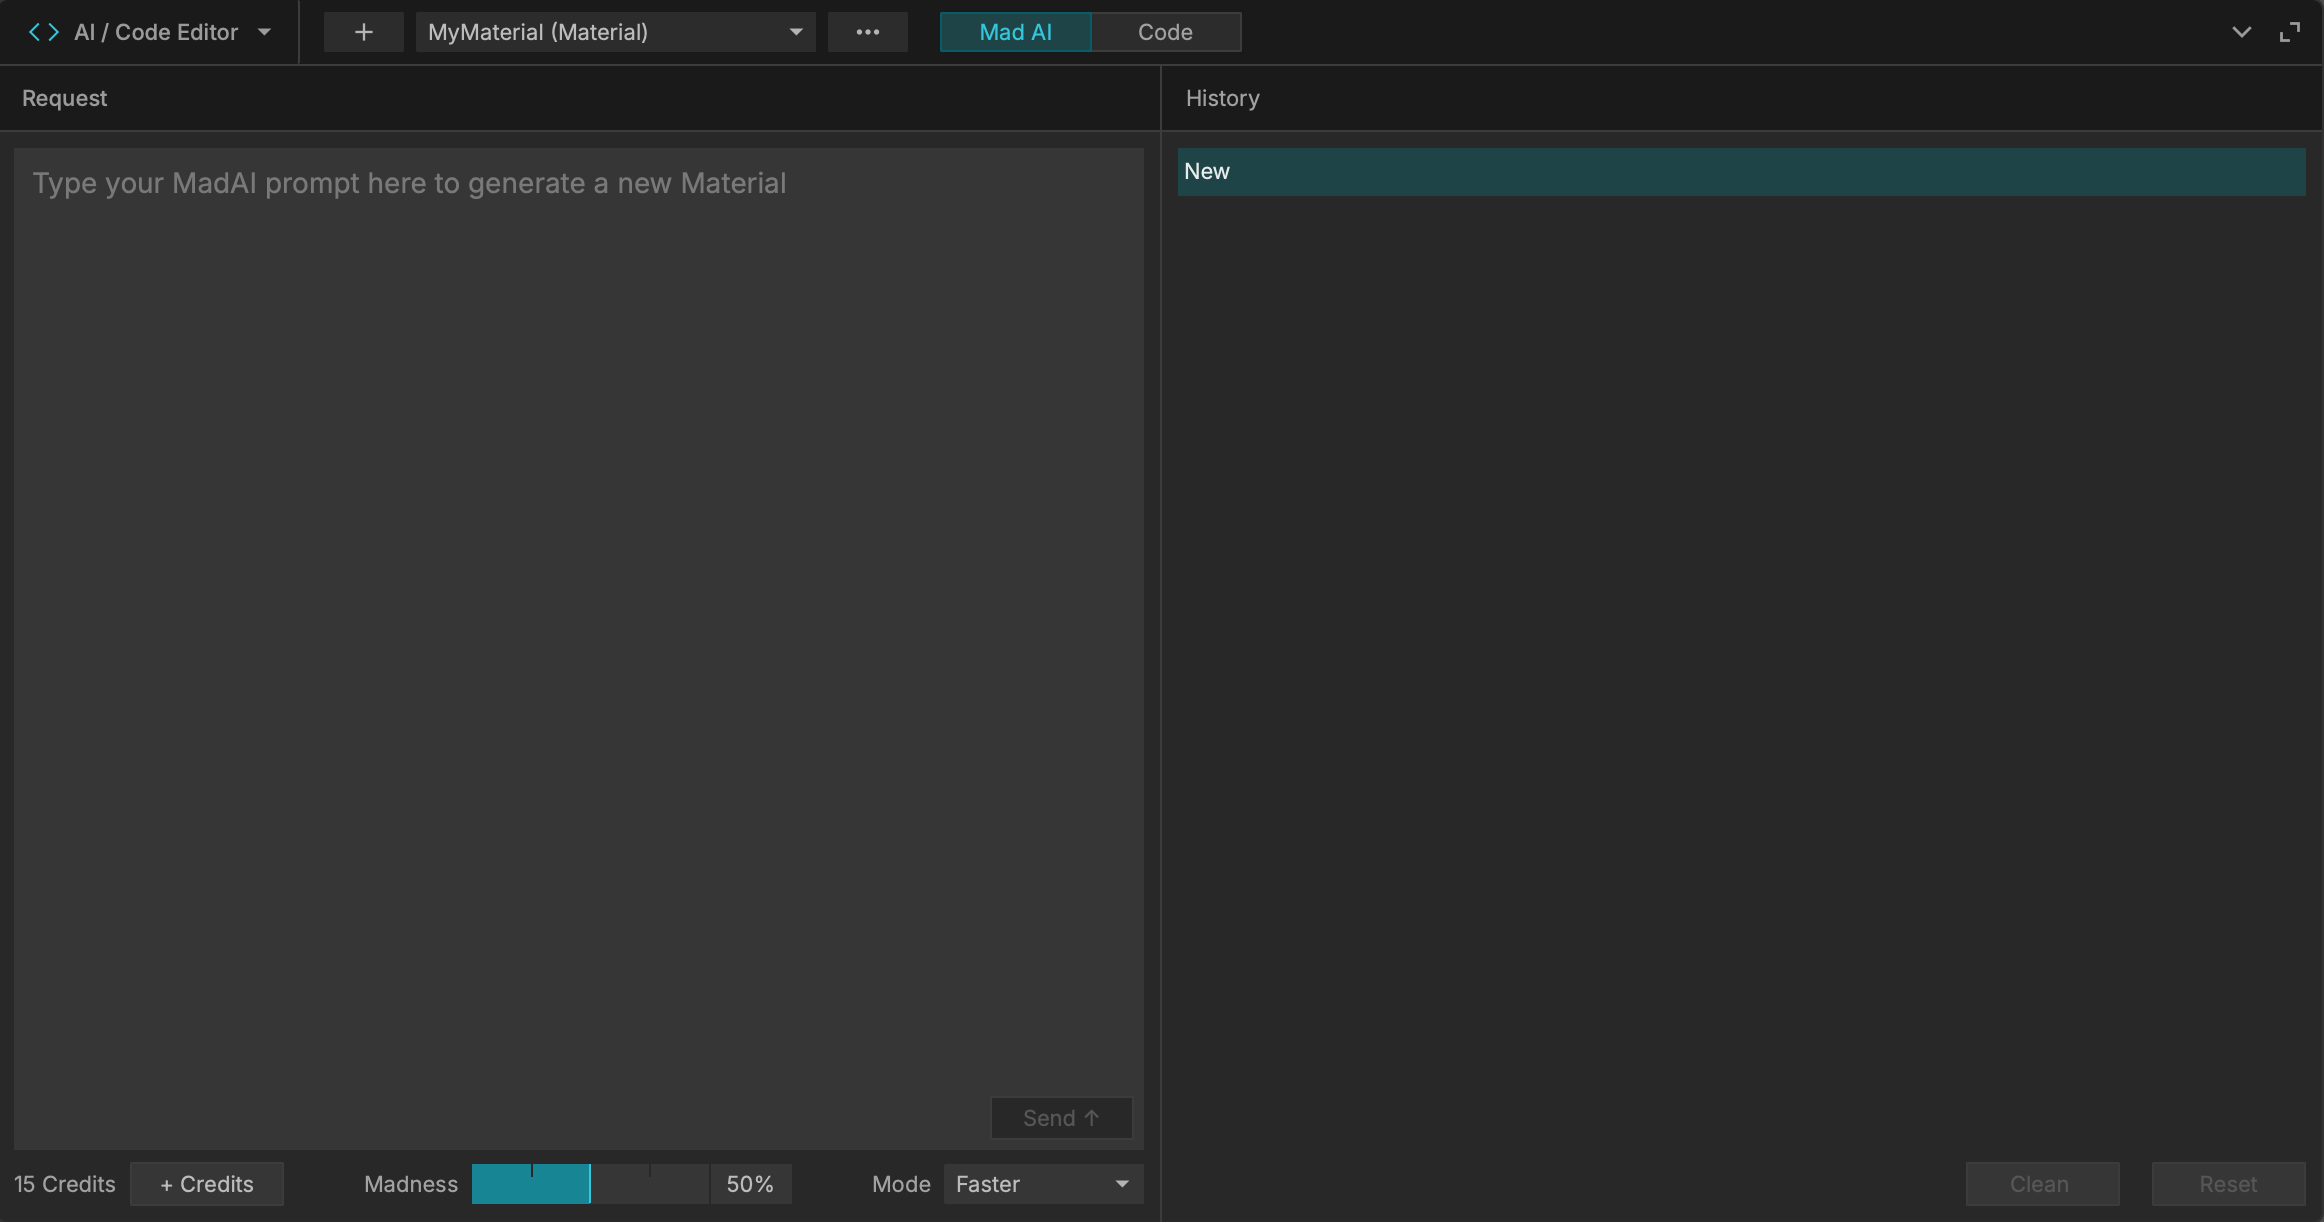
You will be provided with a default material and a text field to start prompting MadAI to create your vision.
Type in your prompt and click Send.
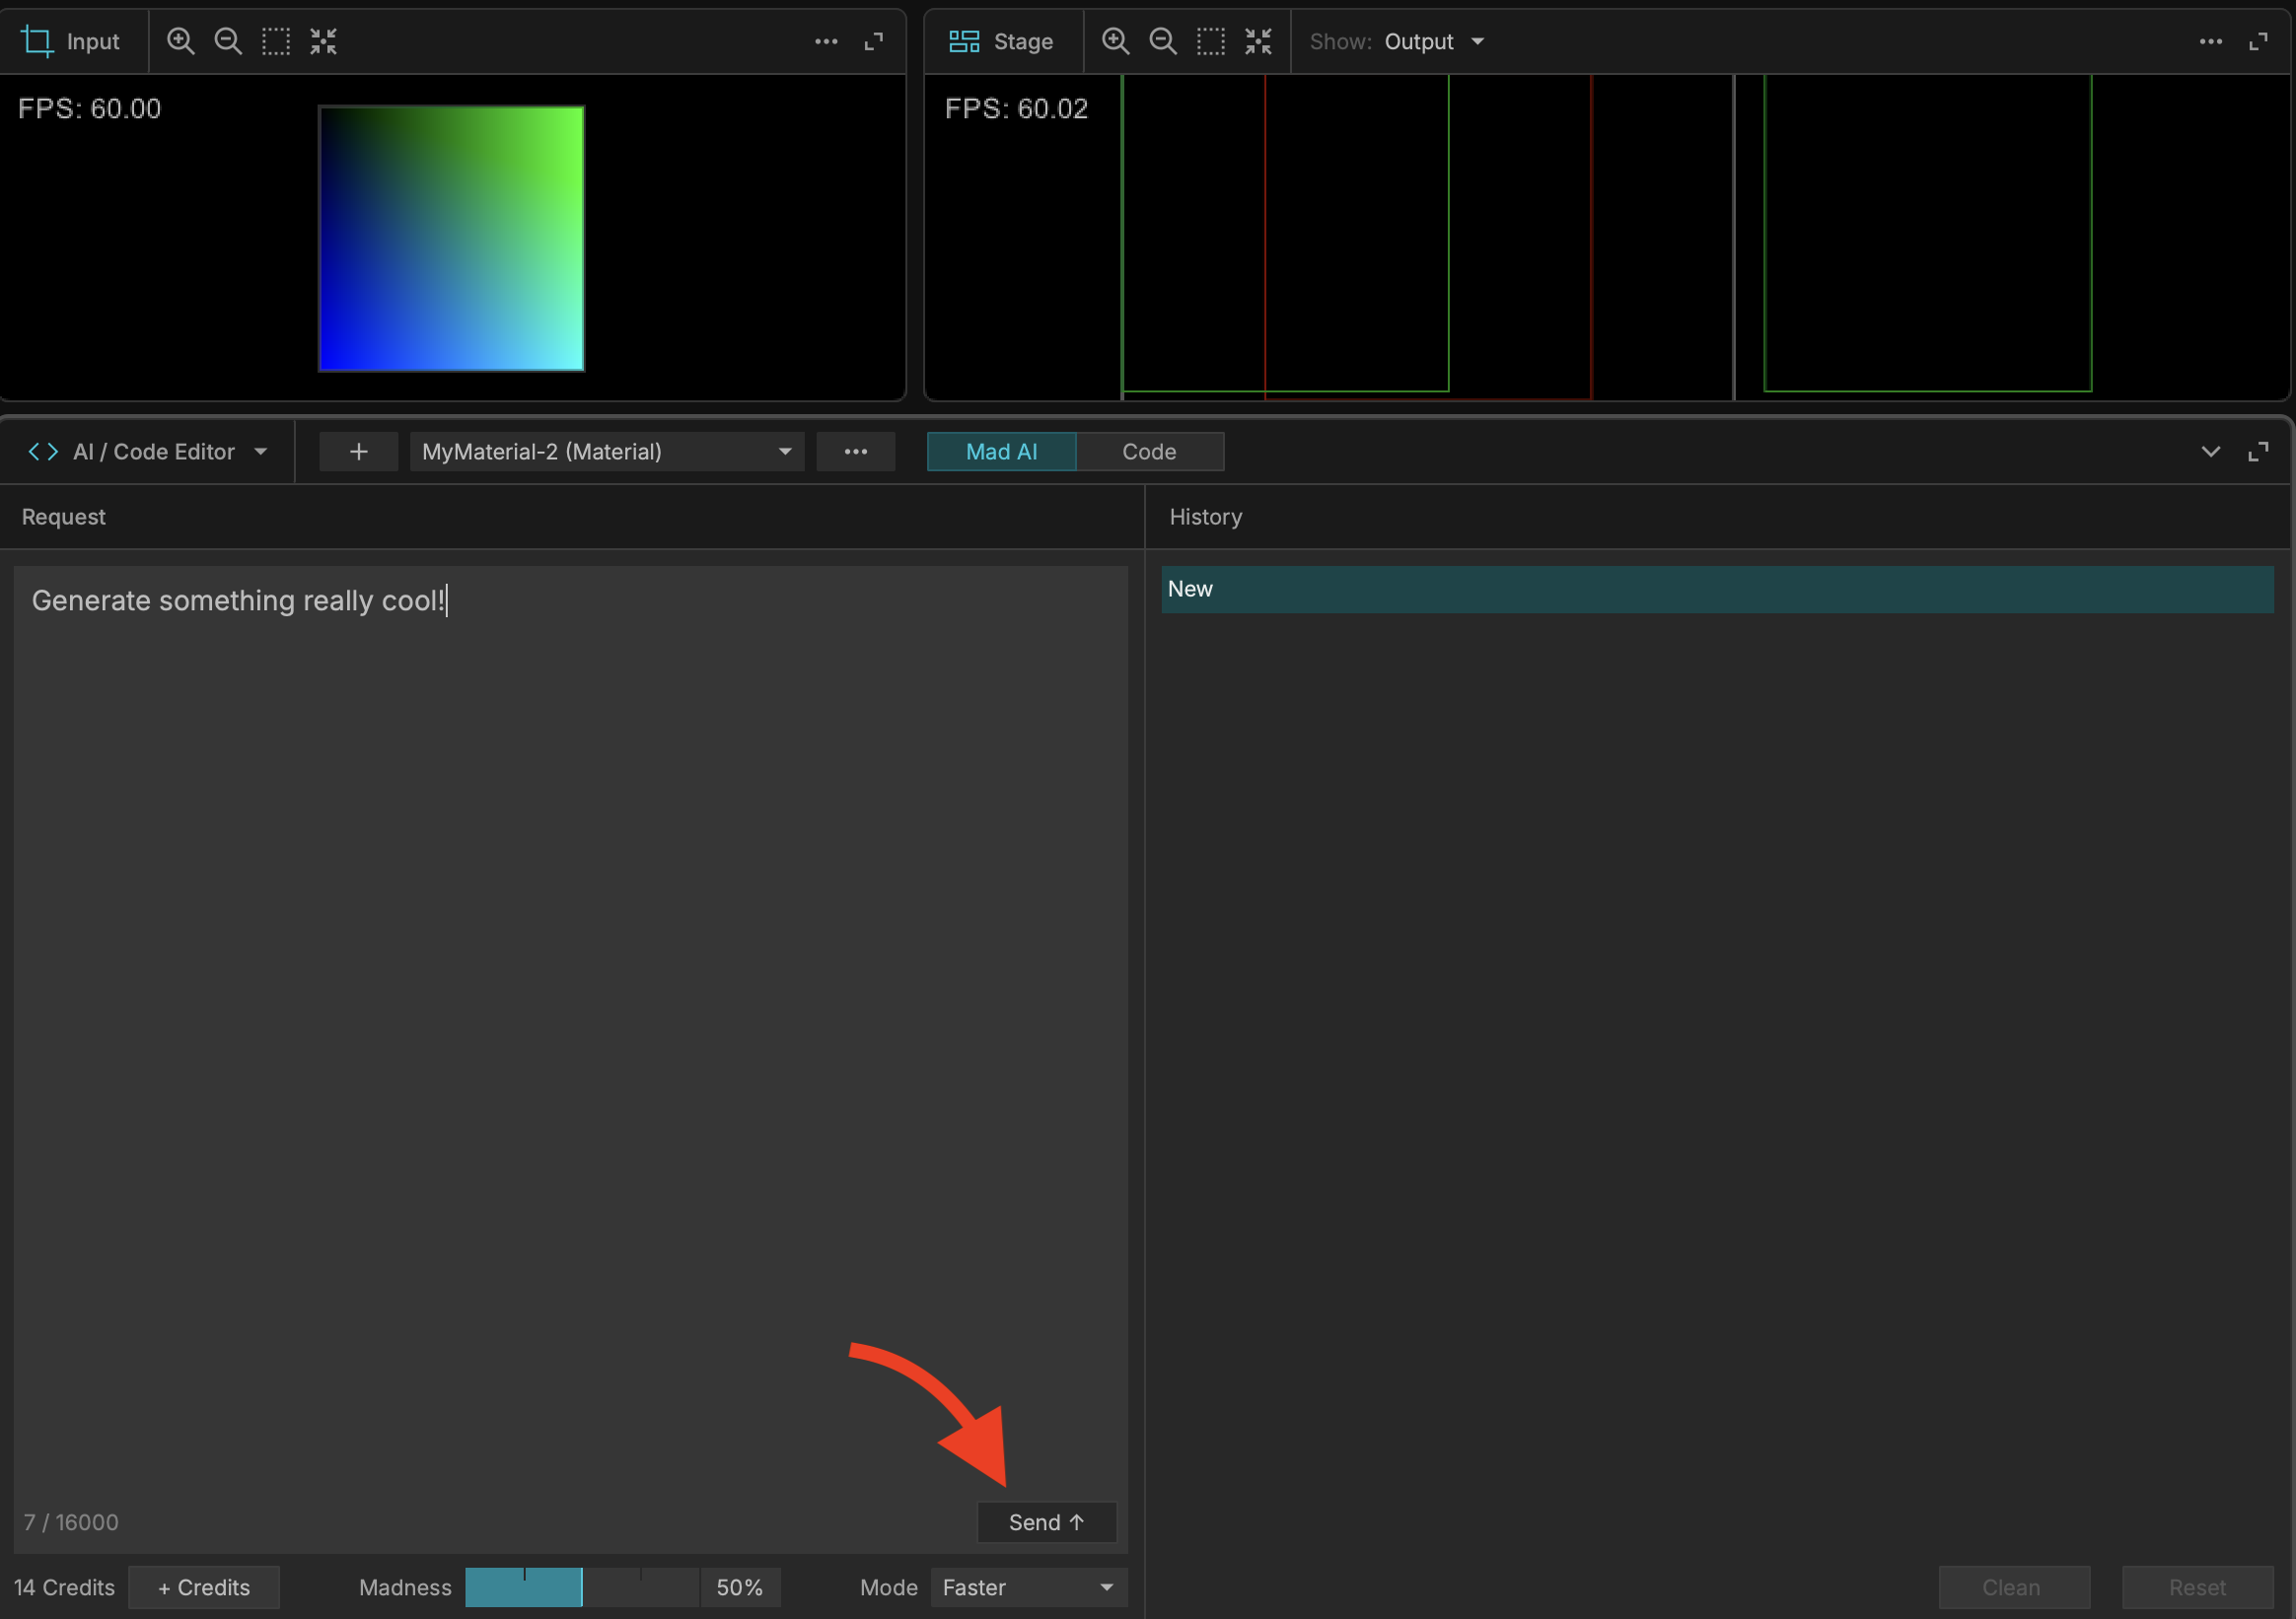
MadAI will process your request, return a newly generated Material, and keep your saved prompts in the History tab.
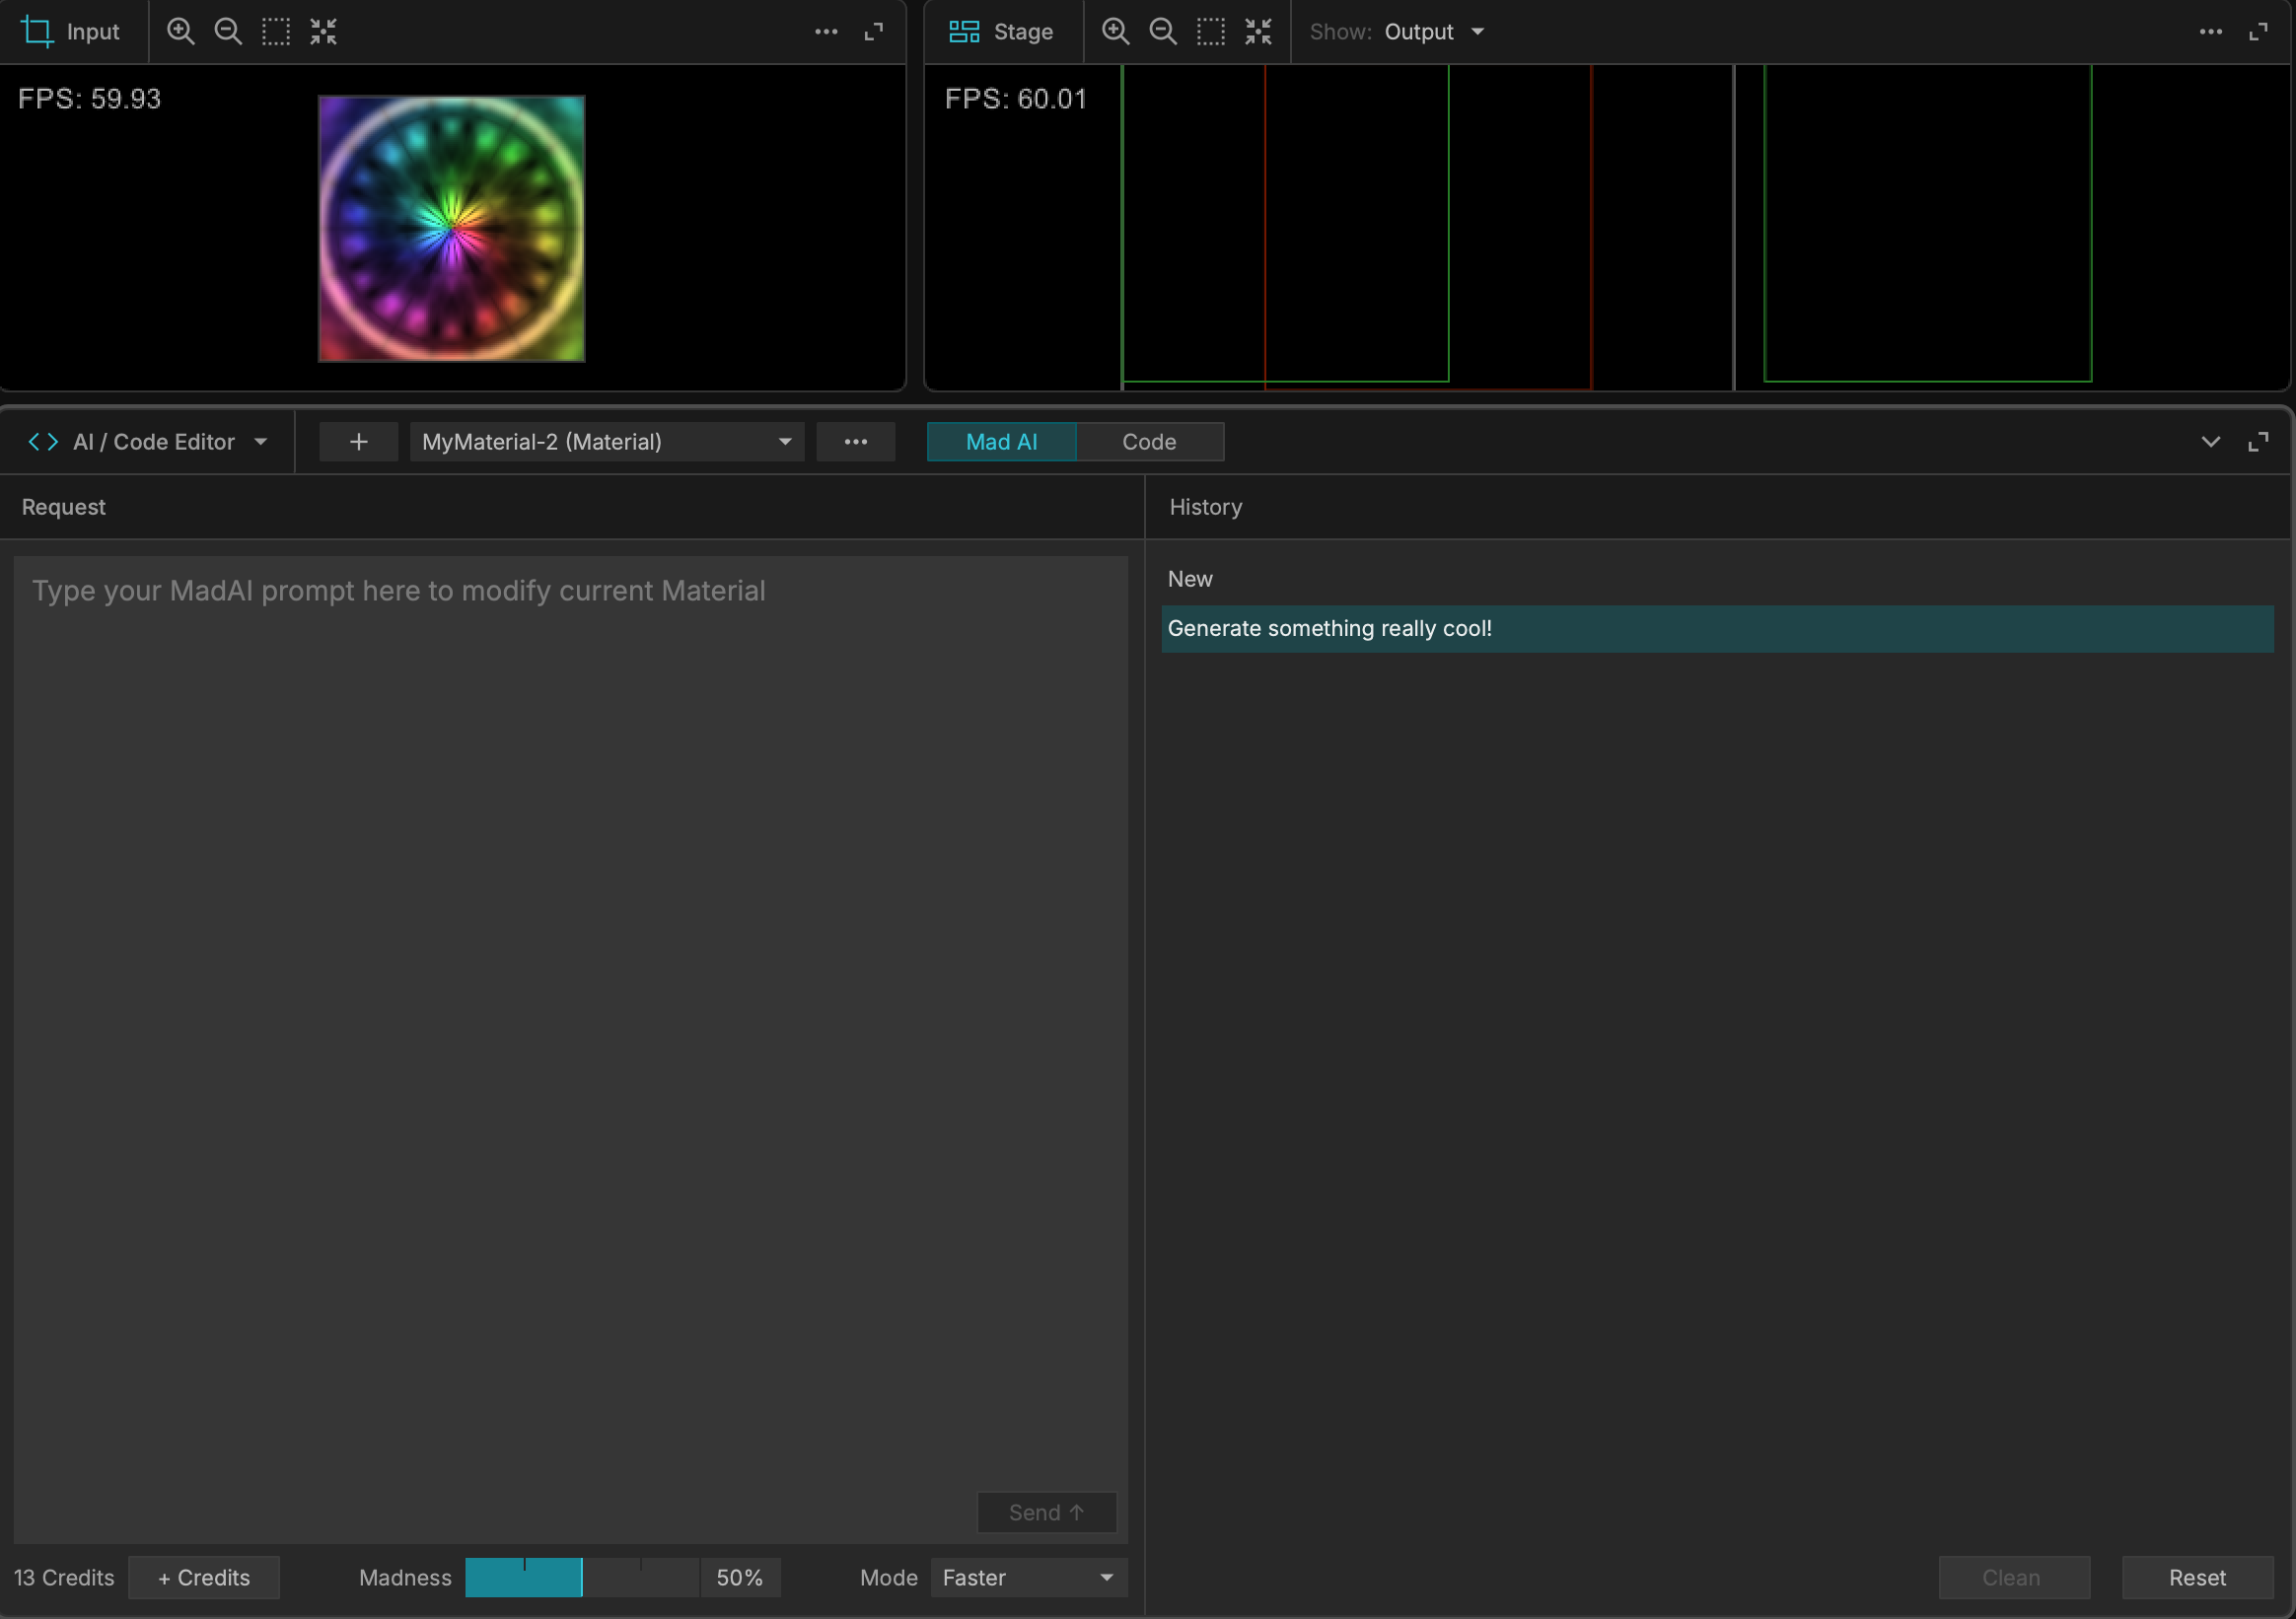
If you click on the Code tab, you can view the underlying GLSL code that was generated.
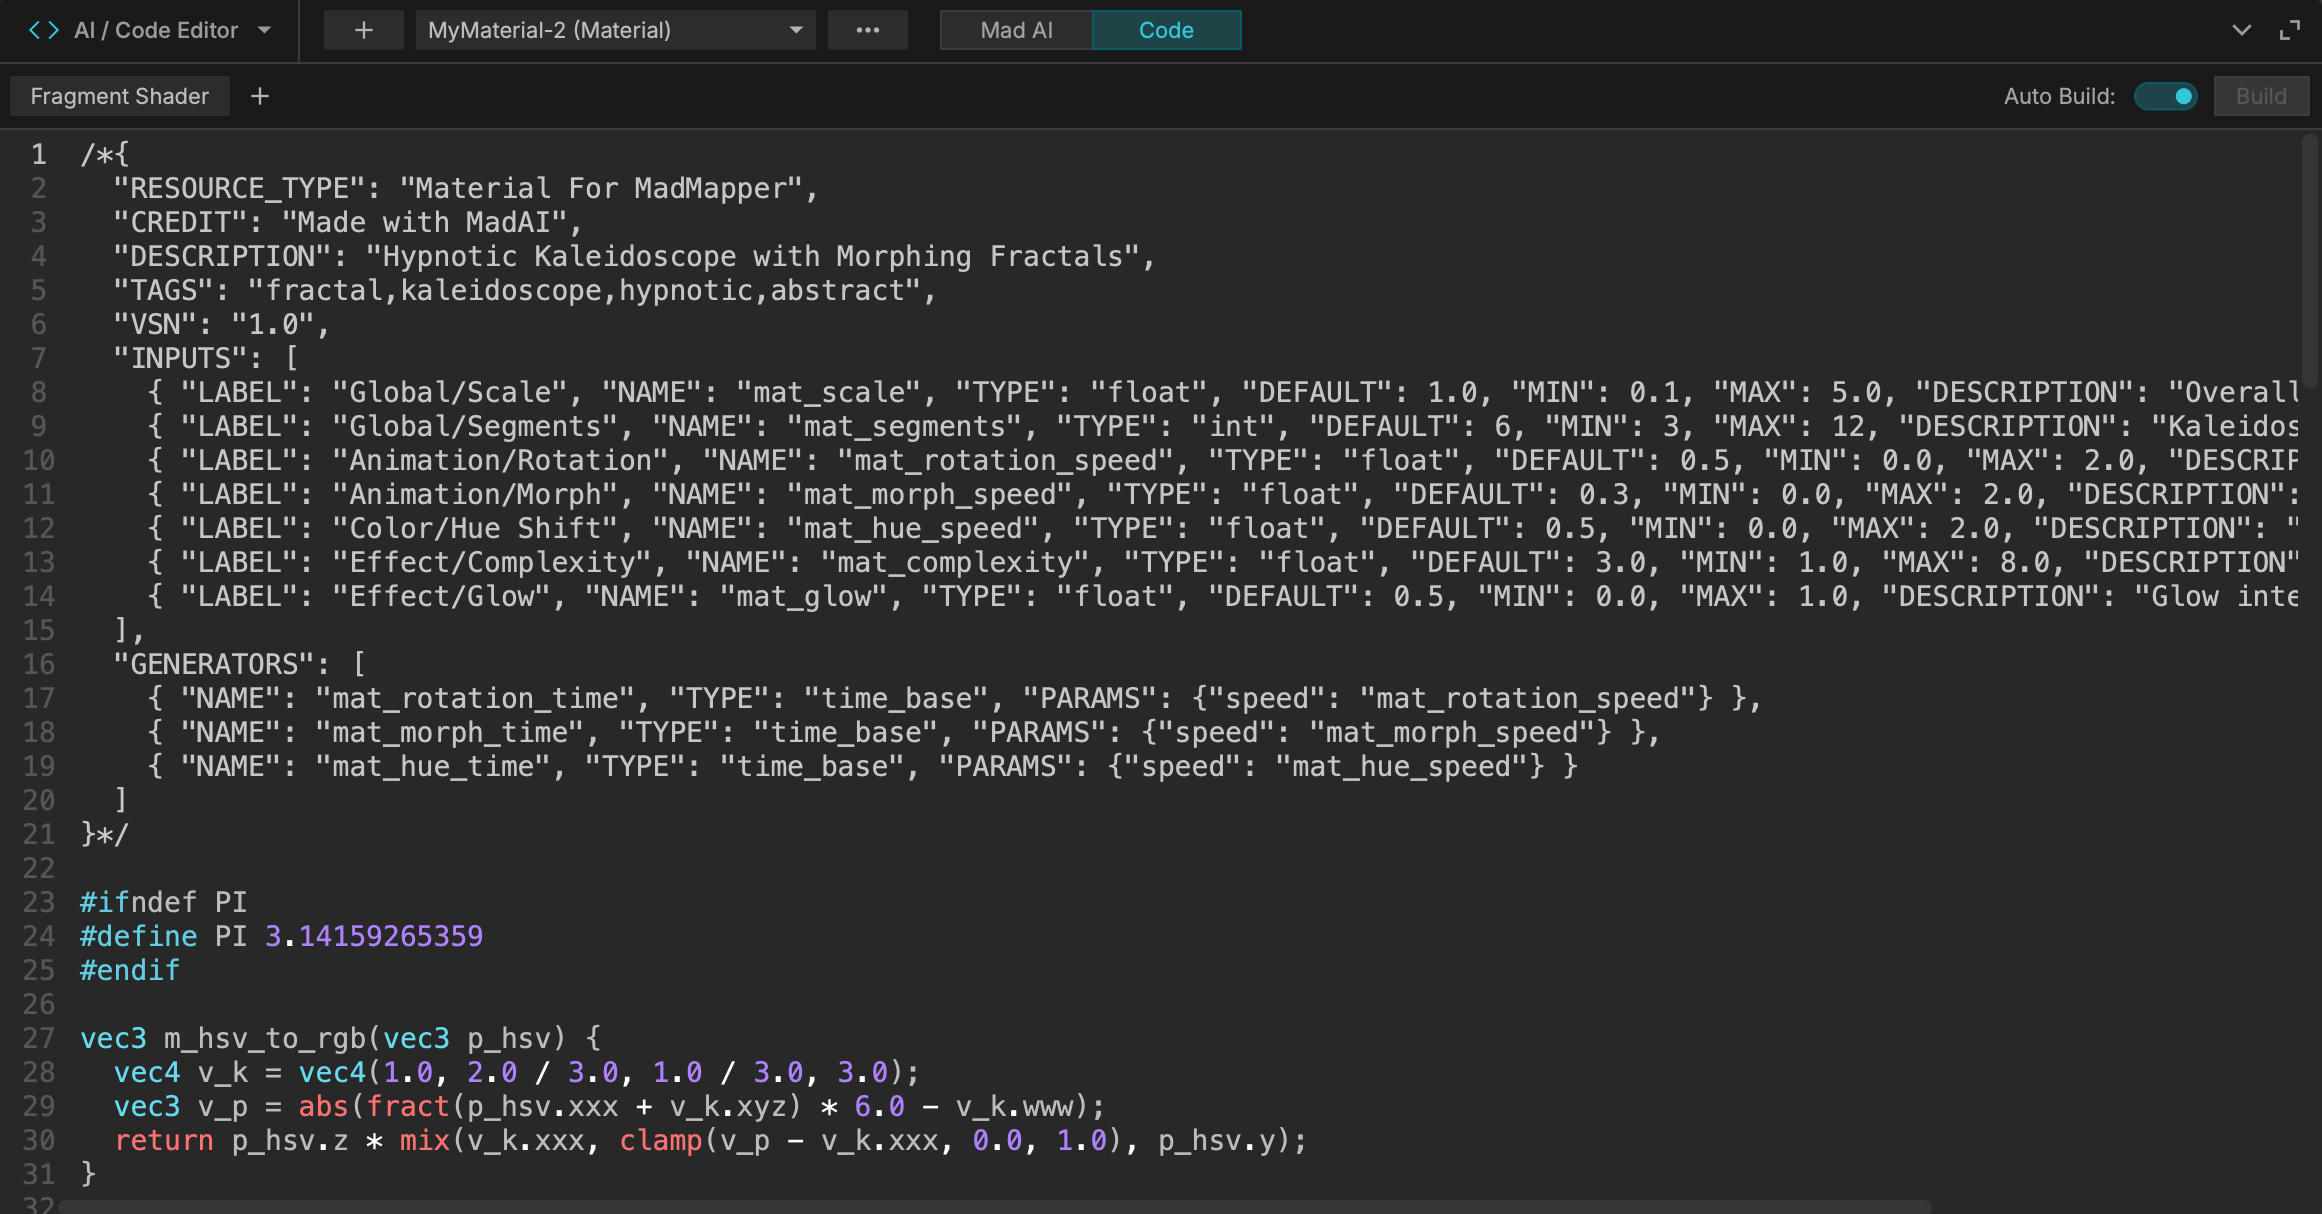
From here, you can make manual changes to the code, add your author name, or return to the MadAI tab to continue prompting and refining your content.
Before sharing a custom material with the world, it is best practice to embed your name and authorship details directly into the code's metadata:
-
Select your custom material in the Media Bin.
-
Open the material editor to view the source code.
-
At the very top of the code, locate the JSON header block (enclosed in
/* ... */). -
Add or modify the
"CREDIT"field to include your name or studio. For example:"CREDIT": "Your Name"
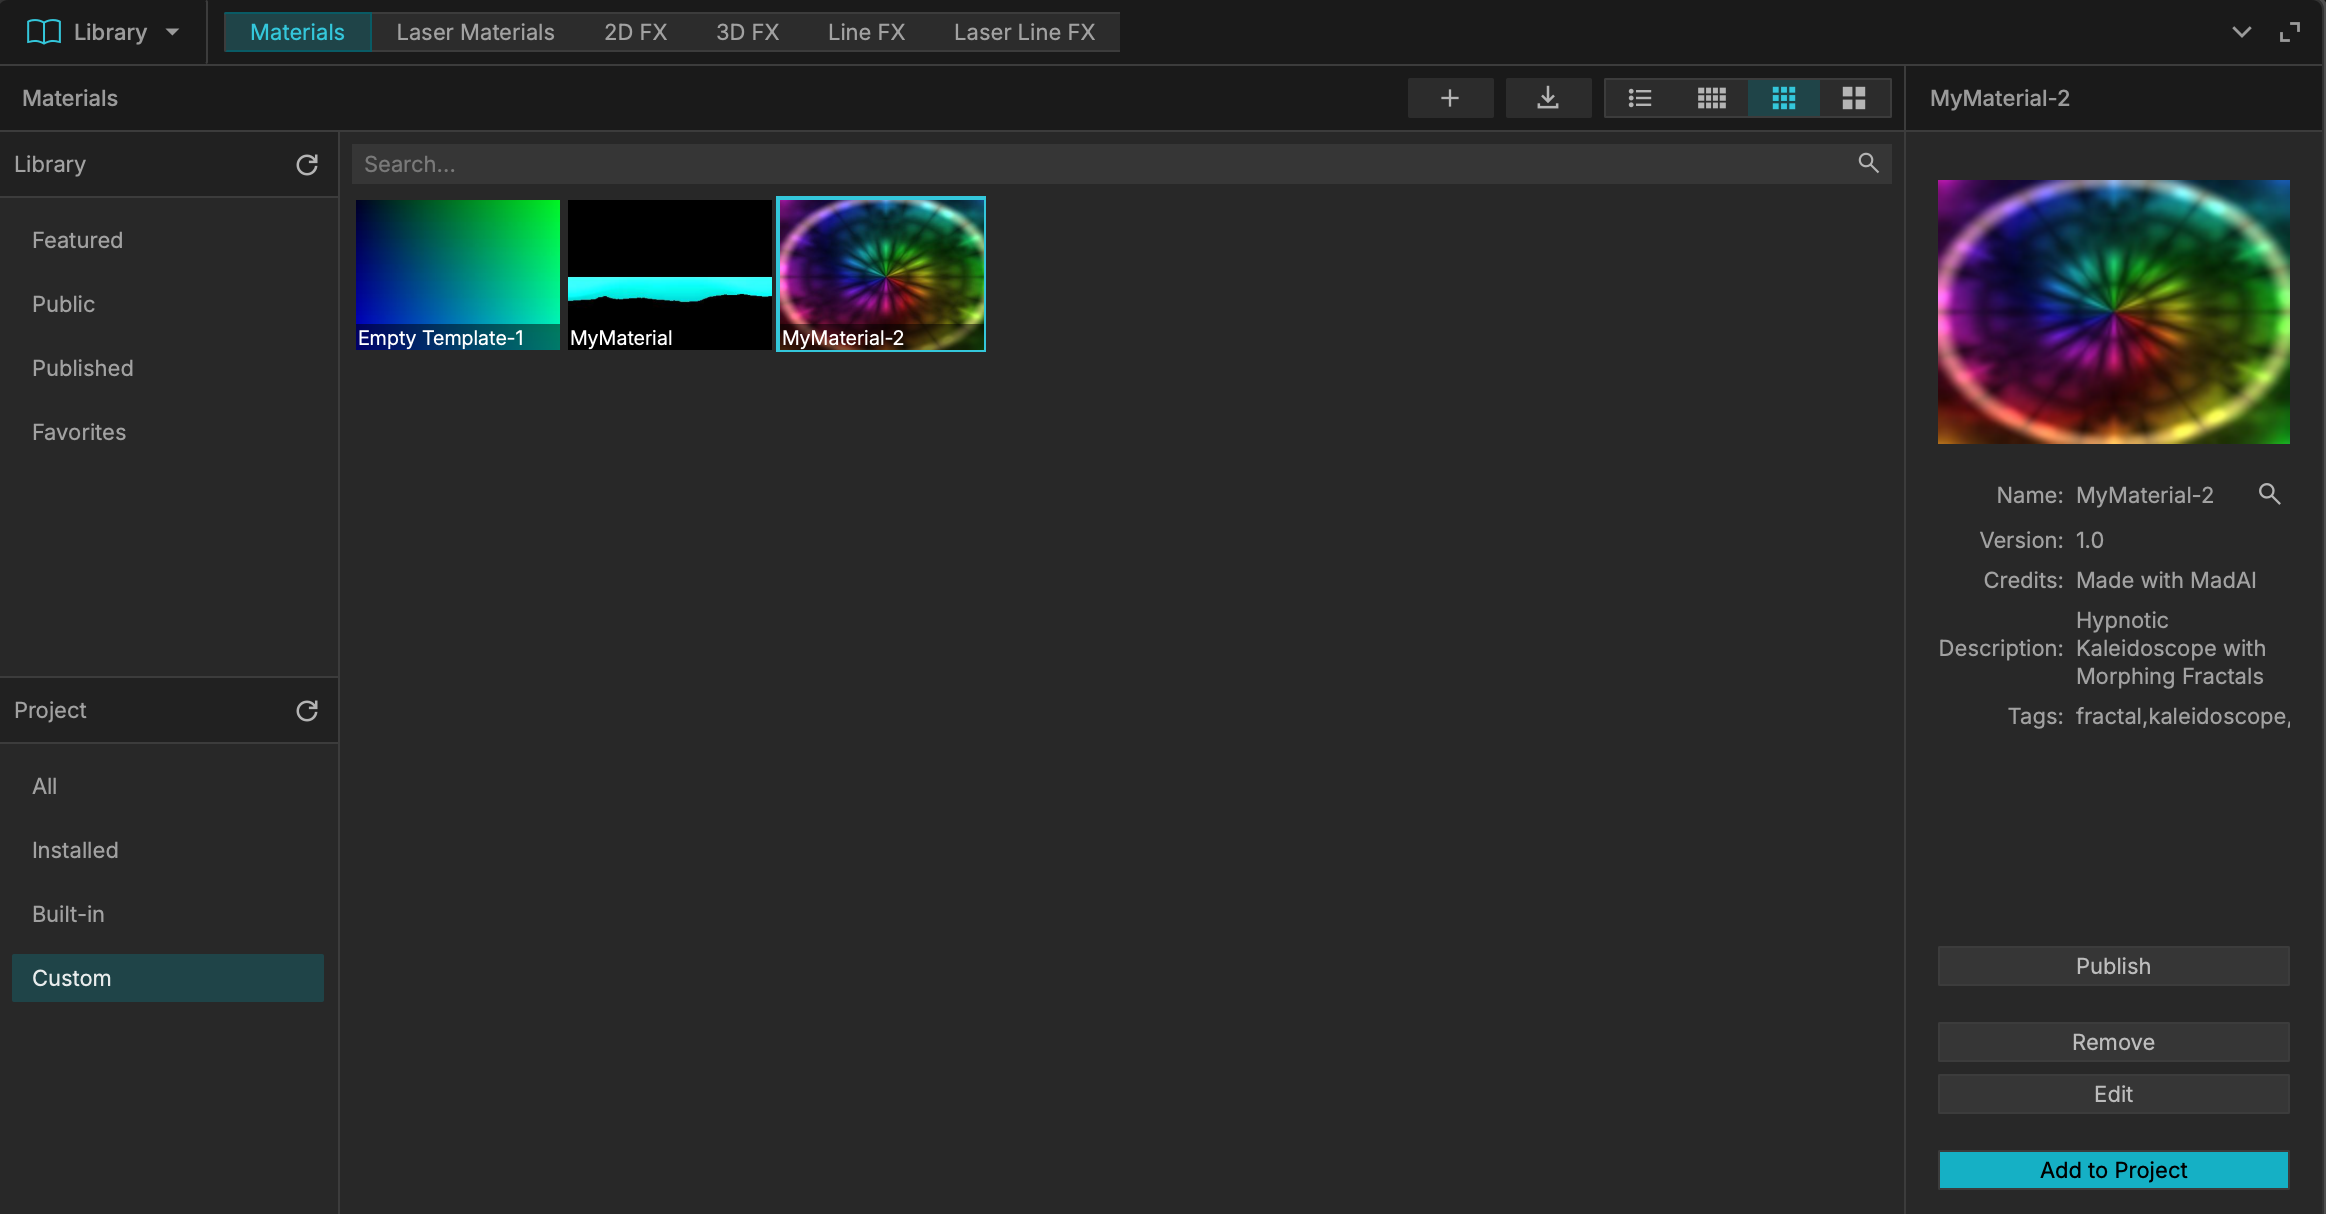
After you have created a new material, you can find it in your Library under the Project > Custom tab.
Duplicating an Existing Material
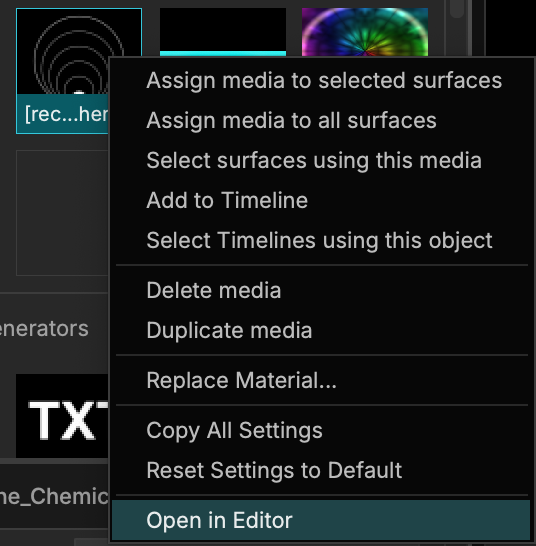
To modify a pre-existing Material, select it in your Media Bin, right-click, and choose Open in Editor.
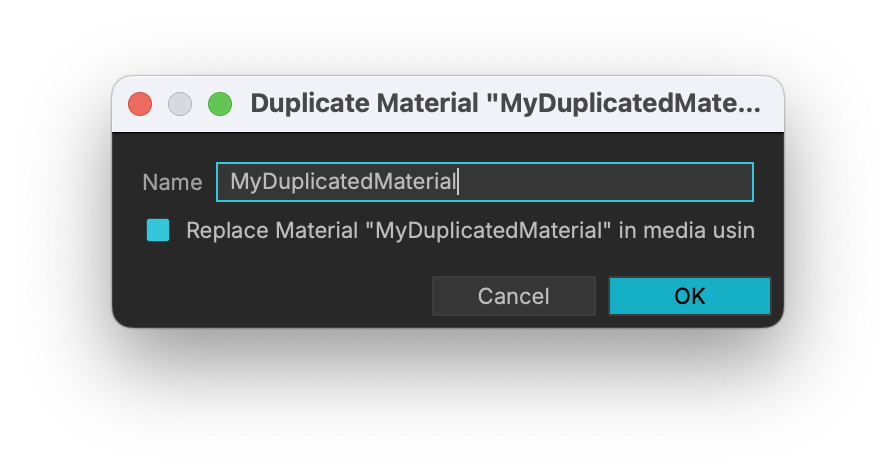
Click on the three dots (...) in the editor and select New Material from [Material Name].
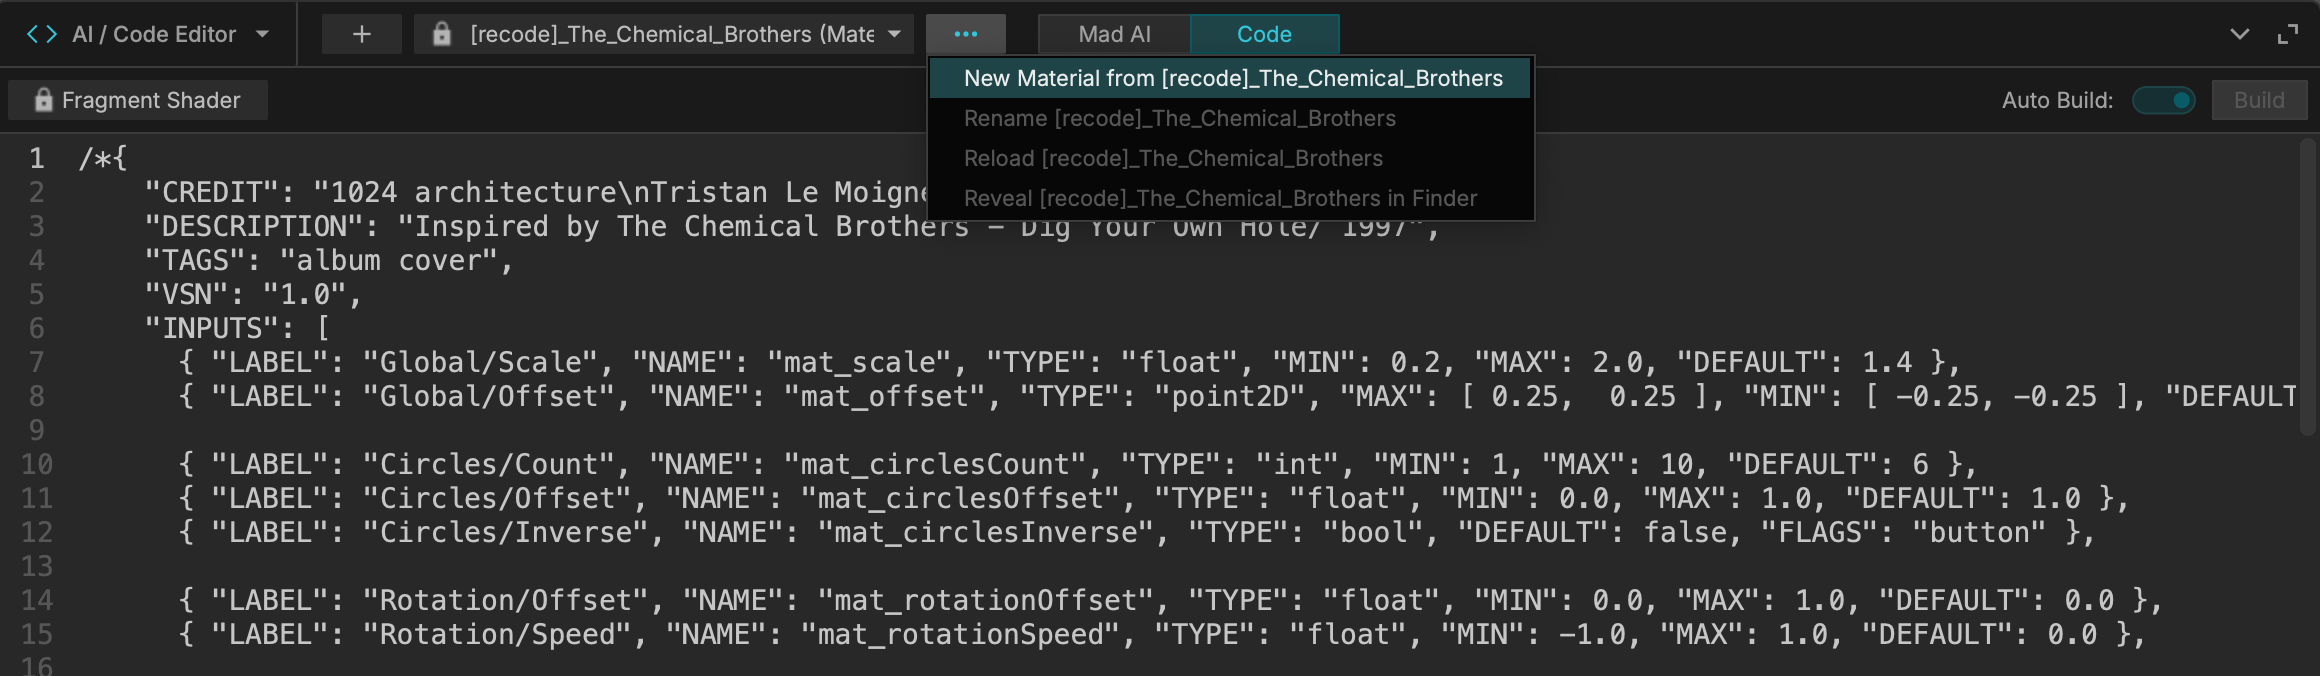
This will prompt you to name the new material and will place the editable copy into your Media Bin.
From here, you can modify the code to your liking.
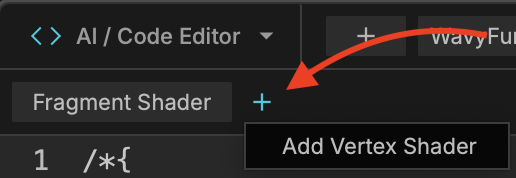
New Material from Scratch
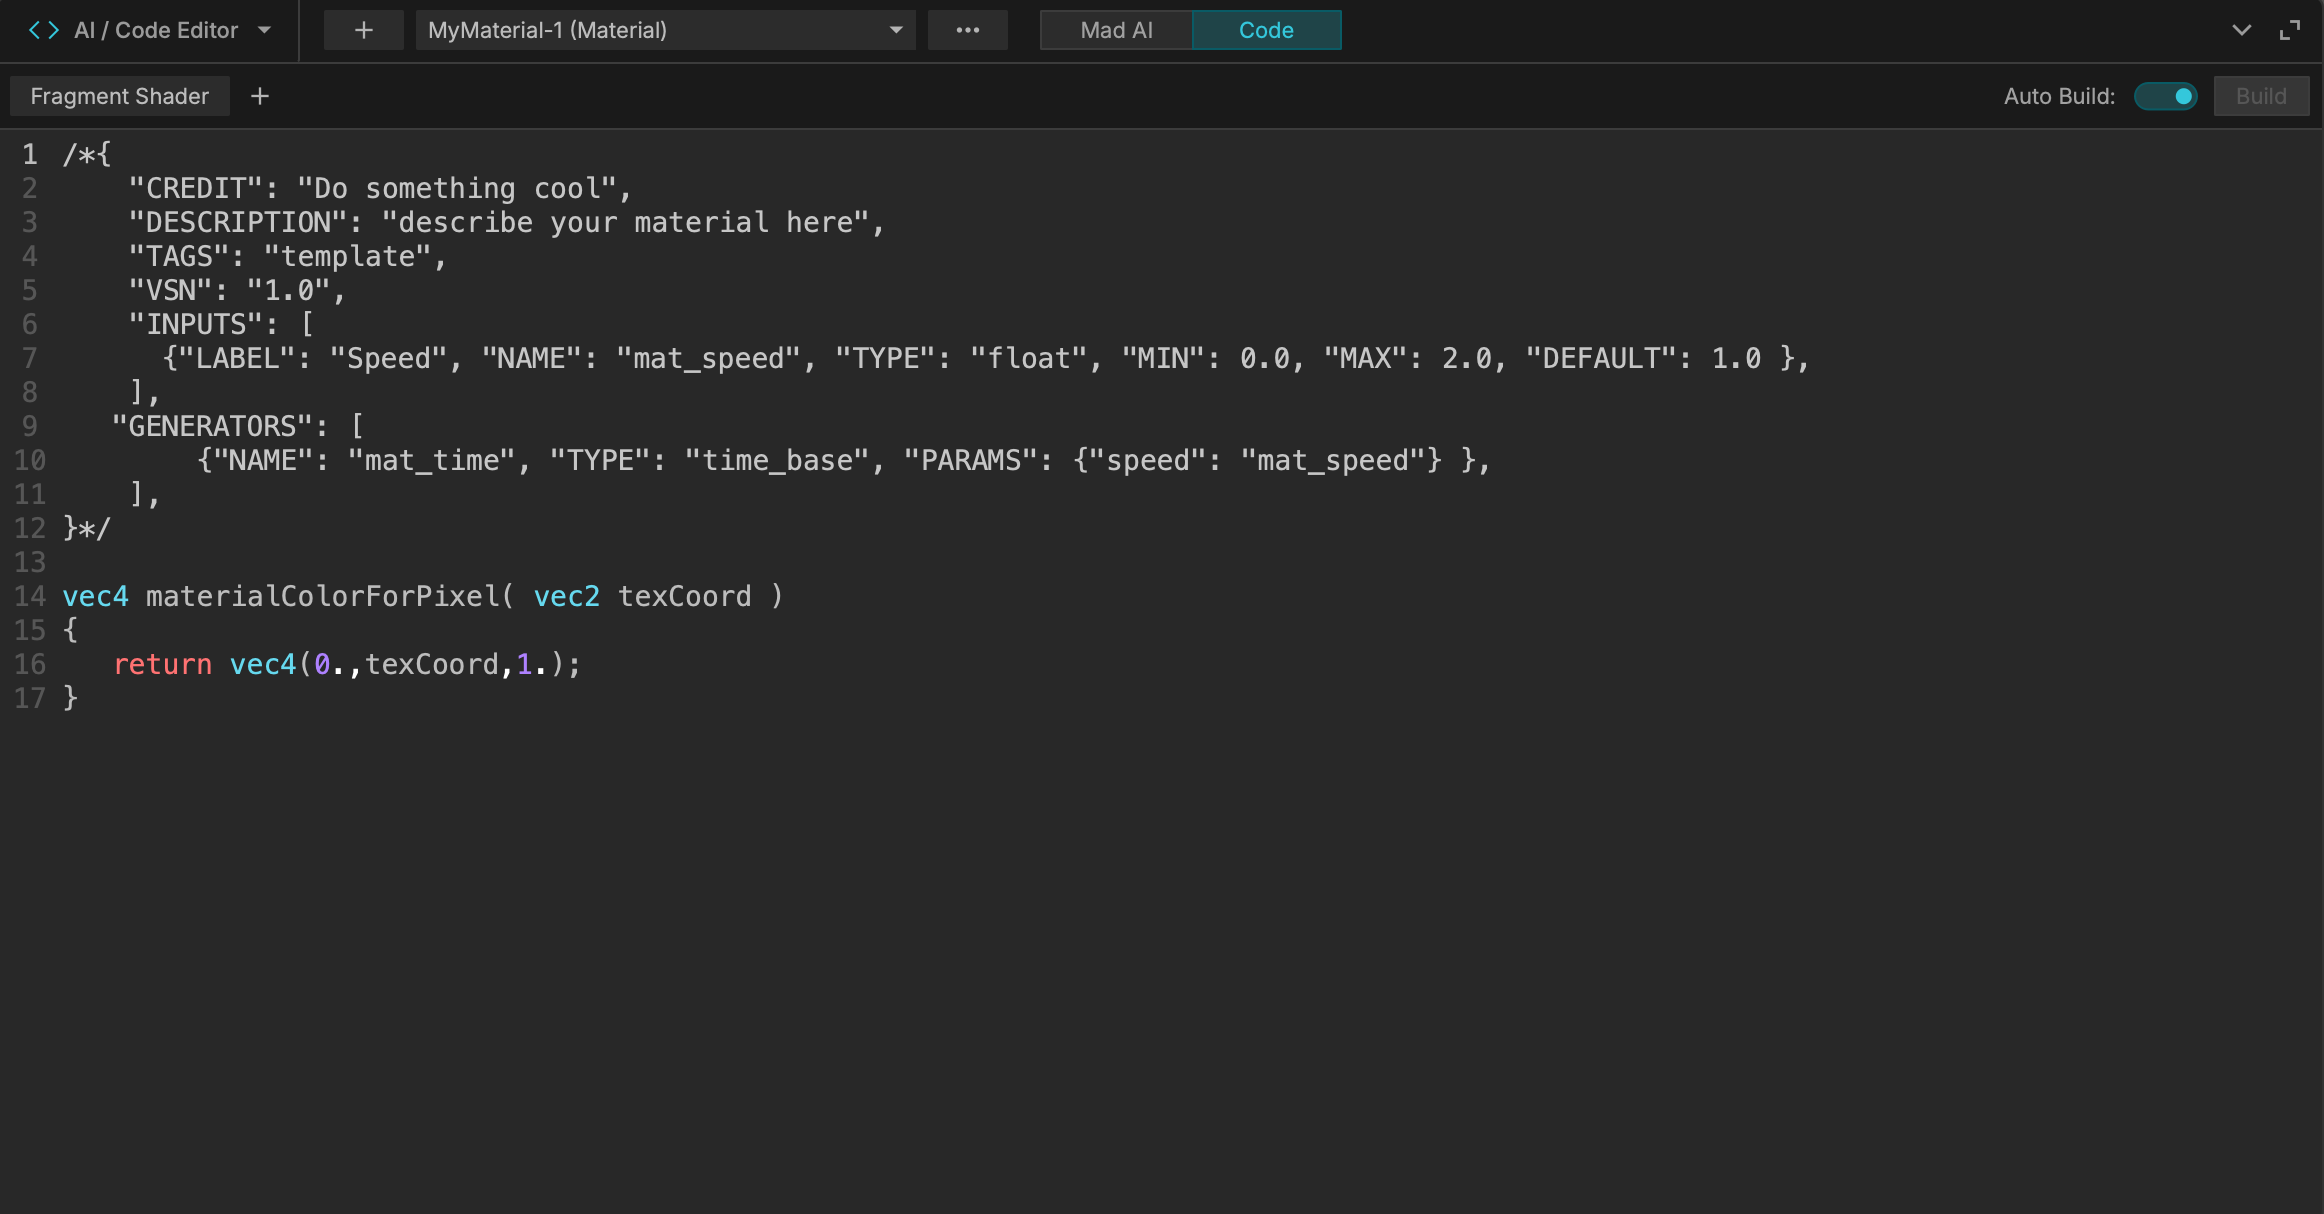
Similar to the methods above, click the + icon in the Code Editor to create a new material. Select From Empty Template, and you will be provided with a clean slate containing a working JSON header structure. If you would like to learn more about programming your own MadMapper Materials, please see the MadMaterials Documentation, #included Libraries, and the GLSL Shader Functions Reference.
Publishing to the Community
Once your material is finalized and credited, you can contribute it back to the MadMapper community.
From the Library > Project > Custom tab, select your created Material and click Publish.
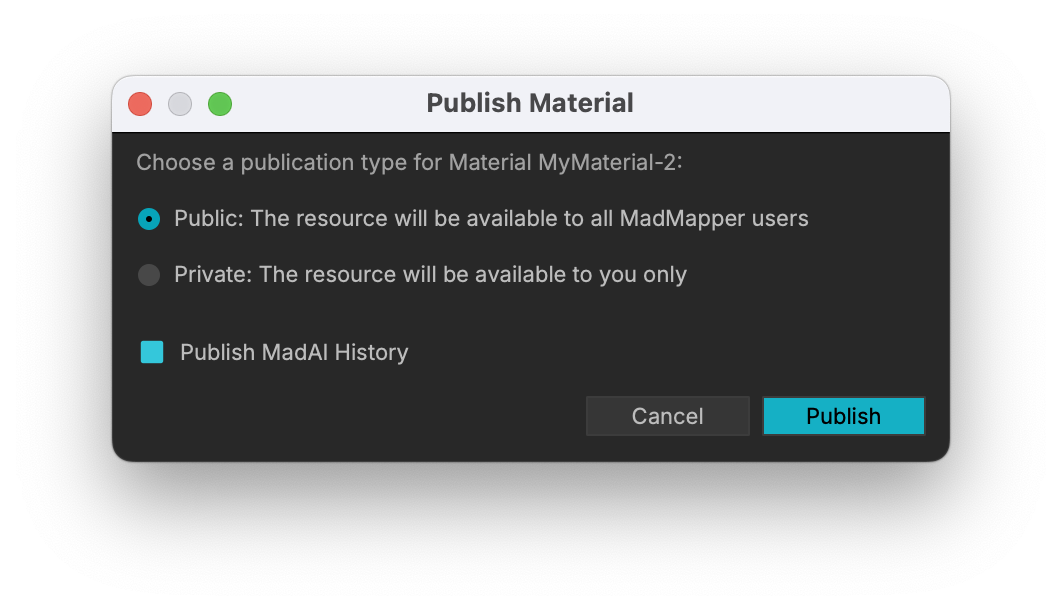
You can now choose to publish your Material either Privately or Publicly:
-
Public: The material will immediately become available to the global MadMapper community in the Online Library.
-
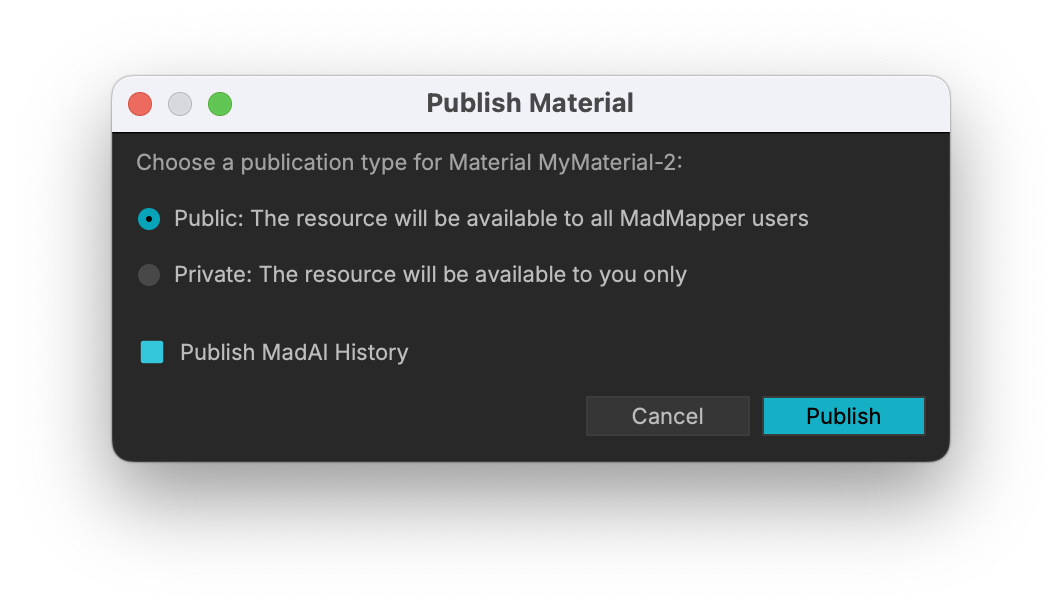
Private: The material will be backed up to your MadMapper account servers and will only be available to you.
Backing Up Private Custom Materials
Not every custom material needs to be shared or uploaded. If you are developing proprietary visual effects, generative branding, or specific shaders for a client, you do not need to publish them to the Online Library. Instead, you can opt to publish to your own Private library, or back the files up yourself manually.
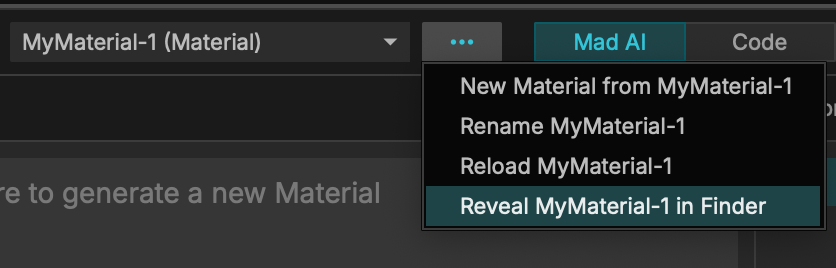
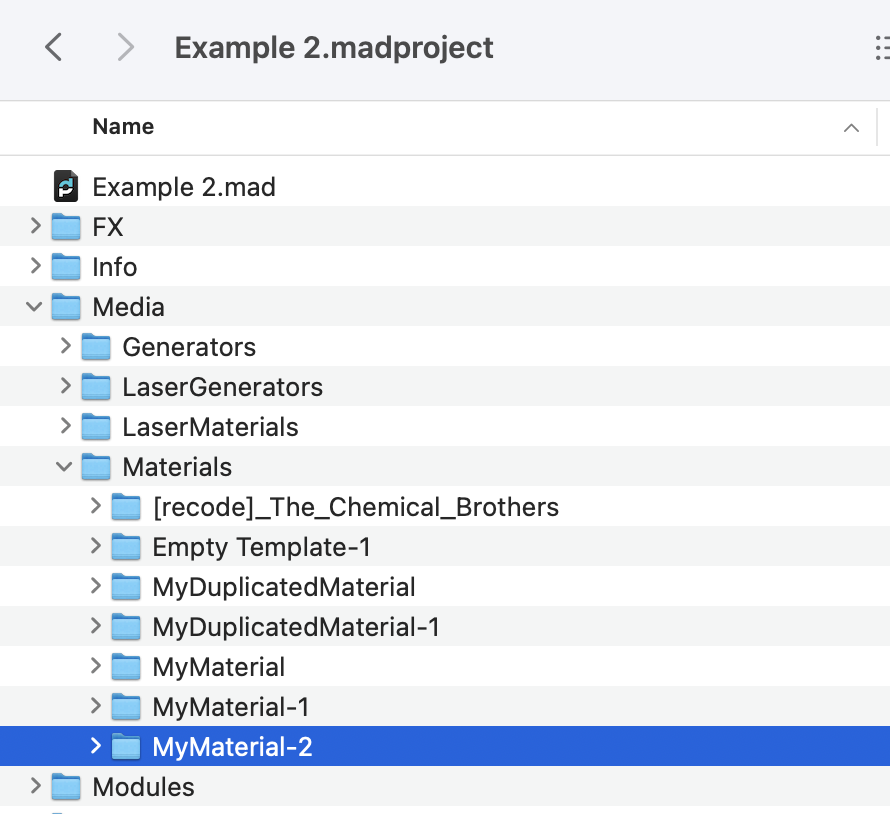
- Right-click on the material in your media bin and select open in editor. From there, you can click the three dots and select Reveal MyMaterial in Finder.